Blog Widget by LinkWithin
Showing posts with label cowboy. Show all posts

Cowgirl Birthday

>> Thursday, April 4, 2024

 Hello crafting friends,

I decided to do something a little different today, it's something I did years ago for a book cover I think.  I added glue to the ridges of corrugated stock then filled it with micro beads.  Sort of fun for a different kind of look.  I also added some kraft color twine and glittered rhinestnes.  The images I used today, DRS stamps: Lasso Cowgirl, 4 in 1 Cowboy Gear, and Saddle Up Birthday.


I used just part of the sentiment on the front and the rest inside with the saddle.


Our cowgirl is dressed in pink, she is adorable!


Thanks for visiting today.
Robin


Read more...

Howdy Valentine Times Two

>> Wednesday, February 14, 2024

Happy Valentine's Day!  Today I have two cards with my new favorite Valentine's Greeting:  Howdy Valentine.


My first card was also made with the Cowboy Silhouette image.  

On this next card, I painted a quick watercolor western night sky and then stamped and popped up the sentiment.  If you are interested, I watched THIS fabulous and relaxing video on how to do the night sky and just changed the landscape to western landscape (I used a thick Sharpie pen to make it quicker and easier). 

I made this card in less than 15 minutes from start to finish.  

Hugz,

Nancy


Read more...

Howdy Valentine

>> Monday, February 12, 2024


Hello Crafty friends. I hope you are doing well. I wanted to share a fun western Valentine card I made using the new HOWDY VALENTINE - 300B

  • For my card, I stamped the COWGIRL LINE DANCER - 682G image on white card stock and colored her with copics.
  • Next, I used several distress oxide inks to create a night feel to the card getting darker toward the edge of the card.
  • The stars were added using white gel pen.
  • The card was finished with the HOWDY VALENTINE - 300B die cut with a speech bubble and popped up on dimensionals.

Are you ready for Valentine's Day? I still have a few more Valentine's Day cards to make but this new sentiment is perfect to help inspire my Valentine's Day cards. Thank you for stopping by to check out my card this week.

Read more...

Valentine Card with a Little Kick

>> Sunday, February 4, 2024

I love the new Howdy Valentine Greeting.  Today, I paired it with the boot in the 4-in-1 Cowboy Gear stamp. I stenciled the background with a chicken wire stencil and added lots of red glitter to make it look more valentine-y.  

A super quick CAS valentine card with a kick. LOL.


Wishing you a wonderful week!


Hugz,


Nancy


Read more...

Howdy Valentine

>> Thursday, January 25, 2024

 Howdy friends!


I made this cowboy Valentine with DRS stamps: Howdy Valentine, Cowboy Line Dancerand Barn Door.  The background is an embossing folder from Sizzix that looks like tooled leather.  The trim I had, it is burlap type ribbon with a line of pearls (most likely for a western style wedding).

I inked the embossing folder to give it a letterpress look.
The cowboy has white pinstripes on his shirt made with a gel pen.

I stamped the cowboy first then masked him and stamped the doors.
If needed, I filled in any line work with a Copic black liner pen so that it would not smear when colored with Alcohol Markers.
The silver trim on his belt and hat is silver leaf pen.

Thanks for visiting today.
Robin


Read more...

Cowboy Birthday

>> Thursday, September 14, 2023

 Hello friends!

Today I have a good o' cowboy card to share.

I used DRS: Cowboy Line Dancer, Cow Cutie (inside), and Saddle Up Birthday


I used an embossing folder, letterpress style, that looks like tooled leather on the front of the card and on the inside as well.  I thought it was fun to make a belt from ribbon and use a copper buckle as an embellishment.

The cow is fussy cut.

Thanks for visiting today!

Robin

Read more...

Cowgirl Thing

>> Thursday, August 31, 2023

 Hello Friends!

We are full of bling today!  My cute cowgirl is covered in it!  


I really like pink and kraft together, especially for a Western theme/outdoor theme.

I added a ton of rhinestones (mostly amber/brown) and some clear to the hatband.
She has on my favorite pink boots (how did she get in my closet?!!).

The background is corrugated stock, I love that stuff.

Thanks for visiting today!

Robin

Read more...

Life is Better...Tutorial

>> Monday, March 20, 2023


Have you ever tried using just parts of your sentiment stamps just to get one word placed on the card in a different layout? Today I have a peek at how I move around words on my cards without cutting apart my sentiments. 

  • To start off I stamped the boots from 4 IN 1 COWBOY GEAR - 697M on white card stock and colored them with copics.
  • I then use a piece of acetate and my stamp platform to line up my words where I want them on my card. I used the BETTER IN COWBOY BOOTS GREETING - 236D on this card.
  • First, I lined up the Life is better alongside the left of the boots. I stamp the sentiment in full on the acetate sheet and then move my card where I want that portion of the sentiment. Once it is lined up, I use masking or scrap paper to cover my card where the other words would be stamped so that my stamp will only stamp on the card stock just the words I want stamped in that location.
  • After stamping the Life is better portion, I move my cardstock to where I want the next portion of the sentiment. On this card I stamped in Cowboy in the next location. 
  • I then masked on my card where the Life is better and the word Boots so that my card would only have just the words in Cowboy stamped.
  • I then moved the card around again so that I could line up Boots where I wanted it on the card. As you can see on my card, the BOOTS is way down at the bottom. I was thankful it still fit. But it just shows you that you can be creative when stamping to move around just portions of the sentiments.

Here is a picture of my stamping platform, my acetate, my masking paper and the sentiment so you can get a better idea of the description on how I move around my sentiments on my card and get just a portion.


As you can see on my white paper, the word BOOTS at the top was stamped. This is my scrap paper, and I used this paper to help cover up my card stock. This image is the final stamping. I was working to line up the word boots so that I could stamp it in the final spot on my card and I am masking the Life is better in Cowboy portion of the stamp.

If you have a stamping platform and acetate, I hope you give this a try. It lets you use just portions of your stamps to place words wherever you want on your cards.


I also created a tutorial con my blog called Moving Around Your Sentiment.


Thank you for stopping by to check out my card this week and reading up on how I use just portions of my sentiment stamps on my cards.


Read more...

Better in Cowboy Boots

>> Thursday, February 2, 2023

Good morning crafty friends!
Hope you like this fun card, it has some great "old" techniques used.
I stamped the Western Dancing Couple on white cardstock, colored then fussy cut.
They are popped up with some 3D foam that is about 3/8" tall (pretty thick stuff).
See below the other techniques used on this card.
I stamped Better In Cowboy Boots on a circle label cut from Texture Roll (Sizzix).  Before I cut it out I inked the die to create the walnut ink circles inside the die cut...These label dies are especially made to take ink before cutting for this cool letterpress look.

It is easy to see that I popped up the frame (cut from the same embossed (folder by Tim Holtz-Sizzix) piece of tan Texture Roll from Sizzix).  I had inked the embossing folder with Walnut Stain.


I stamped the Cowboy Garb on Shrink Plastic then colored with Copics, it did not color very smoothly but what did I expect on plastic right?  So anyway, when I cut it out and put it in my toaster oven (I keep just for crafts), it shrunk just like it should, so I got this cute little charm for the card front.

Get out your shrink plastic and make some charms then get your folders out and start making some fun letterpress backgrounds with your favorites.
It feels amazing to have backgrounds ready to go.

Thanks for visiting today!
Robin


Read more...

It's Your Birthday...

>> Monday, January 16, 2023


I can never have enough birthday cards. Today's card uses several stamps from DRS Designs.

Have you ever tried to create a silhouette with your stamps? It gives them a whole new look and is really easy to do especially if you are not in to coloring images.

Thank you so much for stopping by to check out my card this week.

Read more...

Fall Roundup!

>> Thursday, September 1, 2022

 Good morning friends!

I used 4 stamps from DRS today, Cowboy Line Dancer, Hanging Sign Post, Wagon Wheel

and Large Happy Fall Y'all.

But to start it all off I got my kraft Texture Roll out and cut a cut card size pieces to emboss.

The frame is done with a basket weave pattern the inside is a rough texture called leather.


The browns of the picture blend to well with the kraft paper so I made an oval white background then sponge blue and tan on it.
The frame is popped up.  My stamped pieces were all fussy cut.
Thanks for visiting today!!

Robin

Read more...

Boots and Bling

>> Thursday, July 21, 2022

 Good morning!  

This appeals to me because I love cowgirl boots and if they have bling, all the better.

When I wear my blingy boots to church all the little girls just love them, so I know I'm not alone!  This cowgirl has bling on her hat, belt and boots!!


I have tiny rhinestones I added to hat, belt buckle, and the big boot alone with
Stickles Glitter Glue.

I also added some larger rhinestones in each corner.
Stitched die from Rubbernecker.

Thanks for visiting today!

Robin

Read more...

Western Birthday

>> Thursday, July 14, 2022

Good morning crafty friends!


This first card has lots of goodies on it starting with this cute Western Dancing Couple.
I can't think of anything that I like wearing more than cowgirl boots so this sentiment
stamp is perfect to me, Better In Cowboy Boots, I made into a pennant for the top.
I used pink and Kraft for my cardstock, burlap "ribbon" with lace as an element and also suede fringe.
To finish it off I added the silver stars and rhinestones with a little glitter on the cowgirl's hat and boots (of course, LOL!).
I used a Rubbernecker square stitched die set and Distress Burlap Ink for the main image panel.


For my next card, I made it an easel card...I love easel cards, you may have guessed that if you visit my post very often.


For the top I used the Cow Cutie and the fabulous Wagon Wheel along with the sentiment 
Herd Birthday Greeting.  The cow was masked after stamping then the wheel was stamped.
I did the out of the box cut with a Rubbernecker stitched circle die so that it would not cut the cow's
legs off.  I then glued it to the white strip and stamped the sentiment then added dots of Star Dust Stickles.  I added a strip of Kraft color cardstock under the white, glued it to the pink and set aside.
For the inside I made up the same white and Kraft strip, added the Stickles dots and set aside to dry.
I stamped the partial sentiment Saddle Up Birthday, die cut with Rubbernecker rectangle stitched die then popped it up...normally this would have been the easel stop but I wanted to add the 
Cowgirl Line Dancer because she is just too cute, so I made a line of silver studs above her on the pink panel to keep the easel top open.
For the card base, I cut the normal 8 1/2 X 5 1/2 panel, scored and folded in half to make 4 1/4 X 5 1/2 then scored and folded the right half in half.  I die cut the bottom 4 1/4 X 5 1/2 left side with a border die from Amazing Paper Grace.  For the top (front) of the card base I cut another 4 1/4 X 5 1/2 panel, cut the top edge with the same border die then glued it to the 2 3/4 X 4 1/4 right side.  The right side should be folded inward toward center score line.  This will finish the card base so that all you have to do now is glue the top Front) wheel panel to the top and the bottom (inside) cowgirl panel to the inside.

Thanks for visiting today!

Robin


Read more...

Birthday Wishes

>> Thursday, June 16, 2022

 Good morning!


I made some fun cowboy birthday cards today.  This first one features the cute 
Western Dancing Couple on the front and Cowboy Garb on the inside 
and also the new sentiment Special Birthday Wishes
The background is made with an inked Tim Holtz 3D embossing folder from Sizzix.  It looks like tooled leather.  I started with a piece of the texture roll tan (Sizzix) then ran it through the die cutting machine with the inked embossing folder.


My next card has a burlap background.  I started with tan paper, distressed the edges then used matte medium (a glue type stuff for multi medium crafting).  Once that was dry on both panels I glued them onto the card base.
I inked the edges with Walnut Stain Distress ink.
The images are colored with Copic Markers on both cards, die cut then glued to the cards.  Inside the easel cards the panel is popped up creating the easel.

I used Cowboy Cactus on the front and for the inside I used 4 in 1 Cowboy Gear
then for the sentiments I used Birthday Multi Greeting and One Line Happy Thoughts.

Hope you like today's cards, now go get crafty!

Robin


Read more...

Happy Birthday!

>> Thursday, June 2, 2022

 Good morning! 

Today I've used the Barn Door with the Wood Grain Background to make a barn for Cow Cutie ol' Betsie!   Some how she got out of her enclosure and now she's looking for some fun!


I used the Herd It's Your Birthday at the top.


For the inside I used part of Saddle Up Birthday and  Cow Cutie.  I also added some pearl halves. 


These cows are out to party tonight!


My next card uses several stamps to make a scene...I just love scene building, don't you?

This type of scene card takes quite a bit of masking and so to figure out which stamps I want to stamp first I stamp everything on a scrap paper (not worrying about over-stamping each image). That helps me to figure it all out.  Then I stamp mask on Post-it paper and cut them out.

Thanks for visiting!
Robin

Read more...

It's Your Birthday

>> Thursday, May 5, 2022


 Good morning!


So today I used a barn die, grass punch, circle punch and barbed wire fence die to use with our udder-ly wonderful Cow Cutie  
I used a piece of torn paper towel to make clouds in the sky (sponging over the torn part).  Then I stamped Herd It's Your Birthday over the clouds.
My Cow Cutie was fussy cut then placed in the scene.
She has a little bit of white gel pen in her eye for a twinkle.

My next card uses a scarecrow in the corn...the Cow Cuties  are in there too munching 
on whatever corn they can find!!
Those cows need to come home!!! No more partying in the corn!


So this card has 2 Cow Cuties stamped, one in the background stamped directly on the card and 1 stamped on scrap then fussy cut.
My sentiment Saddle Up Birthday was stamped on the card.
Also used was a circle punch and grass border punch.

Thanks for visiting today! Now go get crafty!!

Robin


Read more...

Cows Are Comin' Home!

>> Thursday, April 21, 2022


Good morning!

New release stamps used: Let's Play Puppy and Diving Frog Legs
I used a Kaliedacolor Pad for inking the Happy Birthday.
For the frog splash I used Liquid Applique puffed up with heat and Crystal Stickles on top.
My dog LOVES catching frogs!! Not to worry, after playing a bit he goes his way and the frog gets up and hops back into the pond!!
What a fun game they play!


My next card features the new Cow Cutie 
I stamped her 3 times using masks to stamp the cow behind.
I also used the new sentiment: Udder-ly Wonderful Birthday
Older release stamps include: Cowboy Cactus and 

This new cow really is a cutie! And the cow sentiment, how funny!!
I've been wanting a cow for a long time to go with the Party Till the Cows Come Home so now I have the cow and a couple more sentiments to go with it too, how fun!!
That first cow has the cowboy hat from Cowboy Cactus on her, she must have snatched it while he was taking a nap or something.  I used a grass border punch from the Martha Stewart line to put under the sentiment.
Background panels for this card uses a 3D folder inked up like a letterpress.  It is very tooled leather looking.  I used some texture paper like stuff from Sizzix (comes in a roll).  It looked like suede even before using the 3D folder with ink.

Thanks for visiting today! 
Robin


Read more...

Merry Cowboy Christmas!

>> Thursday, September 30, 2021


Good morning!
Time for another Cowboy Christmas!
This first card uses DRS stamps: The new Wagon Wheel
The dies are a set from Lawn Fawn.
I used some silver studs as well.


My second card features: Cowboy Silhouette and 


I used a wood plank embossing folder and some black pearls.
On this one I sponged some oxide inks on then used VersaFine Claire to stamp.
Thanks for visiting today, go get crafty!
Robin


Read more...

Saddle Up!

>> Thursday, July 8, 2021

Good morning!
I have another easel card for you this morning using
the Cowboy Silhouette on a spray inked background.
I used Dylusions and Distress Oxide sprays.

The inside birthday greeting is Saddle Up Birthday.

My next card uses DRS stamps: Cowgirl Line Dancer, Saddle Up Birthday,
I die cut the star from a dark brown then added black chalk and gold Rub-On Metallic 
to give it some age.
I also added aged copper brads.


Inside it uses Western Dancing Couple and the rest of Saddle Up.


Thanks for visiting today!
Robin


Read more...

Star, Sparkle, Banner!

>> Thursday, June 24, 2021

Good morning!
I went wild with the stamps this morning, lol!
I decided to do a good old country cowboy 4th of July
celebration for both cards.
Every town in America has their own way to celebrate
and I would imagine that there are plenty of cowboy towns
where a big pot luck and country dance is how they celebrate.
DRS Design stamps: 4th of July Sparkle
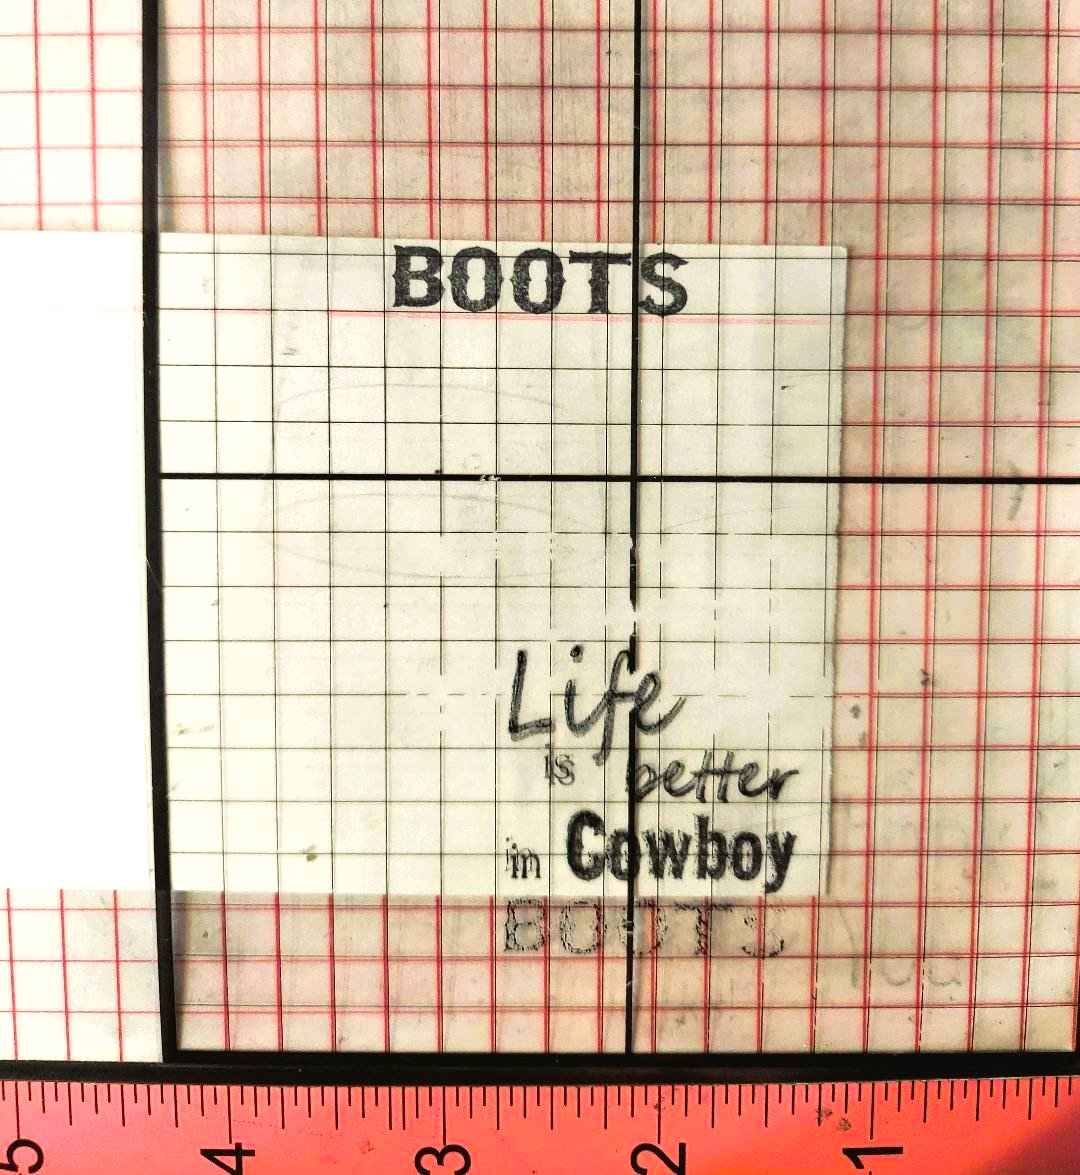
I like the couple's matching outfits and denim boots, how about you?
I have a thing about cowboy boots, they are actually the only "dress shoes" I have.
You can imagine that I have lots of boots in about every color I wear plus a few brown type
with different designs.  I DO have a pair of denim blue boots, love them.


I used some threaded star buttons to embellish this card.  No dies used,
just a cutter and score-it.  I also used some glitter pens and a dot of Stickles to enhance the stars (you can't really see that in the photos, sorry.

In our town, because we have a mountain lake near by, we do the all day picnic and watch the fireworks at the lake reflecting off the lake, especially fun to watch in the lake on a boat.
Because we have had so many fires all around in recent years they do no fireworks but
people still have their picnics at the lake.

My next card is a patriotic tribute to those country
cowboys who helped to make this country free
by hanging up their hats for a bit (or forever) and serving
their country to fight for us.

DRS Design Stamps: USA Thanks to Our Brave and Cowboy Cactus
I used a star embossing folder with a letter press technique for the background
and to add something more I cut some red strips.  The sentiment was cut 
apart using the bottom half for the pennant under the image and cutting out
the U.S.A. to curve above the image.  I did use a glitter pen
on the U.S.A. as well.  The die is from My Favorite Things.

Thanks for visiting today, go be crafty!
Robin

 .

Read more...

Blog Archive

StatCounter

  © Blogger templates Palm by Ourblogtemplates.com 2008

Back to TOP