

Witching You A Happy Halloween!
>> Sunday, October 31, 2010
Happy Halloween!
Today I have another opportunity for you to win from DRS Designs! DRS is sponsoring this weeks Card Patterns Sketch Challenge #88. One lucky participant will receive a $10 store voucher just for playing along! Won't you join us?

My take on this sketch uses a couple of DRS Designs Halloween stamps--probably for the last time this year! My focal image is the recently released Broomstick Stella (415H). I colored her with Copic Markers and sponged charcoal chalk ink around her for a smoky effect.

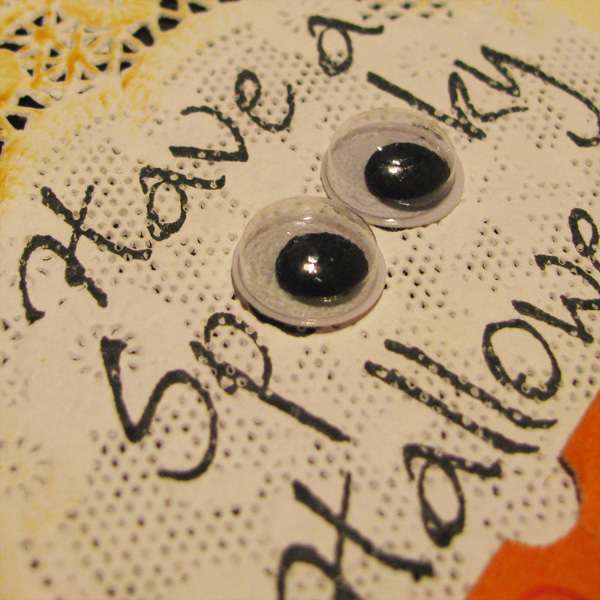
I stamped the "Witching you a Happy Halloween" sentiment (1040F) on silver metallic cardstock to match. Some orange and black zig zag stitches were the perfect touch, but the ribbon really makes this card complete!

We look forward to seeing what you do with this sketch!
Good Luck and have a very Happy and Safe Halloween!
Smiles,
Jennifer
Read more...
Jennifer


