Challenge #172 - Put it in Neutral!
>> Thursday, April 30, 2015
Welcome to the DRS Thursday Challenge!
First, the Winner from the Random Drawing....
 Lillian A
 Did you know you can make your own neutral colors? There are a few different ways to make neutral colors. You can blend black and white to make gray. You can create brown in two ways—by blending two complementary colors (like red & green or blue & orange) together, or by blending all three primary colors (red, yellow, blue) together. You can also make a shaded neutral by adding a significant amount of gray to any color. Give it a try!
Read more...
Congrats, you are the winner from our Bloomin' Beautiful! Challenge!
Please contact us at info@drsdesigns.com to claim your prize.
For this week's challenge, we are changing gears from all of the color last week ...
Put it in Neutral!
(use any image, die cut or punched shape but use neutral colors..for basic neutrals, think white, ivory, tan, kraft, brown, black, gray...)
To enter, show us your card by linking it below and we'd love for you to leave us a comment. The deadline for this challenge is Wednesday, March 4, at 6 pm ET. Challenge entries don't have to use DRS Designs stamps, but if you use them on your challenge card, you'll get an extra entry into the prize drawing.
For the prize, one winner will be randomly selected to win the following 3 stamps:
Three Butterflies 744F
Butterfly Kisses Greeting 399G
Script Happy Birthday 159D
And here are some wonderful neutral inspired cards from our talented Design Team and we'd love for you leave us a comment!
 Robin
Robin

Karin

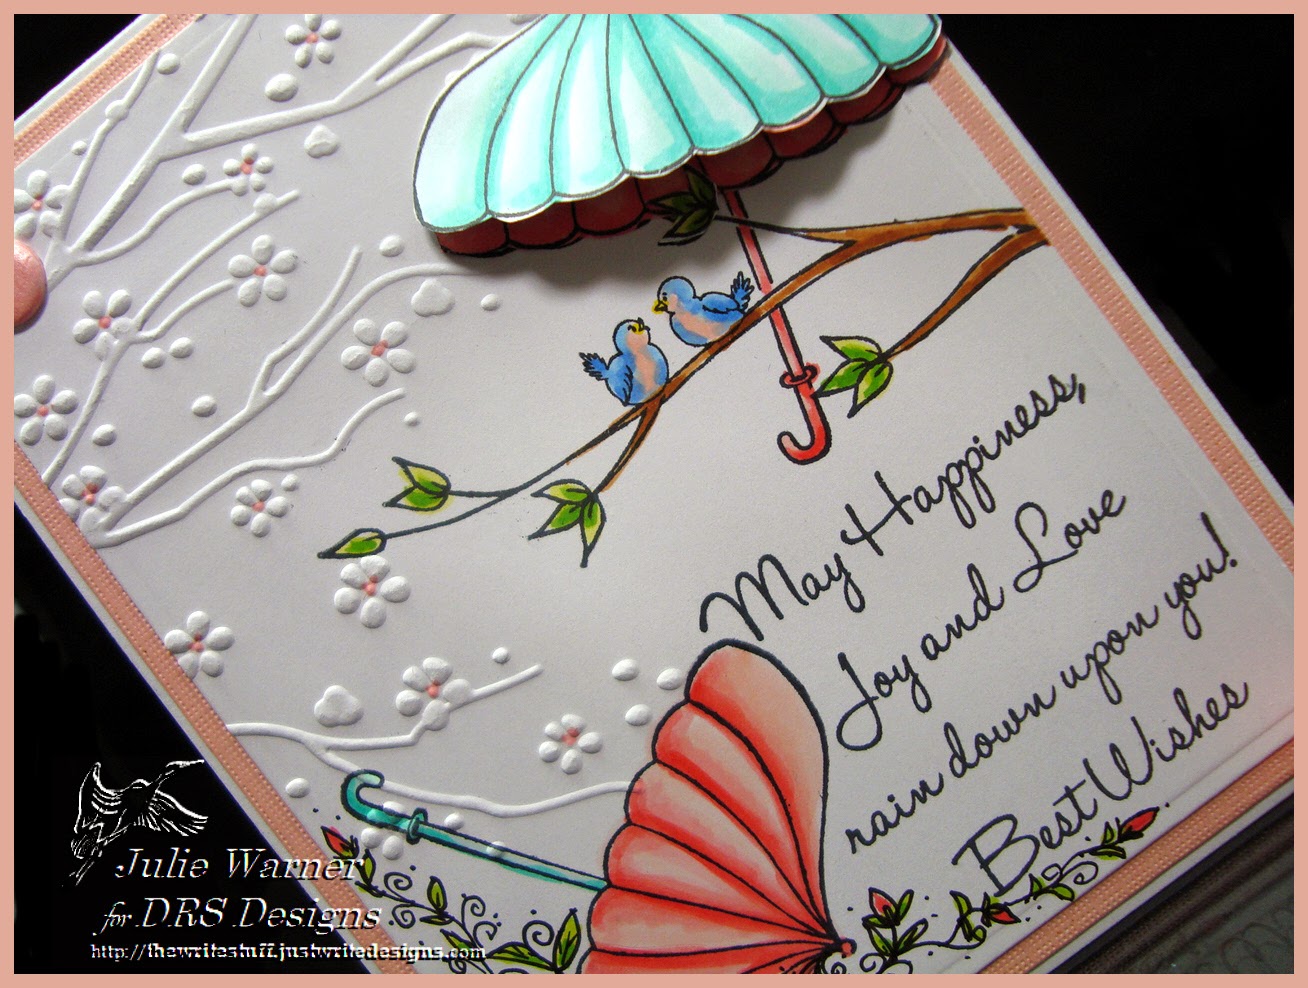
 Julie
Julie
 Sue
Sue
~~~~~~~~~~~~~~~~~~~~~~~~~~~~~~~~~~~~~~~~~~~~
For the prize, one winner will be randomly selected to win the following 3 stamps:
Three Butterflies 744F
Butterfly Kisses Greeting 399G
Script Happy Birthday 159D
And here are some wonderful neutral inspired cards from our talented Design Team and we'd love for you leave us a comment!
 |
Shelia.jpg)  |
.jpg)


.jpg)