Blog Widget by LinkWithin

Challenge #58- Brads

>> Thursday, January 31, 2013

Hi Everyone, Happy Thursday!

Congratulations to 
-Agnes-!  
You are the winner from last week's challenge!  
Please contact us at info@drsdesigns.com to claim your prize. 

Here are the details about this weeks blog challenge:
We want to see cards with 
Brads!

We hope that you'll join us and play along by linking your challenge project using the InLinkz feature below. Each week one lucky participant will receive a prize just for playing along! Challenge entries don't have to use DRS Designs stamps, but if you use them on your challenge card, you'll get an extra entry into the prize drawing. Deadline for this challenge is Wednesday February 6th at 6pm EST. The winner will be announced in the challenge post next Thursday.

For the prize, one winner will be randomly selected to win the following 3 stamps:
Happy St. Partick's Day (393G)
Everything Irish (204G)
4 Leaf Clover (890A)

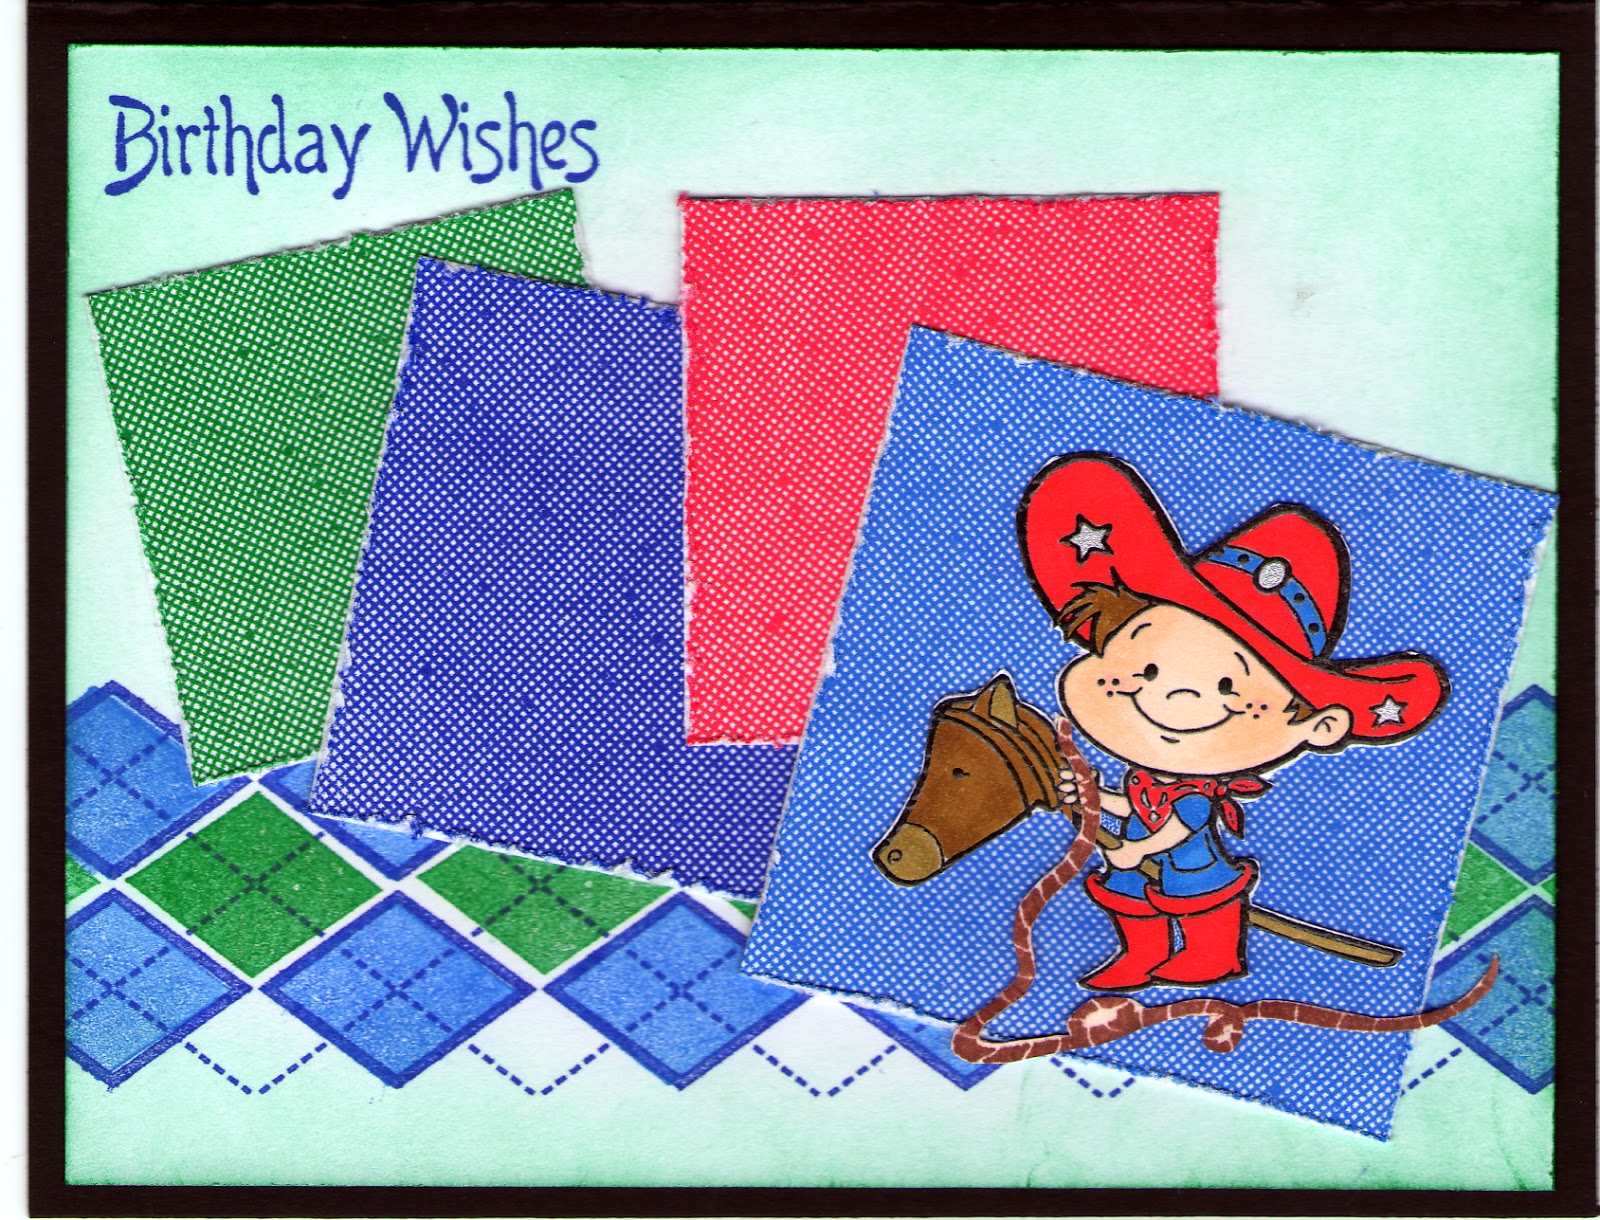
Here are some fabulous cards created by the DRS DT to inspire you:


Sue


Pam

Thanks for stopping by and Good Luck!
__________


Read more...

Cowboy Birthday

>> Wednesday, January 30, 2013

Welcome!

I had so much fun last night playing with our new Little Cowpoke and our 'almost new' Material Maker stamp!  I just couldn't stop trying different color combo's for both of them!  As I was coloring I took a walk down memory lane and pictured my nephew who received a pair of bright red cowboy boots for Christmas when he was about 4 years old.  Boy, did he love those boots!  He wore them everyday (picture him in the summer wearing shorts and bright red boots :) until he not only wore out that pair, but at least another 2 pairs as well.  It took him a couple of years to start wearing sneakers again. He's 22 now and always in a hoodie.... and I just couldn't resist using the cowboy I colored last night in his bright red boots!


I used our Material Maker stamp to make the 4 different fabric backgrounds, cut them to different sizes and then distressed the edges.  I stamped the white card stock with our Argyle Stamp across the bottom and used our Solid Diamond to quickly fill in the blue and green diamonds.  After stamping the Birthday Wishes in the top left corner and sponging on some green ink, all I had to do was attach everything to a folded black card. (oops - I almost forgot, I stamped the cowboy again using a brown ink pad and cut out just the rope and glued it on top!)

Have you had a chance to enter our challenge from last week?  All you have to do is link up a card that has a pig on it and you'll be in the running for 2 free stamps - your pick!!!

Unsure how to link a card??  Contact us at info@drsdesigns.coma and we'll walk you through it!

Be sure to stop by tomorrow to see who our lucky winner is and to see what our next challenge is all about!

Thanks for stopping by!

Sue

Read more...

Pine Trees

>> Tuesday, January 29, 2013

Hi Everyone,

Don't laugh, but this card took me about 3 hours to make.  No joke.  I tried stamping and coloring these DoubleTall Pines in a long line and just wasn't loving my marker skillz. Trust me, it had to be trashed.  Sooo...It was on to my next tried and true trick.  Paper piecing. Surely this would be just what I needed to make these lovely trees come to life.  I stamped white snowflakes on green paper and painstakingly cut them out.  And....meh.   I swear these were all awesome ideas in my head, and in my minds eye the cards were fabulous.  In real life, not so much. 

So, behold.  I give you CAS :)


I added glittery Stickles to the trees, and after stamping and cutting out the Miles Apart Greeting, I stamped the cardstock with some pale pink hearts using the Interlocking Heart Background, finishing it off with those heart gems in the corner.  Even though it's simple, I did end up liking it a lot.  If I had only started with this idea first...lol! 

Thanks for visiting today, and I hope you can join us for this weeks challenge.  The theme is PIGS and you can link up your card right here for a chance to win!

Karin


Read more...

Huggable, Squeezable and Kissable!

>> Monday, January 28, 2013

Happy Monday Everyone. Hope you had a great weekend. Can you believe this is the last week of January? Valentine's Day will be here before you know it! With that in mind, I have a Valentine card to share with you today.


The Able Valentine Greeting was stamped in Memento Black ink on white card stock, colored with some pink copics, cut with nesties and layered on pink and black CS. As soon as I saw this new stamp I knew I wanted to use it on a zebra fold card, so that is what we have today.


The card base is white with layers of black and pink CS. The outside corners of both pink panels are stamped with the new Dotted Heart stamp in Pretty in Pink. It's kind of hard to see the hearts on the smaller panel, but they're there. :-)  The small panel is also embossed with the CB Swiss dots folder. Inside Happy Valentine's Day is stamped in black and can only be seen when the card is opened.


Some small pink half pearls were added to the main image panel to finish the look. I really like the way this turned out. I hope you like it too.

This week's challenge at DRS Designs is to use a pig image on your card. We'd love to have you play along with us this week. You can check out the challenge here. The winner gets to choose 2 stamps from DRS Designs amazing collection!!

Thanks for stopping by today!

Until next time,
shelia

Read more...

Snow Fun

>> Sunday, January 27, 2013


For my card today I used the No Snow Fun Greeting, Skippy the Penguin, and Penguin Snowball Blast. I stamped the Penguin Snowball Blast in black ink and colored it with copic markers. A litter glitter glue was added to the snowballs. I stamped Skippy the Penguin five times and layered it onto a blue strip. The No Snow Fun Greeting was stamped and layered on to blue card stock. Everything was layered onto blue card stock  then a white card.

And don’t forget to join in the Pig challenge this week.

Have a wonderful day,

Janett


Read more...

Leonard Hogs and Kisses

>> Saturday, January 26, 2013


Bringing another piggy card for Valentine's day to you all today.  Our Leonard Pig Rose offering is just so dang cute!  I stamped him and the single rose in versa mark and embossed in black.  I used pink pirouette, primrose petals, and old olive. The roses were done with red liquid pearls.....some black sponging for the "piggy" look, a handmade tag with our hogs and kisses greeting and the primrose layer was stamped with our argyle background. Remember, our Thursday challenge this week is all about pigs...participate and you just might win a fun stamp!

Take care,

Pam

Read more...

Star Ranch

>> Friday, January 25, 2013

by Julie Warner - The Write Stuff

Happy Friday!
Y'all ready to saddle up and head for the ranch this weekend? I think my little cowboy is all ready to ride.

For my ranch scene, I stamped the right side only of the  Cowboy Snowman image, moved the stamp to the left and stamped the left side only, leaving a space where the snowman usually is on the image. The Double Tall Pines were stamped twice, colored w/ copics and cut out. I cut one pair in half and put them on either side and the full pair in the center. I used a black pen to add to the barn's left side just a bit and colored the scene before adding my pines and Saddle Up Cowboy.

For the sentiment, I used just the center of the Birthday Flower Circle and die cut it w/ a circle die. I used the Material Maker Square on a die cut star shape and attached the greeting circle on top. I love how it looks like denim or woven fabric when you stamp it once, turn the image and stamp it again. The finished card is 4.25 x 5.50.

Thanks so much for stopping by! Have a Yeehaw weekend, y'all!


Supplies:
stamps: Cowboy SnowmanDouble Tall PinesSaddle Up CowboyMaterial Maker SquareBirthday Flower Circle
paper: white, rusty brown
ink: Memento tuxedo black, Adirondack ginger
accessories: Spellbinders circle & star dies, Copic markers

Read more...

Challenge #57- Pigs

>> Thursday, January 24, 2013

Hello Friends!
Welcome back to Challenge Thursday! 
We hope you're having a wonderful week and we appreciate you getting inky with us!

Big Congrats goes out to
123Niki!!!!!!
You are last week's Trifold Card Challenge Winner! Please contact us at info@drsdesigns.com to claim your prize.

The theme for our next challenge is
Pigs! 
  Enter this weeks challenge by submitting cards with cute piggies on them! One lucky winner will win their choice of 2 stamps from DRS Designs!

Below you will find cards created by the wonderful DRS Designs DT.
Thanks for playing along and Good Luck!

Karin

Shelia
 Julie


Sue
----------------------


Read more...

Baby, it's cold outside...

>> Wednesday, January 23, 2013

Welcome to the frigid north!  It seems that no matter where you live it's COLD!  So much for global warming :)

I had to share my penguin card today in honor of this 2013 cold snap - let's hope it's a short one!!


I started by stamping our multi purpose Sand/Snow/Water stamp (1114D) using turquoise ink slightly above center of my 4" x 5 1/4" white cs.  I lightly sponged on turquoise "snow" below the line and a turquoise and lavender mix above the line for a winter sky.

I randomly stamped our new Skippy the Penguin along the bottom half as if the whole group (known as a waddle ;) were all hurrying along to some wonderful snow filled event, then stamped an extra on a separate piece of card stock and cut it out. 

My frame was a leftover from some long forgotten project that I thought was a perfect addition and our new No Snow Fun Greeting  fit like it was meant to be! I attached the bling and my previously cut out Skippy and then layered everything on a folded black card.

Thanks so much for stopping by and visiting!  If you haven't linked a card for last weeks Tri-Fold Challenge you have until 6pm tonight to enter.  Then you'll want to stop by again tomorrow to see if you're the lucky winner and to check out our next fun challenge!  Good Luck!

Sue

Read more...

It's all about the sparkle today...

>> Tuesday, January 22, 2013

Hi Everyone,

I have a couple of cards to show off today with lots of glitter.  What can I say, I guess it was just the mood I was in.  This first one uses the Silhouette Majestic Pines stamp that was recently released.  They just cried out for some embossing, so I decided to be dramatic and use silver embossing powder on black card stock.  I added a die cut coated in silver glitter and paired it with the I Love You to the Moon greeting. Which was backed with more glitter ;)


I made the background using the Interlocking Stars and added a strip of dry embossed stars and a punched star border too.

I needed to send a birthday greeting to someone, so made this card using one of my favorite flower stamps from DRS Designs, the Dogwood Branch. After stamping it, I colored it with Copic markers and added Stickles to the center.


I added gems and a sparkly flower embellishment after I stamped my Small Birthday Wishes greeting. I actually made a similar card in purple before.  I loved it then, so I went ahead and cased myself.  However, I did get the idea to use the stamp for the background from Pam's awesome card here.

Thanks for stopping by and I hope you have a happy, sparkly day :)

Karin

Read more...

Roses and Friendship

>> Monday, January 21, 2013

Happy Martin Luther King Day! I am fortunate to have the today off from work and I plan to use it to create some Valentine cards and a birthday card for my new son-in-law.

Today I want to share a Valentine card that features our new Single Rose. Isn't it so pretty? Roses are my favorite flower so I really am enjoying creating with this new stamp!


The card base is white with a layer of pink. The two white panels were stamped in Pretty in Pink with the Interlocking Heart and Circle background stamps.

The image was stamped in Memento Black ink on white card stock and then colored with Copics. I used my scalloped heart nesties to cut out the rose positioning it on the left hand side of the heart. I also used those same nesties to cut out the two pink hearts. On the small heart I stamped the first part of the Life is Friendship Greeting in black. The rest of the greeting is stamped in black on the scalloped panel at the bottom of the card. Some white heart buttons were added to complete the look. Hope you like it!!

This week's challenge is to make a tri-fold card. You can see what the Design Team created here. We'd love to have you join us.

Until next time,
shelia

Read more...

Love you more

>> Sunday, January 20, 2013


Hi all, For my card this week I used the new Dotted Heart it was colored with copic markers and I used Liquid Pearls in white opal on the dots. The Chocolate Chip Background on black paper with silver embossing powder for the next layer. The Hearts and Scrolls was embossed in silver on red card stock and this makes up the third layer. All of this was attached to a white card. I embossed in silver the Love You More Greeting on to black card stock then a layer of white and attached it to the bottom of the card.

Have a wonderful day,

Janett

Read more...

Love you more!

>> Saturday, January 19, 2013

In preparation for Valentine's day, I made a few of these.  I love the black and red. I used the new dotted heart stamped 3 times and cut out and I also used the new greeting love you more. 3 photo corners a polka dot brad and the dotted embossing folder. The hearts were stamped in versamark and embossed in black.
Happy Day!

Pam

Read more...

Possibilities

>> Friday, January 18, 2013

by Julie Warner - The Write Stuff


Happy Friday!
I hope you week has gone well and you have exciting plans for the weekend. I just love these silhouette pines and I thought they'd go well with the silhouette horse. From the beginning, I knew I wanted to put the horse on top of a frame and I tried to figure out a way to do it w/o a lot of fussy cutting, but they only way to make it look right, was....you guessed it....Fussy Cutting. I know a lot of people hate to fussy cut, but I actually like it and I'm surprisingly quick. It only took me a couple of minutes to cut out the horse. The right scissors are pretty much the key. Mine are little bitty w/ a slightly curved blade. It also helps tremendously to turn the paper and not the scissors. So there's my secret.

For the background, I used the acrylic block technique. I streaked the blue & green dye ink pads across a large acrylic block, misted w/ water and pressed it to the card stock. Then I stamped the pines twice on top and the moon/sun part again on a scrap of white. I cut the little moon out and attached it on top of the base image then attached my oval opening black mat and the labels 18 white mat on top. Then the greeting was added. I used a SAMJ (stamp-a-ma-jig) to reposition the sentiment and then attached my horse. The finished card is 5.50 x 4.25.

Thanks so much for stopping by! Have a great weekend full of Possibilities!

Supplies:
stamps: Silhouette Majestic Pines,  Everyday a Miracle Greeting, Silhouette Horse
paper: white, black
ink: Memento tuxedo black, new sprout, cottage ivy, teal zeal, bahama blue
accessories: Spellbinders labels 18 & petite oval dies

Read more...

Challenge #56- Trifold Cards

>> Thursday, January 17, 2013

Welcome back to the weekly challenge here at DRS Designs! 

Please help me congratulate our newest winner, 
Janet T!!
Thank you so much for participating in our Buttons blog challenge. 
Please contact us at info@drsdesigns.com to claim your prize.

Want to be a winner just like Janet? Then, I invite you to participate in this weeks challenge. The theme is 
Trifold Cards. 
DRS Designs will give away a $10 store voucher to one lucky winner.

I hope our DT has inspired you to create some fun Trifold cards this week! You can see their cards below.  Upload your challenge card by next Wednesday January 23 at 6pm EST to be eligible to win. We look forward to seeing your work!
Thanks for playing along and Good Luck!


Pam

---------------------


Read more...

Masculine Pines

>> Wednesday, January 16, 2013

Hi Stampers! Happy Wednesday to you!
Jennifer here today sharing a masculine Birthday card that I made over the weekend. I know many Stampers struggle with masculine themed cards since many of us are so used to embellishing our cards with lace, ribbon, flowers, and bling! Unfortunately, those embellishments don't work well for the guys, but when the Double Tall Pines (741P) came out in DRS Designs latest release, they immediately screamed "masculine" to me. I challenged myself  to give a masculine themed card a try and I love how this one turned out!


This was fairly easy to create.  More or less, the most involved part was all of the coloring and shading...Time consuming, but not difficult.  To start, I stamped the pines on the far right side of a piece of white cardstock and colored them with Copic Markers. I used a Post-It Note to mask off the bottom so that I could sponge the ground with brown ink and then distressed the edges all the way around with the same ink. Next, I stamped the Buck Bust (319K) on a separate piece of white cardstock and colored it with Copics as well. I used an oval Nestabilities die to cut it out and sponged brown ink around it while it was still in the die.  After matting the image, I adhered it in place as shown, slightly overlapping the pines.  The Birthday Sentiment that I stamped above the Buck image was part of the Birthday Multi Greeting (219P).  I matted the card front on brown cardstock and embellished the bottom with some natural hemp cord (used for jewelry making) that was wrapped around twice and then tied in a knot.  It was finally adhered to a green cardstock base. 

I hope I've inspired you to get creative and stamp some masculine cards. I find they are easier to make when I'm not under the pressure of actually needing one. 
I challenge you to give it a try!

Smiles,
Jennifer

Read more...

Love You More

>> Tuesday, January 15, 2013

Hi Everyone,

Are you in Valentine card making mode yet?  If not, hopefully today's card with lots of hearts, will inspire you to get stamping :)

I used the new Dotted Heart stamp for my background and colored in those little dots red using a marker and the Interlocking Heart background stamp was used to make that strip along the side.  The Sweet Offering Cutie Pie Kid is just darling paired with the Love You More greeting which is also from the newest release of stamps.


Since this seems like a Valentine for a boy, I kept it embellishment free.  Let me tell ya, that's always hard for me to do...lol.

Also, if you join us for our most recent "Buttons" challenge, you would be in the running to win yourself a prize :)  Link up right here!

Have a great day :)

Karin


Read more...

Happy Monday

>> Monday, January 14, 2013

Last Monday when I posted we had beautiful snow on ground. Well after the unseasonably warm weather and rain this weekend, there's no snow anywhere!! I must admit it was nice to be able to walk the dog without having to bundle up, but I do miss the beautiful snow! Oh well, I'm sure it will be back soon enough!!

This week DRS Designs is the sponsor at Craft Your Passion and the theme is Gone Country.I created a couple of cards in honor of this challenge. The first card features our new Saddle Up Cowboy. Isn't he just adorable?!!


The card base is dark green with a layer of white card stock that was stamped in Handsome Hunter and Ballet Blue with the Woven Plaid stamp, my favorite plaid. I love the look it creates!! On top of this, I added a strip of blue that was punched on one side with a star border. On top of this is a white layer stamped with the Interlocking Star background in Ballet Blue. The main image, Saddle Up Cowboy was stamped with Memento Black on white, colored with Copics, die cut and layered on green and blue card stock. Some blue buttons with green bakers twine were added to finish the look. Hope you like it!

My second card features the Cowboy Snowman. I love snowmen and just couldn't resist creating another card!!


I started by stamping the Cowboy Snowman on white card stock with Memento black ink. After coloring him with Copics, the panel was attached to the kraft card base. After embossing a piece of real red card stock with the CB snowflake folder, I die cut a labels 8 out of the middle. Some brown bakers twine and a button were added before attaching it to the card base. 

So we have two challenges for you this week: the Craft Your Passion Gone Country and DRS Designs own  challenge to use buttons on your card. We'd love to have you join us in one or both of these challenges this week. You could be the winner of some new DRS Designs stamps!

Thanks for stopping by. 

Until next time,
shelia


Read more...

Miracle

>> Sunday, January 13, 2013


Hi all, for my card I used the Silhouette Majestic Pines and the Everyday a Miracle Greeting. I stamped the Majestic Pines in black ink and embossed with clear embossing powder. I used Twinkling  H20’s to color the background, glitter glue was used on the moon. A spellbinder die was used to cut out the image. This was layered onto  black card stock then a white card. The Greeting was done the same way, with a little ribbon added to the back and attached to the front of the image with pop dots.


Don’t forget to join in the button challenge this week.

Have a wonderful day,

Janett

Read more...

Tall Pines

>> Saturday, January 12, 2013

Good day!  I trust everyone is well on their way to a wonderful 2013!
I have to say this month's releases here at DRS Designs are fabulous!  I especially love the trees. I stamped the Double Tall Pines in black and painted the trees with pearlescent watercolors.  The trunks were colored in with crumb cake.  I masked the trees, sun and ground and brayered bermuda bay.  I sponged on apricot appeal for the sun and then using the sponge, I dragged it to make some rays. The ground was done in going gray.  A black mat on the image and the bermuda bay bg was embossed.  I stamped the sentiment, sponged in some color, black sponged around edges.  Have a great day!

Pam

Read more...

Penguin Snow Fun

>> Friday, January 11, 2013

by Julie Warner - The Write Stuff

Happy Friday!
With the really strange winter weather this year, I think these little penguins are the only ones having snow fun!

Just for fun, I did some double (or shadow) stamping to add some color. I stamped a row of the little Skippy the Penguins in all the colors on my rainbow ink pad. Then I over stamped them in black. I did the same to the No Snow Fun Greeting and used a penguin border punch across the top.

I had an embossed die cut circle sitting around so after stamping, coloring and cutting out the Percy Penguin, I attached him on top and used Copics around the edge then attached it to a larger black circle. The little snowflakes (from 4 in 1 snowflake,) were stamped using the same ink and the finished card is 5.50 x 4.25.

Thanks so much for stopping by! Have a great weekend!

Supplies:
Stamps: DRS Designs – 4 in 1 snowflake, Percy Penguin, Skippy the Penguin, No Snow Fun Greeting
Paper: Neenah white, black
Ink: Memento tuxedo black, Kaleidacolor birthstone rainbow pad
Accessories: penguin border punch (Martha Stewart), Sizzix embossing folder (winter set #2), Spellbinders circle dies


Read more...

Challenge #55- Buttons

>> Thursday, January 10, 2013

Hi Everyone! Happy New Year and Welcome back to Challenge Thursday!  
We've taken a short break due to the holidays, but we are eager to announce our winner from our last challenge--the Torn Paper Technique from December 20th.

CONGRATULATIONS TO
Regena!
Please contact us at info@drsdesigns.com to claim your prize. 

This weeks challenge theme is:
Buttons!
Link up your challenge cards below by Wednesday,January 16th at 6pm EST. Come back to see the winner announced in the challenge post on Thursday, January 17th.

Here are the DT challenge cards to inspire you:

Karin

Pam

Good Luck and Thanks for playing along!
___________


Read more...

Blog Archive

StatCounter

  © Blogger templates Palm by Ourblogtemplates.com 2008

Back to TOP