Showing posts with label Thank You. Show all posts

Thank You

>> Tuesday, January 2, 2024


Hi Everyone,

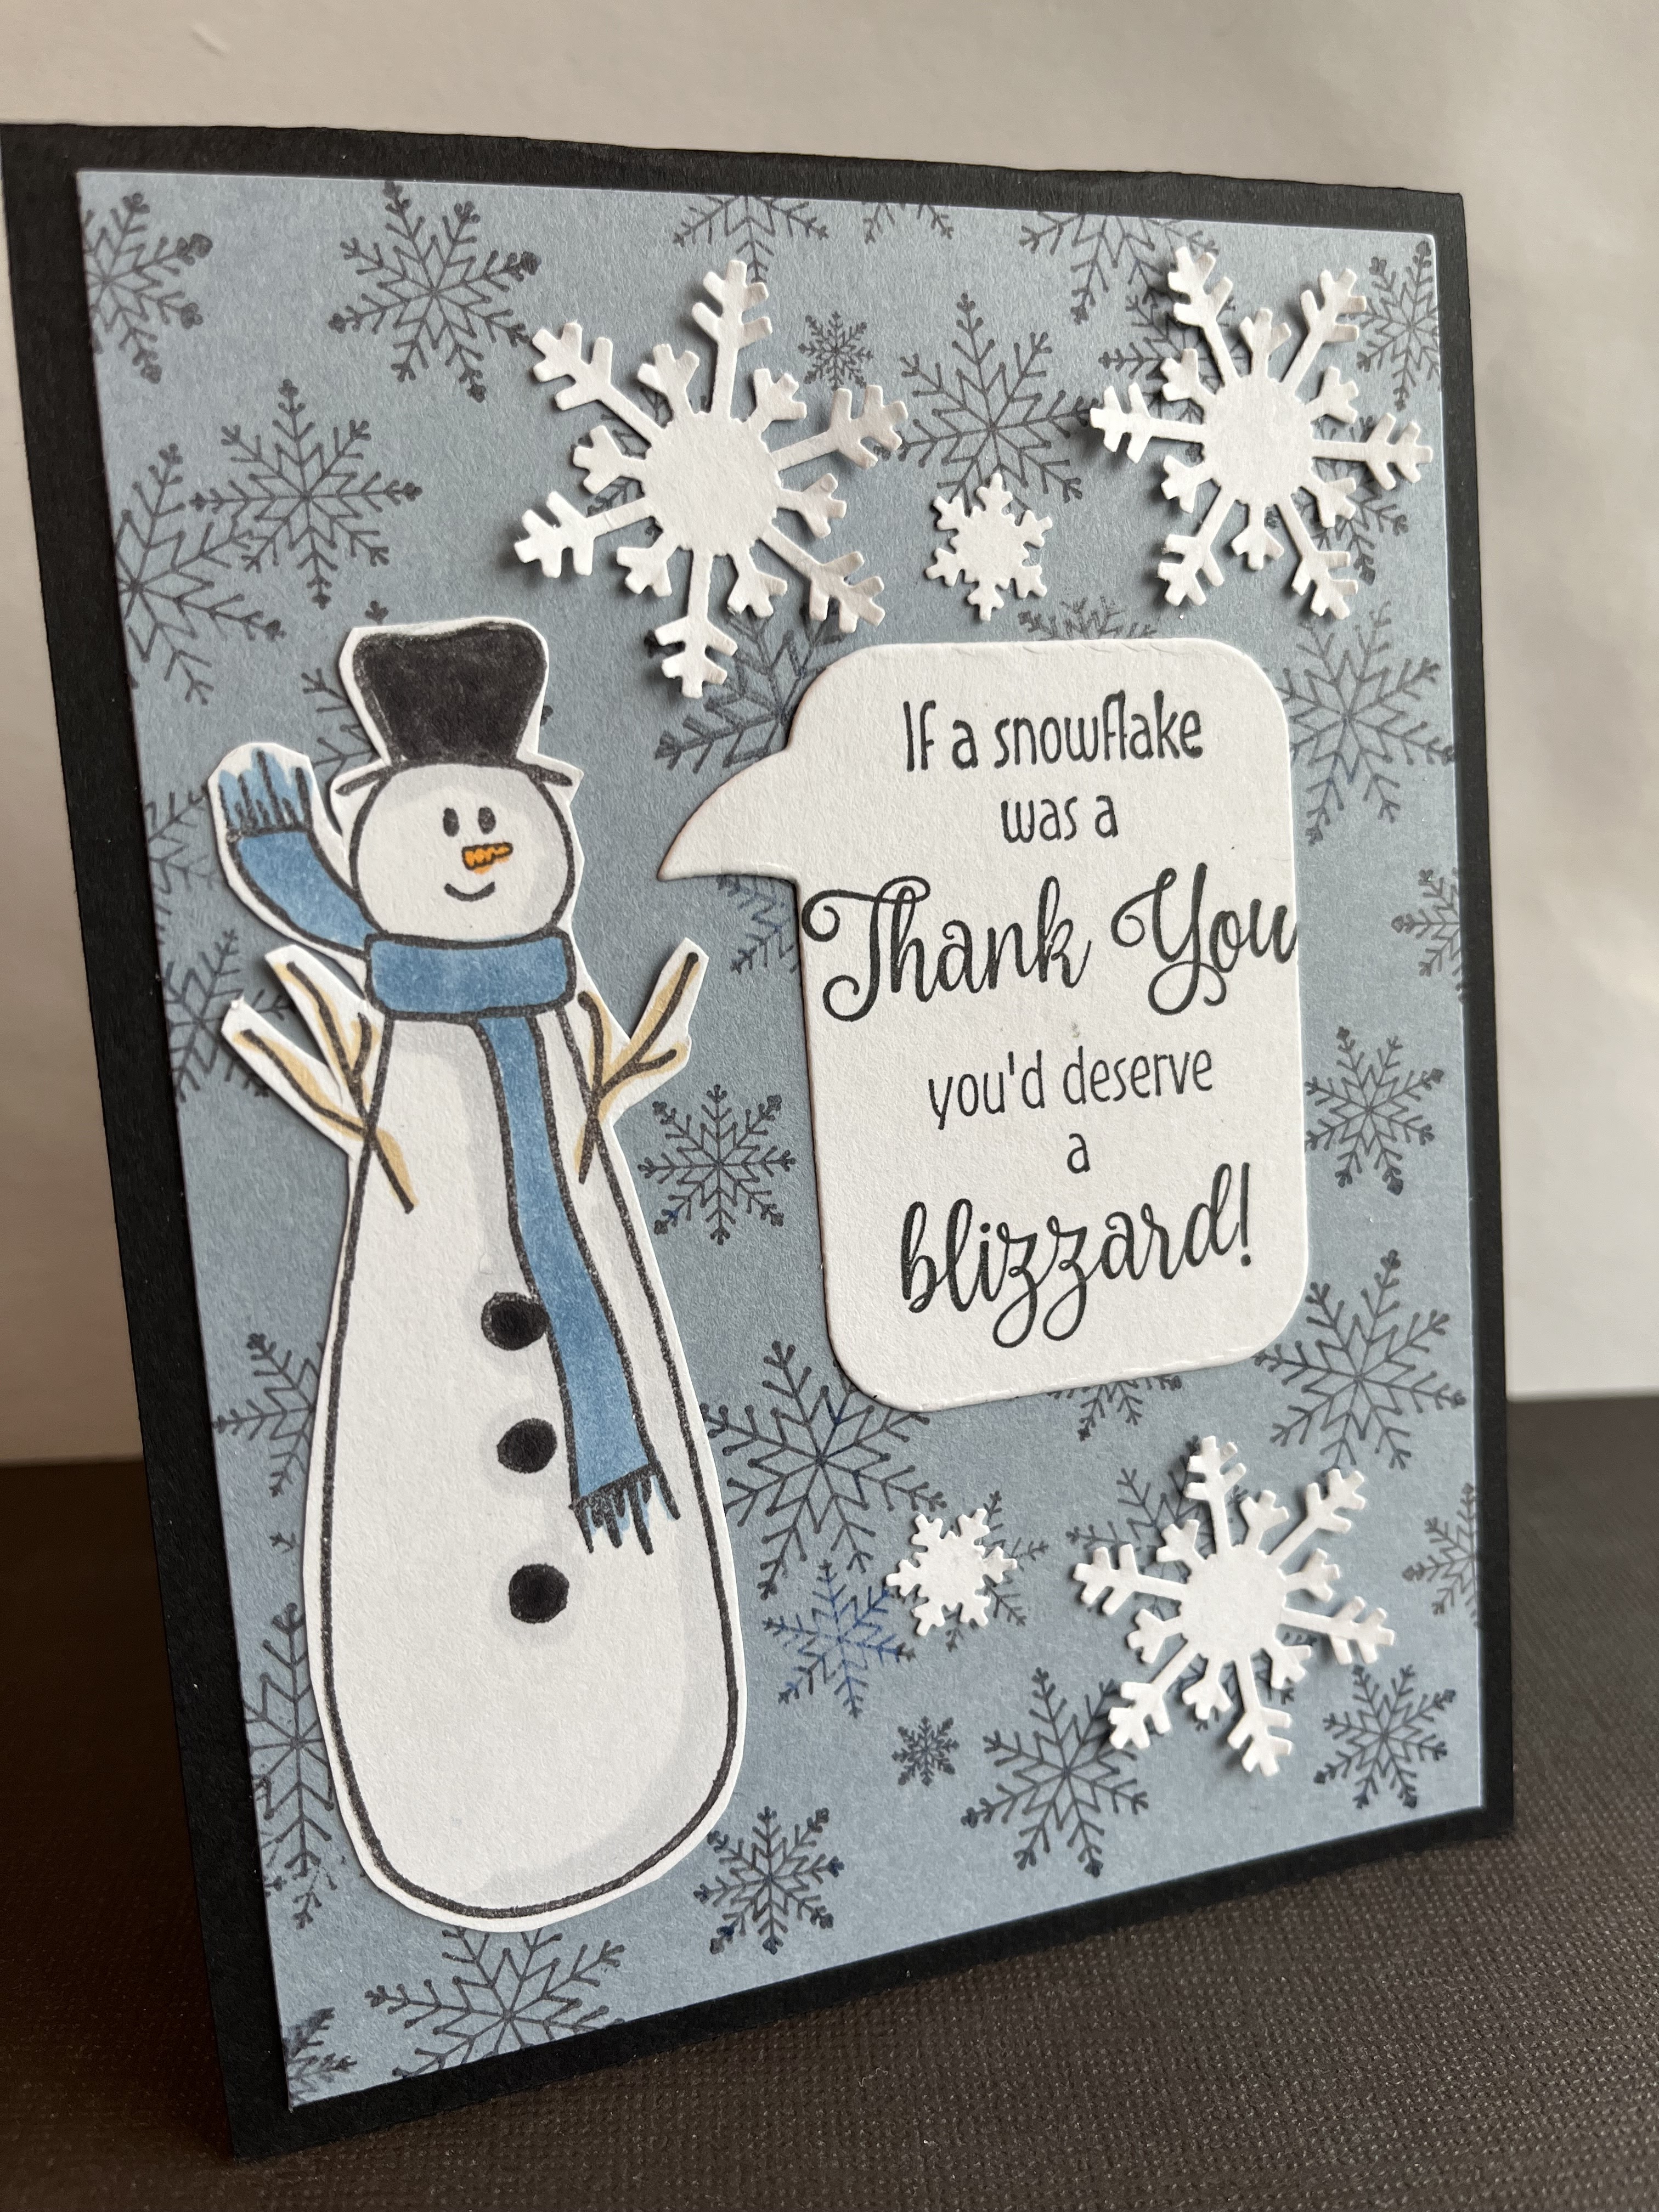
I'm still working on my holiday thank you notes, and since the Blizzard of Thanks Greeting was still on my worktable from this card, I used it for this one as well. 

I used the Interlocking Snow Background stamp on my blue base and stamped, colored and fussy cut Stretch the Round Button Snowman 


Instead of just a using a regular die to cut the sentiment, I chose a speech bubble for my snowman image because it seemed to make the card a bit more fun.  A few random snowflakes were added to play off the word blizzard, and then I called it done.  

Hope your new year is off to a great start!

Karin


Read more...

Happy New Year!

>> Monday, January 1, 2024


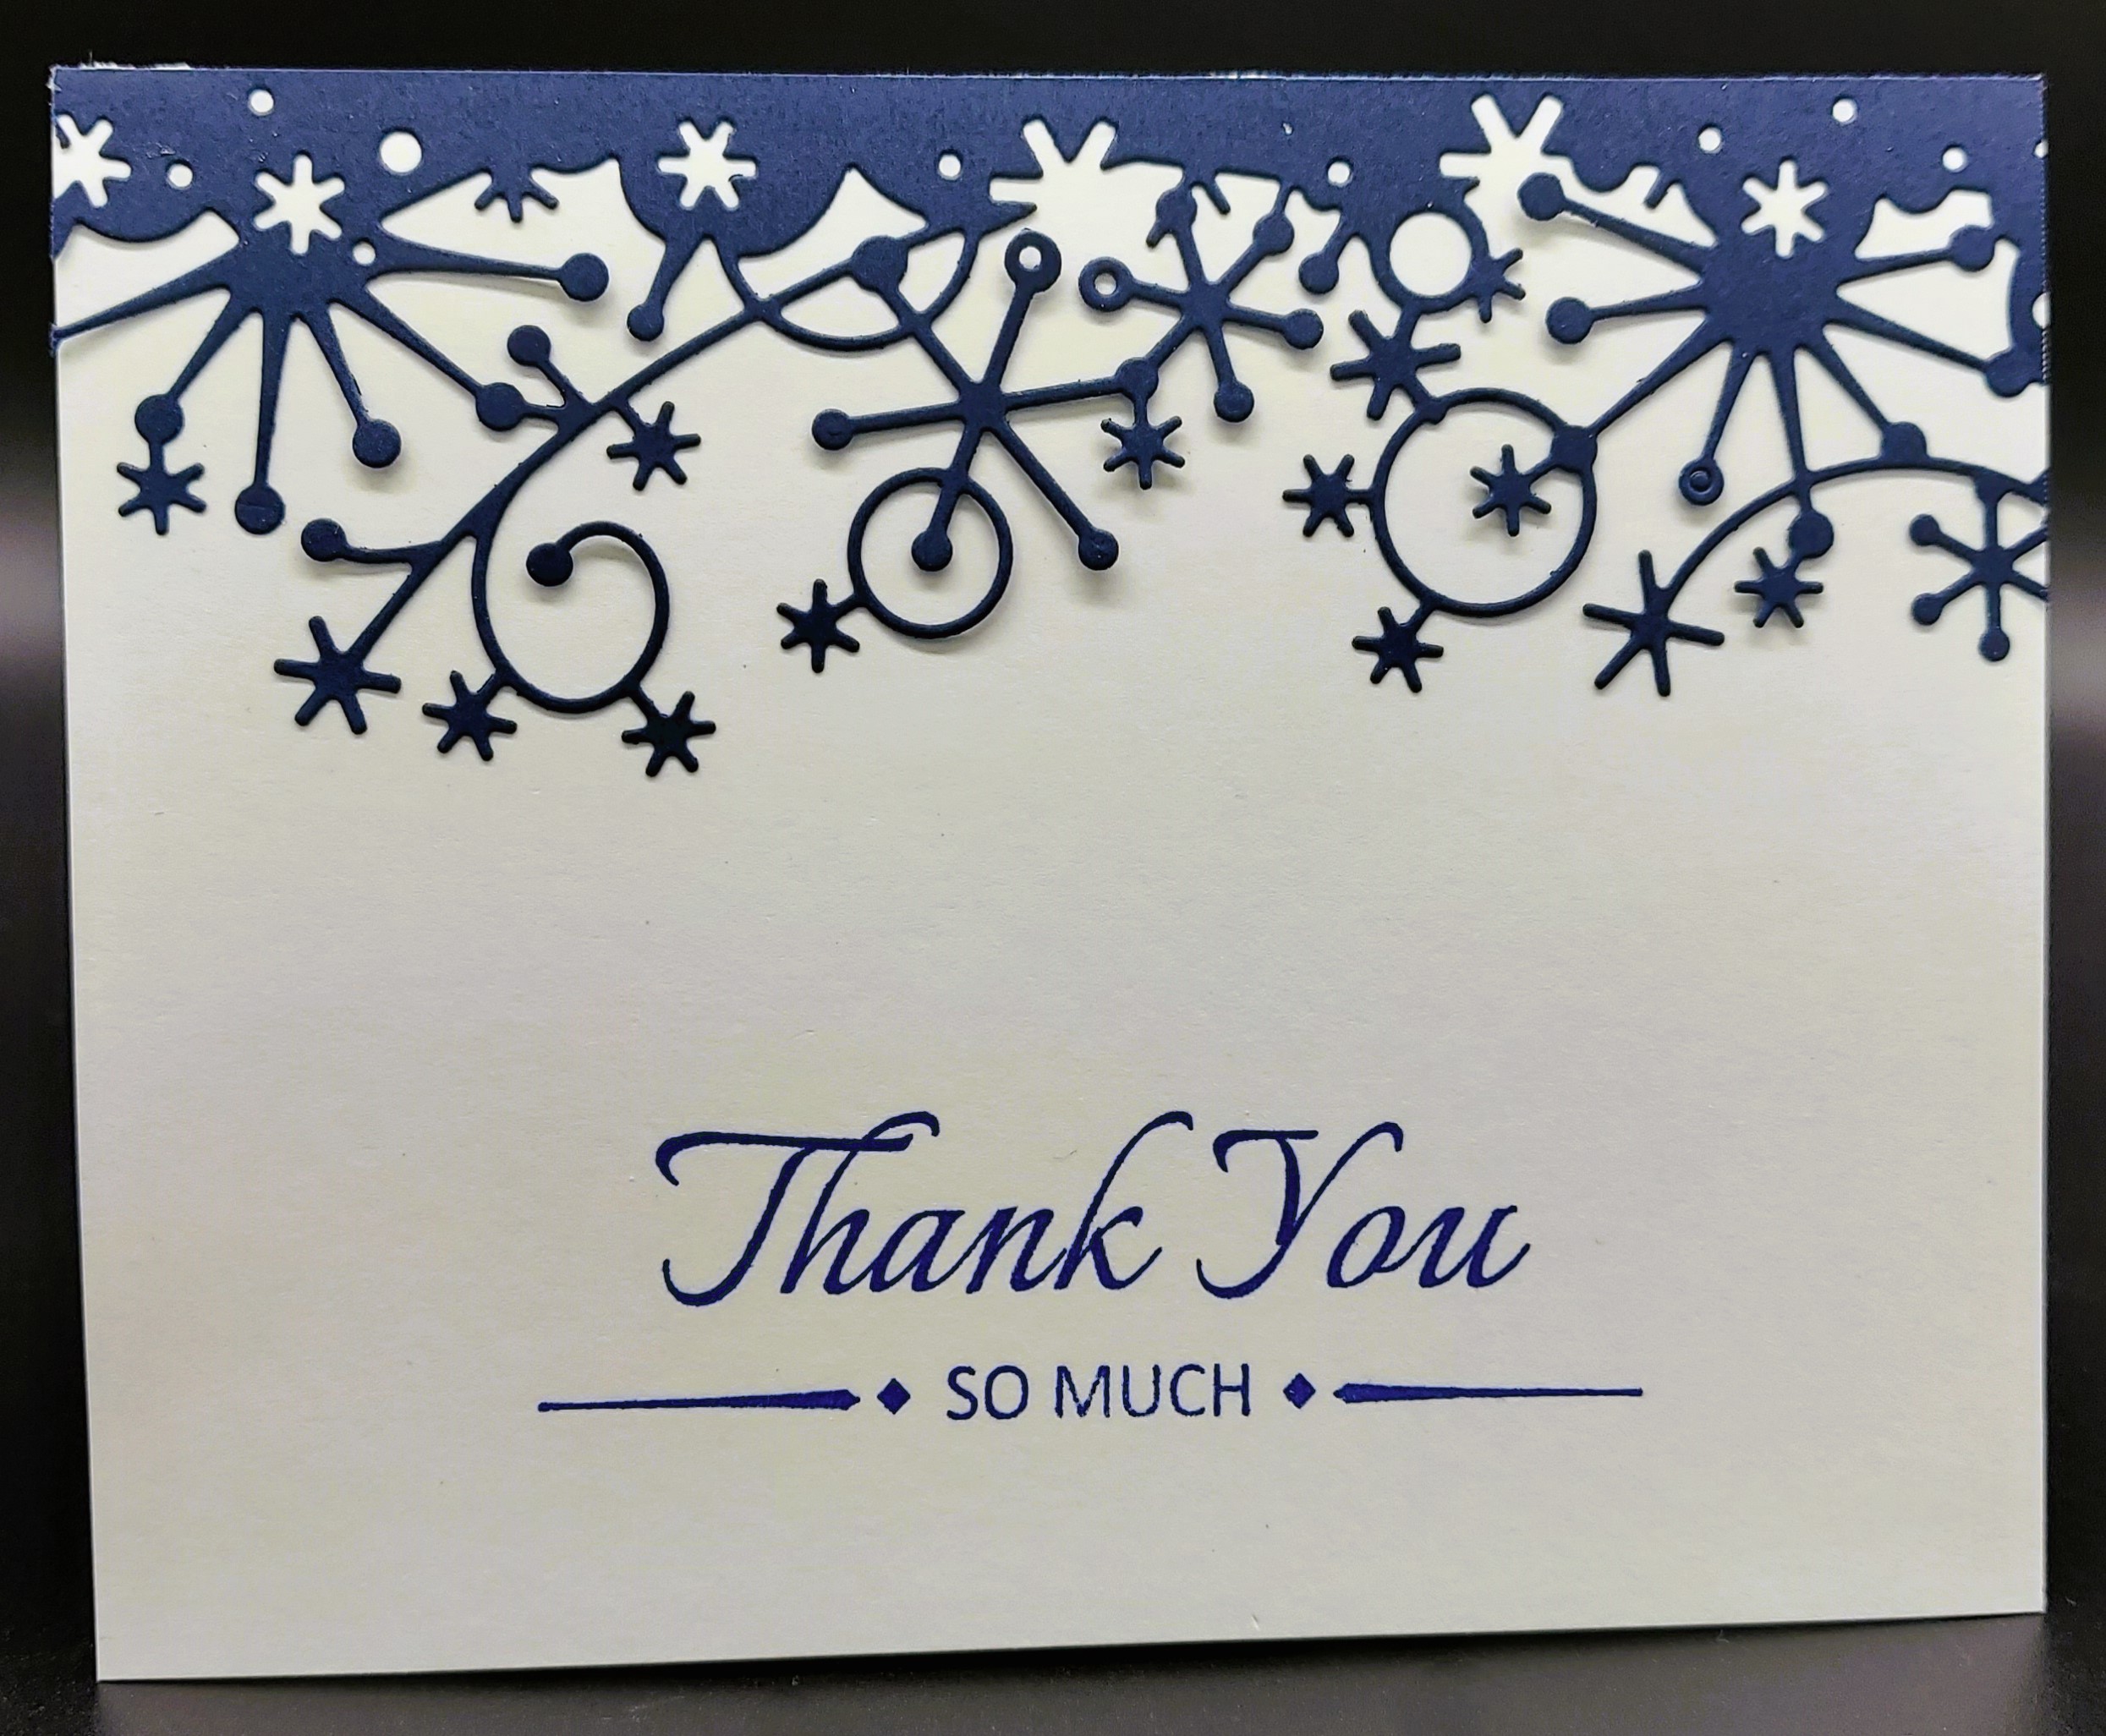
For my card today, I did a very quick thank you card using the DECO THANK YOU - 623E stamped in blue on a white card base. I then die cut in blue this swirly snowflake die cut from Memory Box.


Happy New Year. Thank you so much for following along with the DRS Team Blog. We look forward to sharing with you some new cards to inspire your creativity this year.

Read more...

Snowflakes

>> Tuesday, December 19, 2023

Hi Everyone,

Here are my super quick projects that I've made this month.  I'm always running late or whipping something up last minute, so these are both crazy simple. 

I needed a thank you card for my cousin who invited us over for dinner, and the Blizzard of Thanks is my go-to stamp this time of year.   I paired that up with the Snow Background, and added a punched snowflake and rounded corners and was able to write something personal inside in about 20 minutes...I think that included addressing the envelope too :)


My friend's son was performing in his 8th grade band concert, so I need a bag to hold his congratulatory gift card and sweets.  Now that my husband works from home and doesn't have to take a sack lunch, I have a bunch of brown bags in my pantry.  I used the same Snow Background stamp along with the Small Happy Holidays Greeting to transform the brown bag into something a bit more festive and I hope not too girly.  (Sorry for the ragged ribbon edges...I told you I was in a hurry!)


The countdown to the big day is definitely here and I'm feeling the squeeze...I hope you holiday prep is going smoothly!

Thanks for stopping by!
Karin

Read more...

Air Force

>> Tuesday, June 20, 2023

 Hi Everyone,


In keeping with the summertime and American colors of red, white and blue, I went ahead used them for this military card share.


The stars on my embossing folder matched the stars on the Star Wreath, so that's how that choice happened.  I embossed both the wreath and the Air Force Proud emblem and then die cut them out, layering them on top of each other.


I used the Thank You For Your Service for my sentiment and colored in the stars and words on that, and the emblem with a red marker.  A few punched stars were added to finish it off.

Thanks for stopping by!
Karin

Read more...

Dressed Up Thank You For Your Service

>> Wednesday, June 14, 2023

Hello Crafty Friends.


I love the new Thank You for Your Service Greeting.  Today, I was thinking it could work for all kinds of events as well as a more feminine military thank you.  For instance, you could give it to someone who served as an officer in an organization, your pastor, a policeman/policewoman, a mailman/mailwoman, or even your favorite server at your favorite restaurant.  

The background was made by painting blobs of color on a paper, spritzing it with water, and then running it through the Big Shot with one of my favorite embossing folders.  

Hope you are having a wonderful week!

Hugz,

Nancy


Read more...

Army Proud

>> Tuesday, May 30, 2023

Hi Everyone, 

I was in need of a couple of cards and had little time to make them, so I went with my favorite Dogwood Branch stamp that would work for both, and a couple of sentiments.  

I simply stamped the With Sympathy Greeting and the flowers multiple times, adding color by stamping using a small square ink pad.


I did the same here, but added a die cut Brush Thank You.  Some glitter glue was added for some flair.


Finally, I made another star filled card to honor our military, using the following stamps:


Thanks for stopping by!
Karin

Read more...

Thank You Wheel-y Much

>> Wednesday, December 28, 2022

Hello Crafty Friends.


When looking through my stamps, the fun Wagon Wheel popped out so I decided to find a creative way to turn it into a Thank You card.  I painted it up with some new watercolors I received for Christmas, and stamped it.  I finished it off with the Brush Thank You after the paint dried.  

Here is another version with some heavier paint a bit different colors.
Hope you are have a wonderful week and are ready for the New Year!


Hugz,

Nancy


Read more...

Thank You

>> Monday, December 26, 2022


I had a wonderful Christmas and now it is time for me to start sending some Thank You cards. For this card I decided to get a little creative and hand draw my flowers using copic markers.


Once the flowers were drawn I popped the panel up on dimensionals. I then heat embossed just a portion of the DECO THANK YOU - 623E sentiment in white on a grey card stock base.


I finished the card off with some pearls and a silver bakers twine tied in a bow.


Thank you so much for stopping by to check out my card this week. I hope everyone is having a wonderful holiday season.

Read more...

Always Something to be Thankful For...

>> Monday, November 7, 2022


This sentiment ALWAYS THANKFUL GREETING - 040F is great for a thank you card, Thanksgiving card and any time of year card to be thankful. I thought it is perfect for a fall themed card.


For my card:


Thank you for stopping by to check out my card this week.

Read more...

From Our House

>> Tuesday, August 23, 2022

 Hi Everyone, 


After making this thank you card last week, I whipped up a second one, so that I wouldn't be caught without one, next time I was in need. 


It's pretty self-explanatory, just an embossing folder, some circle dies and a few cute stamps!


Bitsy Bumble Bee


Happy Bee


Beehive


 From Our House to Yours Greeting


All that this card needs when the time comes, is a thank you sentiment stamped inside!

Be sure to check out all of the bee themed stamps at the DRS Designs store!

Have a great day,
Karin


Read more...

Thank You

>> Tuesday, August 16, 2022

 Hi Everyone,


We were invited to dinner this past weekend, so here is a quick thank you card I made for them using stuff laying around my craft table.  I'm a messy stamper, but for once it made this card fast and simple.


I had my rectangle dies sitting out from making this card, and my Medium Daisy Bloom out from making this card here, all I had to look for was the Brush Thank You stamp.


I even scavenged the cardstock from a pile on my table, so all that was left to do was tie on some twine, add a die cut butterfly and write a note inside. 

Thanks for stopping by!
Karin


Read more...

A Season of Thanks

>> Monday, October 11, 2021


I really love this Season of Thanks Oval - 828K. Last week I wanted to do it in Gold as a shaker but I could not seem to get a good heat emboss on my acetate so this week I did it on cardstock.


I just love this in gold and white and I paired it with the POLKA DOT BACKGROUND - 688P also heat embossed in gold on the card base.


I popped the Season of Thanks Oval - 828K up on dimensionals then added some gold embossed leaves and a few punched flowers with gold centers.

I have a second card for you this week.


I just had to play with this fun Tipsy Turkey - 724G image. I stamped him and colored him with copics and cut the panel down.


For my base layer I spritzed the panel with a few different colors of Tattered Angels sprays. Once dry I embossed with the leaf emboss folder.


I finished with the die cut edge and a few flags and the button.


Thank you for stopping by to check out my card this week.

Read more...

I'm Wild About You

>> Monday, October 4, 2021


This HAPPY SHARK - 153G is absolutely perfect for an underwater card and when I can do a Clean and Simple underwater card all the better.


For the base I used a water stencil and 2 different colored blue distress oxide colors. I then die cut the heart and the framing and added the I'M WILD ABOUT YOU GREETING - 331D.


I finished off the card with some sparkly sequins from my collection and popped the panel up on dimensionals.


I have a second card to share this week. It is another Clean and Simple card.


This one is a shaker card where I let the sentiment and shaker be the whole card. I used the new Season of Thanks Oval - 828K stamped with Stazon ink on acetate for my focal.


I then used glitter for the shaker. It is very shiny behind the focal but tough to get a good picture of how shiny it is. Once the focal was created I popped it up on dimensionals and added the glitter.


Thank you for stopping by to check out my cards this week.

Read more...

Popsicles

>> Tuesday, July 20, 2021

Hi Everyone,


Is there anything more summer like than popsicles?  I think not!  So I made a card celebrating that sweet summer treat.


I don't have a popsicle die, so I began by die cutting out rectangles and rounding off the top corners.  I used my word window punch for the two "indentations" on the treats and inked up the edges of all the papers for a bit of dimension, finally attaching some real sticks to complete them.


I layered them all onto an embossed citrus background, since in my mind the flavors were orange, lime and lemon. 


Lastly, for the greeting I chose the 1 Line So Sweet Greeting.


And YOU"RE so sweet for stopping by the blog today! 


Have a great one!
Karin


Read more...

Wild about you!

>> Monday, February 1, 2021

Happy Monday Everyone. Well we didn't get the promised snow last Monday, but we did get some yesterday and today. It is so pretty. This is the first time hubby has had to use the snow blower this season. So glad it started right up for him!


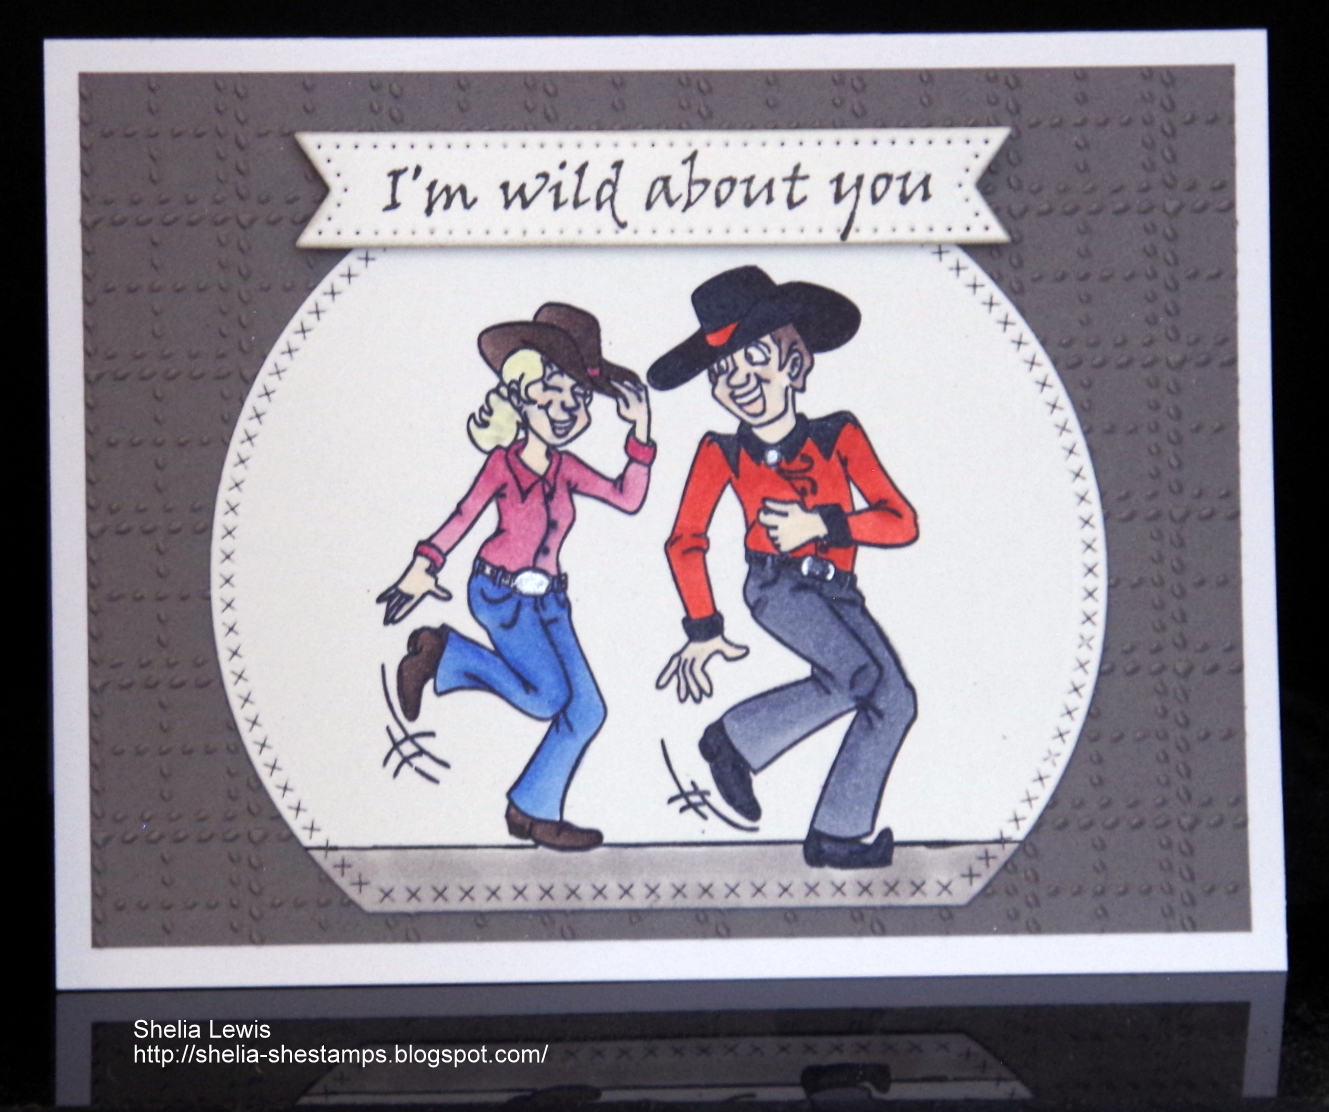
I have a Valentine card to share with you today that uses the new Wild About You greeting. I have enjoyed looking for different images to pair it with and looking at everyone else's cards and seeing more ideas. Today I've paired it with The Western Dancing Couple. They look like they're pretty wild about each other, don't you think?!


First I stamped the dancing couple onto white CS with Memento black ink, colored them with some Copics and die cut them. The new greeting was stamped with Versafine Black ink and die cut with a banner die. The gray panel was embossed with a Sizzix EF. After gluing the gray panel to the card base the other two pieces were added. The sentiment is popped up with some foam adhesive. 


I recently saw a new technique by Jennifer McGuire and decided to give it a try. Since I needed a thank you card...


Several different thank you images were stamped onto the blue card base with HA white ink. Once the ink dried a circle was die cut out of the front of the card and a smaller yellow circle was die cut as well as the orange thanks. The yellow circle was centered in the opening and the word thanks was glued onto the circle and onto the edged of the card base where they overlap. There are 3 layers for the word thanks so it's a little more sturdy than if it was only one layer. If I make this type of card again I'll make the opening a little smaller or use a longer die cat word. :-)

Here's a look at the inside.


The light blue circle shows through when the card is closed. The others are hidden.. These are the thank you images I used. Some of them were only partially used.

Give thanks

Deco thank you

Sincerely sympathy thank you

Brush thank you


I also used some small hearts to fill in the gaps. They came from the following images:

Love bug

Small Silhouette Heart

Hearts and scrolls


Thanks for stopping by today. Be sure to check out all the new images here.


blessings, 

shelia

Read more...

Winter Cards

>> Tuesday, January 26, 2021

 Hi Everyone,

Since it's still January, I have a couple of simple winter cards to share today.  

For the first one, I paired the new It's Freezin' Season Greeting with a couple of my favorite snowmen in my stamp collection, Stretch the Round Button Snowman and Simply Snowman. I was going to stamp the greeting at the same time, and make a flat card, but changed my mind and made a medallion using my punches instead, attaching it when it was complete. After stamping and coloring the snowmen, I dry embossed on top, to add some snowy texture.


This is one of my holiday thank you cards that I mass produced this year. Since I was making a half a dozen, I went with a simple stamped background (Snow Background) and a large die cut snowflake.

The Blizzard of Thanks Greeting was stamped and heat embossed, with a touch of blue sponging around the edge.  I attached it with some dimensional foam tape and added a big half pearl to finish it off.


Inside I stamped the same snowflakes in a light blue.  


And here is a close up of the glittery embossing :)


Thanks for stopping by...

  Happy Stamping :)
Karin


Read more...

Trick or Treat & Thanks

>> Tuesday, August 25, 2020

Hi Everyone,

While I'm not sure if Halloween will look the same this year, I'm hoping communities come up with some creative options for kids to dress up and celebrate safely. 

In that spirit of hopefulness, I made a card using the Ghost Family Portrait (which look like trick or treaters to me!) and the Small Trick or Treat Greeting. I simply die cut and matted both, and layered everything onto a background inspired by the colors candy corn itself. 


Inside I stamped and colored up the Candy Corn Border and matched it with the Favorite Veggie Candy Corn Greeting.


I needed a thank you for a friend, so I stamped, embossed and fussy cut the Polka Dot Flower, adding a gem to the center.  I die cut the word thanks in green, and attached it in place of the stem.  I framed it out and glued it onto an embossed background.  Super easy!


After I was done, I happened to notice that it actually looks cute in the horizontal direction too.


You can check out all of the newest Halloween stamps (and flower stamps too) over at DRS Designs!

Have a happy day :)
Karin


Read more...

Bee Happy

>> Tuesday, July 14, 2020

Hi Everyone,

We're getting ready to show off some new stamps later this week, but until then, here is a quick card I made for a friend's birthday.

I dry embossed the background and added a stamped portion to the bottom, made by using the Honeycomb Design and Bee Trail stamps.

The punched and layered image and greeting are the top portion of the Bee Happy Birthday Greeting ,


and the second half of the greeting I stamped inside.


I finished off the inside using the Puff Circle.

I needed a quick thank you card, so I just used the piece of yellow cardstock I had left over from the above card as my inspiration.  

I stamped the background using the Polka Dot Flower, heat embossed them and filled in the centers with some yellow glitter glue. I then stamped, colored and fussy cut the Medium Daisy Bloom, filling in that center with black glitter glue.  Also, because I take forever to put my stamps away, I still had the Soldiers of America Greeting on my table, so the thank you came from that. 


Click here to see all of the cute bee & flower related stamps that DRS Designs has to offer!

Hap-"bee" stamping!

Karin


Read more...

Red, White & Blue Heroes 🇺🇸

>> Friday, July 3, 2020

by Julie Warner - The Write Stuff

 Happy Friday!
I hope your week has gone well! Nothing says summer like the 4th of July holiday! Too bad most of the usual fireworks & parades will not be held this year. Since I'm not likely to see any fireworks (unless someone nearby starts firing them off), I put some on my card.

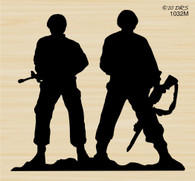
Just recently I rec'd this new set of fireworks dies & thought they would look great w/ these soldier silhouettes. I first arranged 3 of the set like you see, & die cut them, making sure to leave enough room for the soldiers. Then I put it into my Misti & stamped them several time w/ the Paris dusk ink. After I added the greeting, I used a fine line red pen to add just a little outline to the word Hero. 
Then I had to find something to go behind the fireworks cut outs. Nothing really seemed right to me, so I sponged on some of the red & blue Distress inks then used a white Posca pen to make the white scribbles. The scattering of stars were added across the top.

Here's the inside.

Thanks so much for stopping by! Have a great weekend & a Happy Independence Day!


Supplies:
stamps: DRS Designs: Soldier SilhouettesStarry BgYou are My Hero   (inside: USA Thanks to Our Brave )
paper: Staples 110# white
ink: Memento Paris dusk, Distress inks candy apple & blueprint sketch
accessories: Rubbernecker Rectangle StitchFireworks dies, Misti, white Posca paint pen


Read more...

Heroes and Hearts

>> Tuesday, June 30, 2020

Hi Everyone,

I thought I would try a heart theme to go along with the You are my Hero Greeting on my today.

Beginning by stamping, coloring and fussy cutting the Wooden Frame Collection, I then went about choosing things to fill them with. Some pink and red punched hearts in one, the sentiment in another, and Bandages (heart embellished of course) and a butterfly (from the Three Butterflies) in the last.   


I attached them to an embossed heart background and I made a heart border for the bottom using the Scattered Hearts stamp.

For all of these stamps and many more, please check out the new designs page at the DRS Designs store!

Thanks for popping by...
Karin


Read more...

StatCounter

  © Blogger templates Palm by Ourblogtemplates.com 2008

Back to TOP