Showing posts with label Bees. Show all posts

Bee My Valentine

>> Monday, January 15, 2024


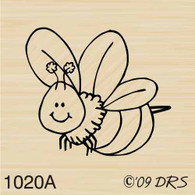
Many who know me know how much I love bees. The bee stamps on DRS Designs are my favorite. I love their smile, they are so very happy.

For today's card:

  • I stamped both the BITSY BUMBLE BEE - 1020A and BEE MY VALENTINE GREETING - 330B directly on the card base.
  • I then stamped on burgundy card stock SCATTERED HEARTS - 978F in black. I found that this cardstock did not dry quickly so I cleaned my stamp off and stamped over the black versamark and I then heat embossed with clear emboss powder. I love the shine on the edges of the hearts so it turned out better adding the embossing over the hearts.
  • I then fussy cut the SCATTERED HEARTS - 978F and popped them up on dimensionals and used copic markers to color the BITSY BUMBLE BEE - 1020A.
  • The card was finished with a punched flower from my stash and I tucked a punched leaf under the flower and finished the flower with a Nuvo Drop.
Thank you so much for stopping by to check out my card this week.

Read more...

Happy Bees!

>> Wednesday, July 26, 2023

Hello crafty friends!


I am on a bee kick so, of course, I have bees today.  Lots of them!


I used Bitzy Bumble Bee and Happy Bee for the bee swarm. 
The sentiment is from Love You To the Moon Greeting.  Fun and easy.  Did you notice the bees all have a bit different face?  Did you find Elvis?

Hope your week is going well.

Hugz, 

Nancy


Read more...

Golf Adventure/Fun

>> Wednesday, July 12, 2023

Hello Crafty Friends.


My card adventure today started with the need for a card that had some blue, involved golf, and was super fun.  So I dug out these 4 stamps:


Brush Golf Cart


Bitsy Bumble Bee


Picture Perfect Day


Woven Plaid 

I didn't really worry about lining up the plaid and I promise there was some blue on it too (you can see it if you look closely - lol) - I was going for a kind of distressed look for the background. This was a quick and simple card and that bee added the element of fun don't you think?


Hope you are having a wonderful week!


Hugz,


Nancy


Read more...

Bee-cause

>> Thursday, March 2, 2023

Hello crafty friends!


This bee card features a few different DRS stamps, including: Bitsy Bumble Bee, Happy Bee,
I also used a mini slimline honeycomb die set (Spellbinders), that I cut 2 times, once in light gold and once in darker gold.  Each hexagon is stitched which makes it quite cute.
I stamped the sentiment on vellum and die cut with an oval.
The Beehive and Happy Bee were stamped, colored then fussy cut.


Thanks for visiting today!

Happy crafting!

Robin


Read more...

Bee My Valentine!

>> Thursday, January 19, 2023

 Hello crafty friends!

Today I have a cute and easy Valentine for you!  This is about as CAS as I can get....I'm such a clutternut I have a hard time with empty or simi-empty space!

I used 3 stamps today from DRS and 1 Sizzix embossing folder.  The Bitsy Bumble Bee, Bee My Valentine and Scattered Hearts

The heart embossing folder is 3D, I mist the back of the paper with water then ran it through my Big Shot 3 or 4 times.


I fussy cut the hearts then used a 1/8" "Magic Matter" (used with a pencil it will draw a border around anything with an edge). Then I fussy cut the red border.
The hearts are popped up and the bee is double popped.  I used blue rhinestones to make a 
flight trail for the bee.
Thanks for visiting today!
Robin


Read more...

Bee Merry

>> Wednesday, December 21, 2022

Hello Crafty Friends,


Last week, I had an opportunity to explain what "Merry" means to my Grandsons.  They actually thought it had to do with getting married and they were a bit confused on why we always say it (plus they are 5 and 7 and the thought of getting married is up there with eating tons of vegetables and no candy).  After I explained it, I could see their brains working - I love when that happens.  I was also inspired by THIS fabulous card by Heather at Splitcoaststampers.com. The colors made me think of a bee.  So that is how this card came about - funny how things like that happen.


I started by drawing pine boughs with various markers and used the result as the base panel. I then used those same colors on the Triple Hanging Christmas Ornaments.  For a bit of sparkle, the Happy Bee and the ornaments were glittered up with Dazzling Diamonds Dust.  To finish this card off, I needed a "Merry" so I did a bit of surgery on the Fixin' Merry Christmas Greeting

My Grandsons LOVED this card.  Hoping you and your family are Merry this holiday season!


Hugz,


Nancy


Read more...

From Our House

>> Tuesday, August 23, 2022

 Hi Everyone, 


After making this thank you card last week, I whipped up a second one, so that I wouldn't be caught without one, next time I was in need. 


It's pretty self-explanatory, just an embossing folder, some circle dies and a few cute stamps!


Bitsy Bumble Bee


Happy Bee


Beehive


 From Our House to Yours Greeting


All that this card needs when the time comes, is a thank you sentiment stamped inside!

Be sure to check out all of the bee themed stamps at the DRS Designs store!

Have a great day,
Karin


Read more...

Birthday Bees

>> Tuesday, July 26, 2022

 Hi Everyone,


It's been a bit since I've inked up these adorable bee stamps, so I thought I'd use them to make a happy birthday card.  A bee theme makes a perfect summertime card. The yellow is so bright and cheerful! 


The yellow background was stamped using the Honeycomb Design stamp, and the strip in the center was made using the Polka Dot Background stamp.


I fussy cut both the Bitsy Bumble Bee and the Happy Bee and die cut the Special Birthday Wishes Greeting, adding a few gem embellishments, along with some glitter glue to finish off the bees.


I hope you're enjoying the heart of summertime!
Karin 


Read more...

Bee Mine

>> Thursday, February 10, 2022

 Good morning!

Here is a fun card to do.  I glued the pink and yellow layers together then ran them through my Big Shot with an embossing folder featuring the word candy hearts just like the stamp 

Candy Heart Background I used on the background of the largest heart die cut.  I sponged the outer edge with yellow then mounted it to the matching scalloped heart die cut from red.

I stamped the Bee My Valentine on white then stamped the 

Small Hanging Hearts under the words.  I die cut the sentiment with hearts with the smaller heart die, sponged the edges yellow then mounted it on the scalloped red die cut heart to match.

Next, I stamped Happy Bee on white and fussy cut him then glued him to the sentiment heart.


My next card uses a variety of stamps starting with the 2 sentiments (sort of shopped up), Love You More and Cheap Chocolate's Eve.  I then stamped the Dogwood Branch behind the words with a light rose color.
On a separate strip of white I stamped the Heartbeat.

I cut a layer of white cardstock 4 X 5 1/4" then ran it through the Big Shot with another heart embossing folder.  Then mounted it on red, wrapped a thin red ribbon around it vertically then attached it to a folded card.  
I glued the sentiments and the heartbeat to another red layer. Made some pennants from a die then mounted the pennants and sentiment layers onto the card with the ribbon attached.
Lastly, I glued the red hearts to the pennants and attached a red ribbon multi-loop bow.

Thanks for visiting today!

Robin


Read more...

Icy Birthday

>> Wednesday, January 19, 2022

Hello Crafty Friends!


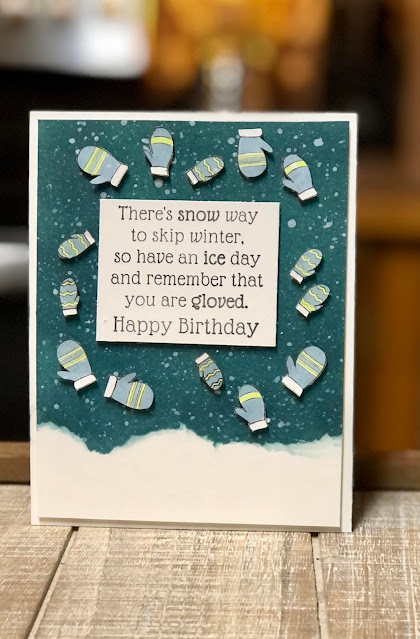
It snowed in our community this weekend which is highly unusual.  The snow was the perfect inspiration for this card.  This Ice Day Birthday Greeting is a cute saying for anyone with a birthday during the snowy months.  I was also inspired by the sketch on  THIS card from Marilyn who was the Featured Stamper at Splitcoaststampers.com.  I added in some mittens from the Raised Mittens Skip Winter stamp as well. Technically, they aren't gloves, but I think they work.  I splattered on some watered down Snowtex for the snow. 

Hope you are staying warm (or cool, if it is hot where you live).  

Hugz,

Nancy


Read more...

Valentine's Day

>> Thursday, December 30, 2021

Good morning!
My first card is a shaker card with lots of fun hearts
inside, both stamped and shaking about.

I used parts of 2 different sentiments for this card.
DRS stamps: Cheap Chocolate Eve and 
I also used the new  Candy Heart Background inside the shaker.
The heart cut out is from ODBD.  The shaker pieces are a combo of several different things.
I used some acetate for the shaker window.

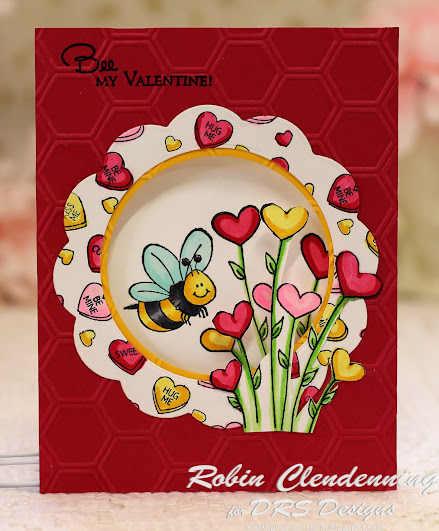
My next card is a window card of sorts.
This is the card closed, you can see through to
the inside.
I used DRS stamps: Happy Bee, Flowers Hearts,


Inside

I just love this card, it makes my heart happy to look at it!

Now it's your turn, go get crafty!
Robin


Read more...

Summertime

>> Tuesday, June 22, 2021

Hi Everyone,

It's officially summer and in my opinion, margaritas are the ultimate adult summer beverage. The lime, the icy bits...the SALT! They're even good minus the tequila.  Just add some simple syrup, a fresh squeezed orange to the lime juice, (and a splash of fizzy water for some pizazz) and you're in business. Mmmmmm...I think I should have titled the post Taco Tuesday, because I think I know what's for dinner now!

For this first card I inked up a citrus embossing folder to create the background, and stamped colored and fussy cut the Margarita Glass, adding some glitter glue to the rim for the salt.  I heat embossed the Citrus Slice and attached everything along with the Toes in the Sand Birthday Greeting.


Here is another graduation card I made, because, tis the season!  I copied the layout from my last graduation card here, I just changed up the school colors and added the bee, since that's the school mascot.  


Here are the stamps I used:
Graduation is The Beginning Verse

Here's hoping your summer is in full swing!  Thanks for stopping by!
Karin


Read more...

St. Patrick’s Day & A Birthday

>> Tuesday, March 2, 2021

Hi Everyone,

This cute little Peeking Gnome, rife with facial hair, made me remember I have this mustache embossing folder.  I thought it would make a great background for him and this funny Turn Their Ankles Greeting for my St. Patrick's day card share today.

This patterned paper was made using the Small Shamrock Group and the ubiquitous (at least on my projects) Splatter Background stamps in green and orange ink. To turn my gnome into a leprechaun, I replaced his hat with the top hat from the Top Hat St. Patrick's Day Greeting stamp.  And the added shamrocks were stamped, colored and fussy cut from the Tall Shamrocks stamp.


Inside I simply stamped the Top Hat St. Patrick's Day Greeting and the Tall Shamrocks again. 


March is a heavy birthday month, so this is the first of the cards I've made for family and friends.  

I realized I have two different honeycomb backgrounds, so I used both to dry emboss on my card, and I inked up the background embossing folder to add a light yellow hue.

I used the Bee Happy Birthday Greeting, along with the Bitsy Bumble Bee stamp.  I colored them up, punched them out and attached them using some dimensional foam tape. 


To finish it off, I simply added some glitter to the wings!

If you need more inspiration for your card making, be sure to pop on over to DRS Designs!

Thanks for stopping by,
Karin


Read more...

Bee My Valentine

>> Tuesday, February 9, 2021

 Hi Everyone,

I have my final valentine of the year to share with you today.  It's just a sweet, simple card that I hope will bring a smile to someone's face.  

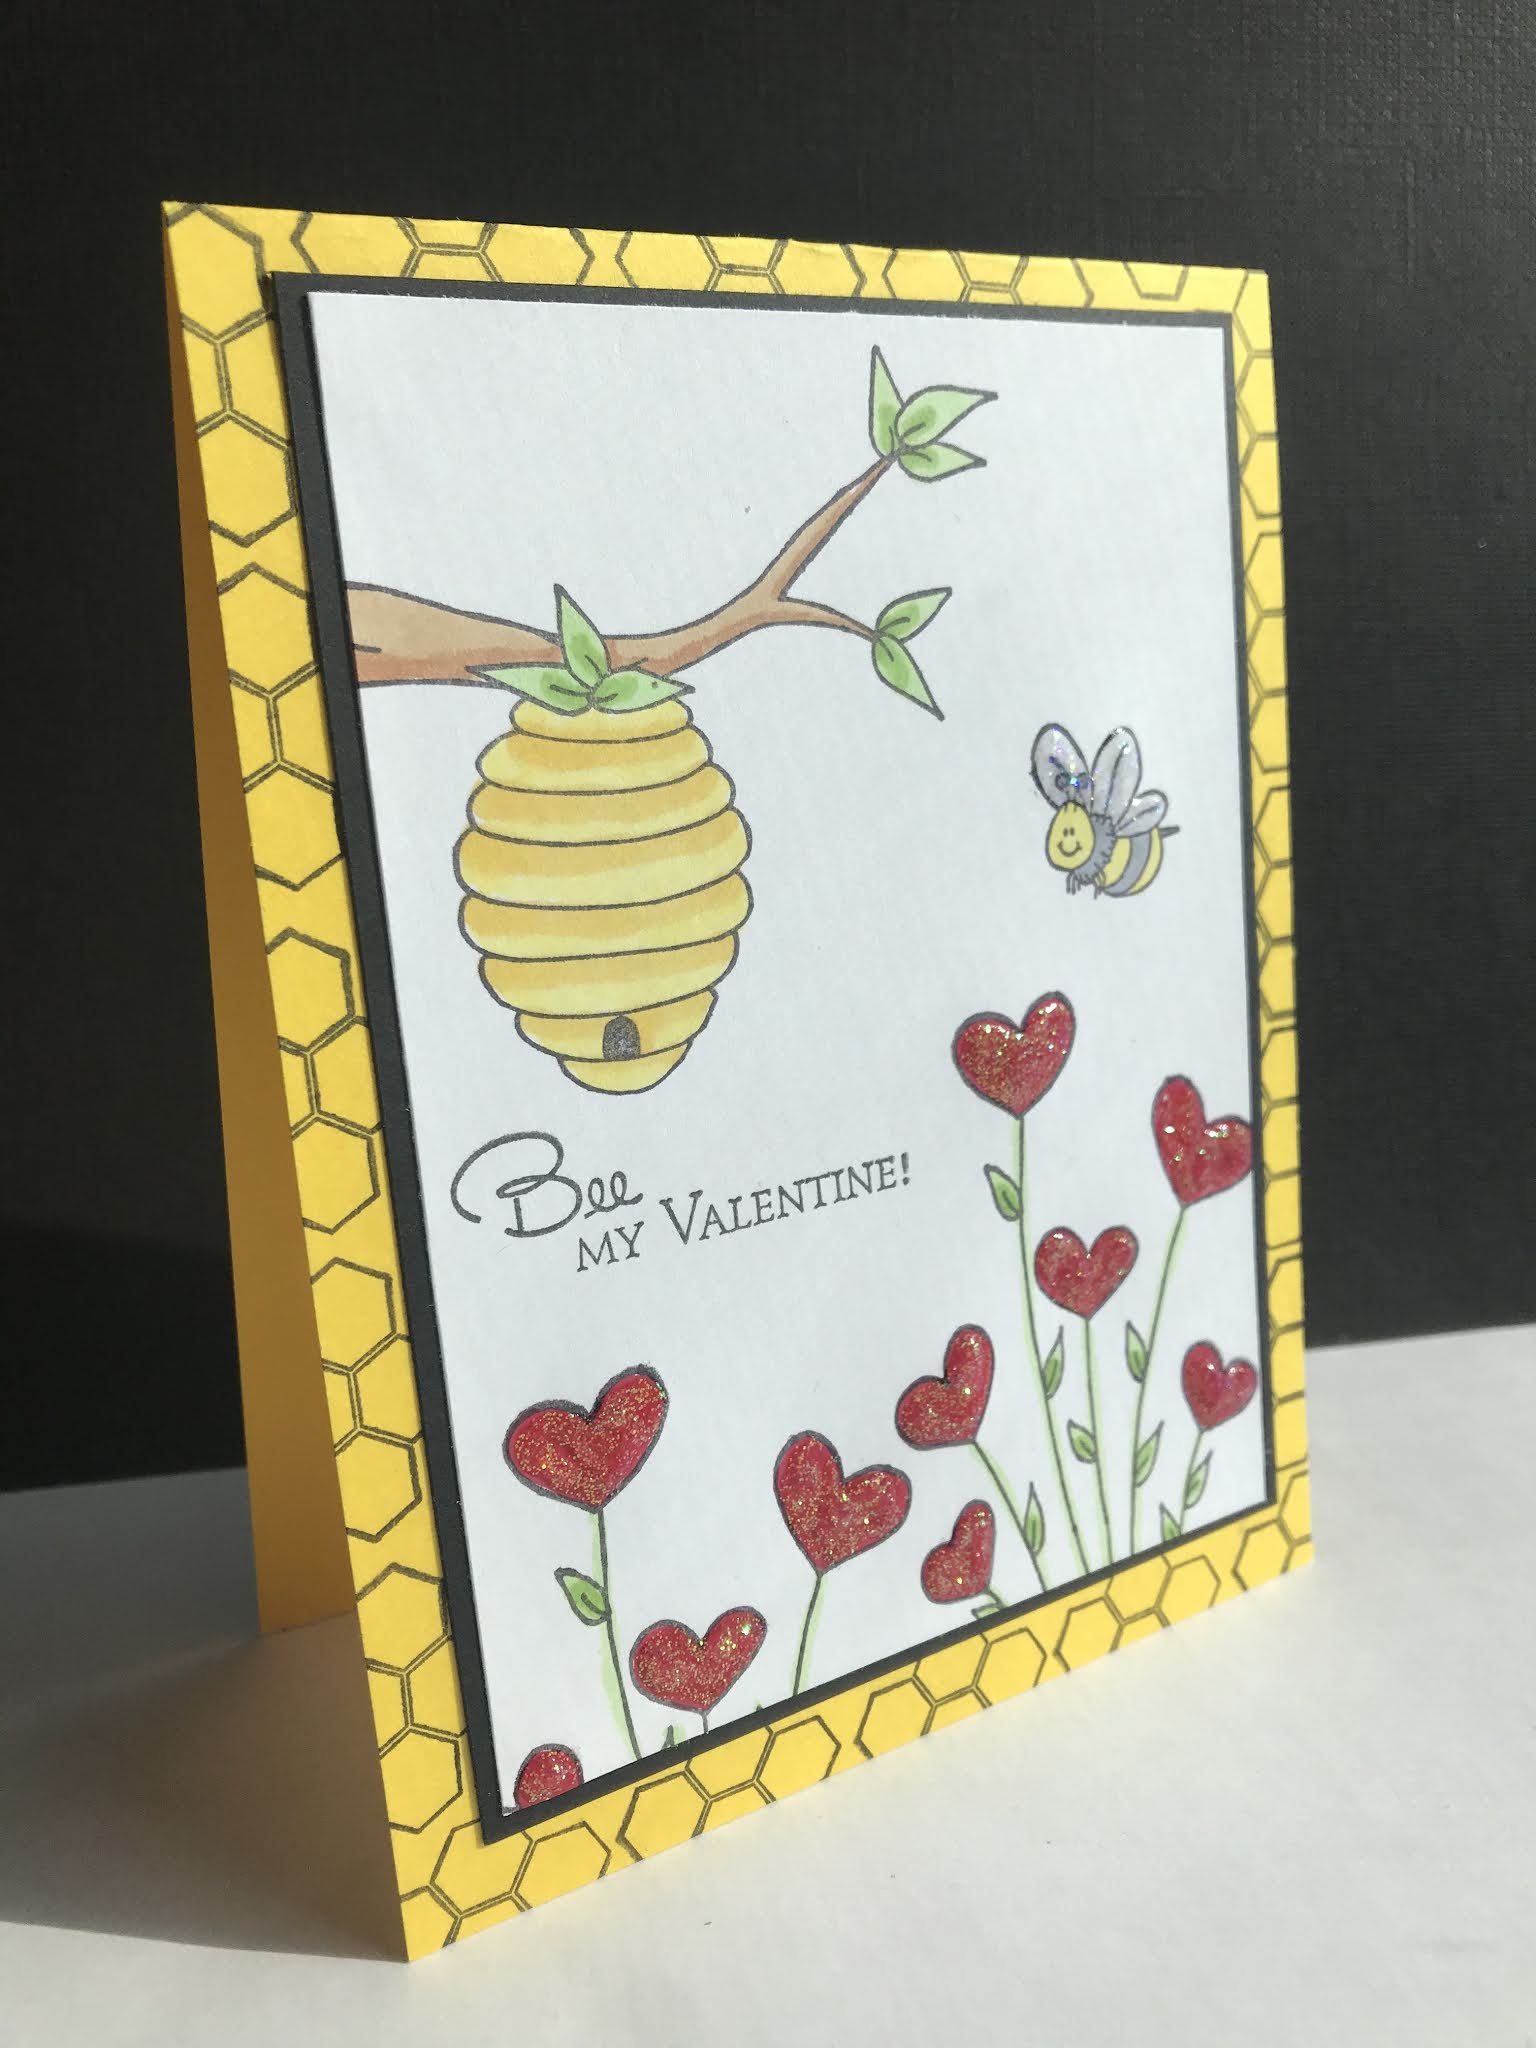
Since I knew it had a bee theme, I began by stamping my base using the Honeycomb Design stamp.  Using a stamp block with a grid on it, let me line up the images along the border with ease. 

After that was done, I simply stamped the panel with my chosen images and colored them in, adding some glitter glue to the flowers and the bee.  Because well,  that's what you do on a valentine with cheerful images!


Here are the stamps I used on the main panel:


Thanks for stopping by today!
Karin

Read more...

Freezin!!

>> Monday, February 8, 2021

 Happy Monday everyone. Hope you had a great weekend and found some time to get creative. It is bitterly cold here in NW Ohio, so I was quite content to stay indoors and stamp away the weekend! It's so cold our poor dog doesn't want to go for walks. She just dashes into the backyard, does her business and dashes back in doors! I really don't mind since I have little to no desire to go outdoors either!! With that idea in mind, here's my first card for today. It truly is Freezin' Season here!


I started with the dark blue CS, splattered some white gesso mixed with water to create the snow, then I used a MFT window die to cut out the window and then the Freezin season was stamped with VersaMark and embossed with white EP. I used the window in the blue panel to mark and die cut the same window in the white card base. Then I stamped and colored the Skating Snowman inside the card. I honestly believe if this snowman were here right now, he'd be skating off to someplace a tad bit warmer! Wind chill has our temps in the minus digits. That's pretty cold, even for a snowman.


My next cards are for Valentine's Day.  DRS has some great new Valentine images and greetings.


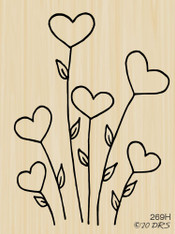
This card uses the new Bee my Valentine greeting and the new Flower Hearts along with the sweet little bitsy bee. The flower hearts were stamped onto pink CS with VersaMark ink, heat embossed with white  EP, die cut into a heart shape and then cut into strips. The strips are attached to a heart die cut from acetate and popped up with foam adhesive. In real life it looks like the heart is floating on the card. I got this idea from Natasha Foote. You can see her video here.


This card uses the same greeting, but this time I stenciled the honeycomb using  some DO inks. The greeting was stamped in the corner. The bitsy bee and the Happy bee were stamped, colored and fussy cut. They're attached with foam dots. Some clear gems were added for embellishments. The panel was attached to a black card base.

Thanks for stopping by today. Hope you're staying warm!

blessings,
shelia


Read more...

This is Fishy!

>> Thursday, January 28, 2021

 Good morning!


This Valentine might be a little fishy, what do you think?  You know


how fish stories go but this one is really true!


It's love at first site!!


They've found each other in this heart coral reef, what could be truer


than that, right?   LOL!


I've used DRS: Heart Flowers, Valentine Heart Drops, 4 in 1 Seashells

3 in 1 Ocean Floor, Small Hanging Hearts


The frame die is from Lawn Fawn.  I popped it up and glued the shells to the outside.
I added some pearls to the frame corners.
The fish have Stickles on them.  My "mirror" image did not turn out as well as I wanted 
but the Stickles pretty much covers the rough edges.


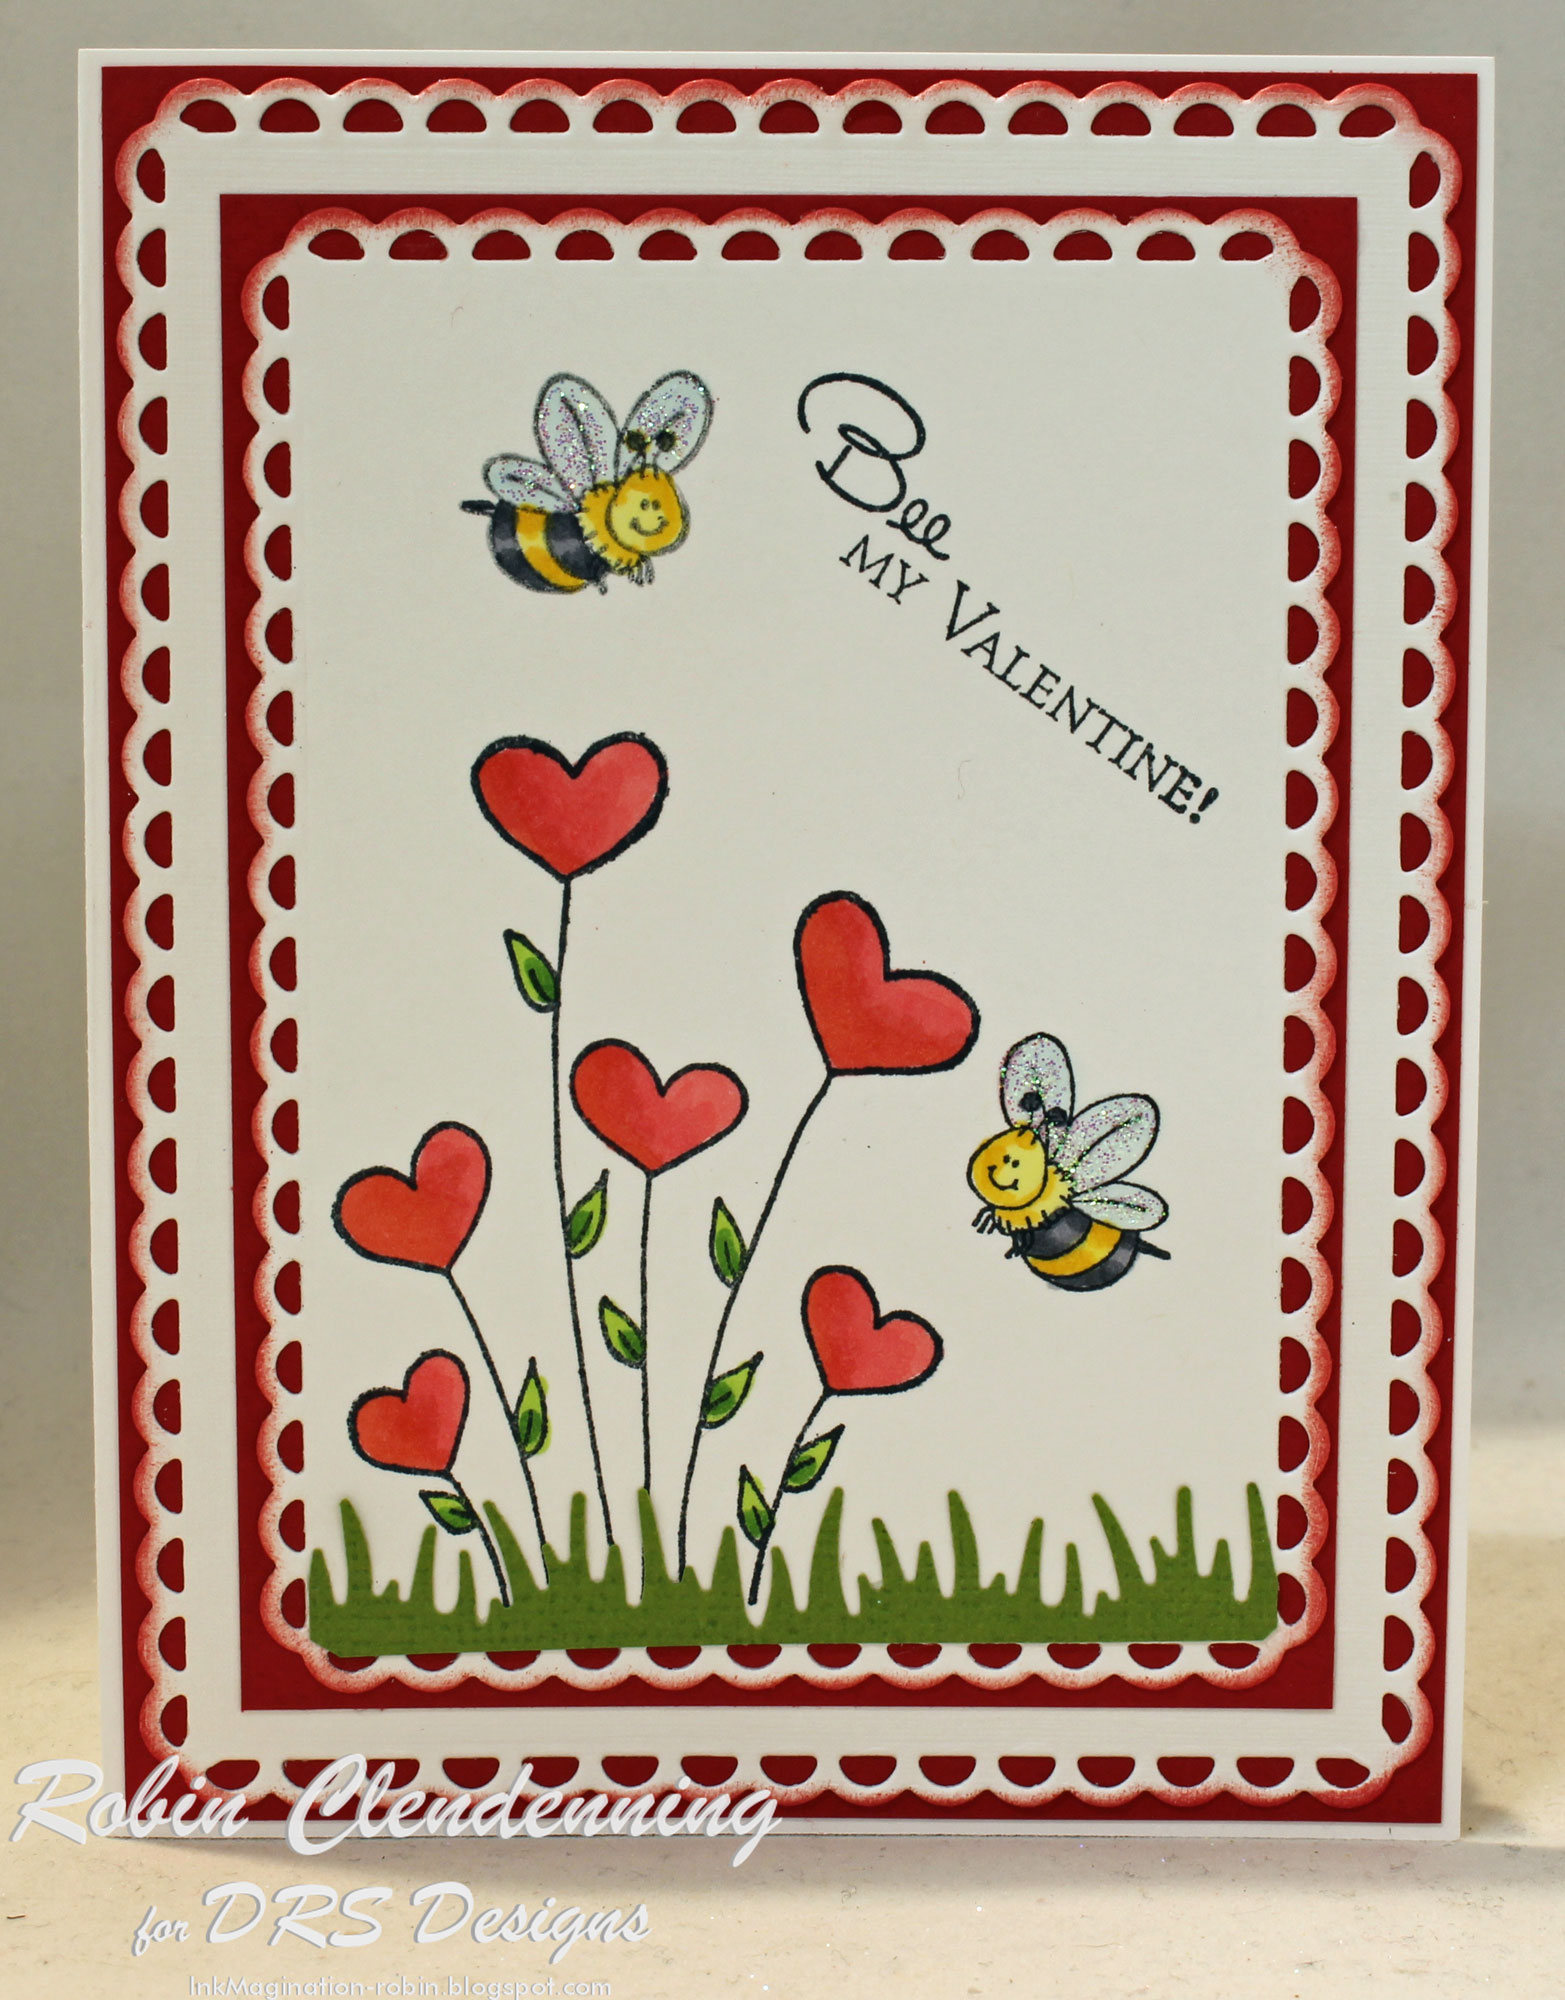
My next card is all abuzz about those heart flowers!
Ok, sorry about that, I couldn't resist something about buzzing with these cute bees!
As with the card above I used a "mirror"
 stamp to make two facing bees (a blank stamp that you stamp the image onto then stamp that onto the paper).   I also used my Misti to get the position I wanted.

The dies I used here are from Rubbernecker.  I sponged red on the edges (before I thought
about backing the scallops with red!).
I also used a grass punch for the bottom from Martha Stewart.
The bee wings have glitter on them.
Thanks for visiting today!
Robin

Read more...

Bee my Valentine

>> Sunday, January 24, 2021


I love bee images and these are the cutest bees in my collection.

I started out stamping the BEEHIVE - 1143L then added one of the HAPPY BEE - 561C forward and then mirror image stamped the second one. I then added BITSY BUMBLE BEE - 1020A forward in 2 places and one mirror image one. Next I added the BEE TRAIL - 1147B and finished the scene with the BEE MY VALENTINE GREETING - 330B.

Once all the images and sentiment were stamped I colored the scene with copics and sponged some blue clouds for the sky.

Thank you for stopping by to check out my card this week.

Read more...

Bee My Valentine

>> Sunday, January 17, 2021


I love bees! I think that they are so important and will go out of my way to help them including planting flowers in my yard that helps feed them. These images are so super adorable and the happiest bees I have seen for bee stamps. I used both the HAPPY BEE - 561C and the BITSY BUMBLE BEE - 1020A on my card. To get the reverse image I used a mirror image stamp and stamped a couple in reverse then once stamped I colored with copics and die cut them out for the layout.

For the background I water colored with red and added additional water to get the Ombre' effect  for the background. I then heat embossed in white the HONEYCOMB DESIGN - 019C and finished the card with the BEE MY VALENTINE GREETING - 330B and some yellow pearls.

This card is perfect to give to both my husband and my son for Valentines Day.

Thank you for stopping by to check out my card this week.

Read more...

Valentine Bee

>> Friday, January 15, 2021

by Julie Warner - The Write Stuff

Happy Friday!
I hope your week has gone well! It's been pretty typical weather around here...cold rain one day, sunny cold the next, snow the third day. Kind of a rinse, repeat scenario. One thing I may have to rethink next year, I put up the big Christmas tree (artificial) out on the screened in deck off the living room. Problem is, it's been too stinkin' cold out there to take it down. So it's getting some extra mileage this year. 

Today I have a Valentine card using some really cute new heart flowers. Aren't they sweet? After stamping & coloring, I arranged a big red panel w/ hearts die cut out it on top so it would show in the opening. The bee on the right is stamped on there, as well. The bee on the left was mirror imaged & fussy cut. Pretty easy card! 
Here's the inside & below are the Copics I used.
Thanks so much for stopping by! Have a great weekend!


Supplies:
paper: Staples 110# white, red
ink:  Memento tuxedo black, (Rubbernecker Color Fuse Posy ink & Memento Love Letter used on inside)


Read more...

Valentine Easel Bouquet

>> Wednesday, January 13, 2021

Valentine's Day is coming on us quickly!  Time seems to fly by.

This card looks a bit detailed, but it was easy to put together.  It took 2 white plain ovals and one red, and 3 white scalloped ovals.  I stamped the new Flower Hearts image twice then painted it up and fussy cut the hearts out of one image to pop up.  Then I stamped Bitsy Bumble Bee, painted her and then popped her up.  The new Bee My Valentine Greeting became my stop for the easel.  

Before putting it all together, I sponged on some red ink and die cut a heart.

Hope your week is going well.

Hugz,

Nancy


Read more...

StatCounter

  © Blogger templates Palm by Ourblogtemplates.com 2008

Back to TOP