Happy Anniversary
>> Tuesday, April 2, 2024
Karin
Read more...
Hi Everyone,
Here are the links to the stamps used on this card:
Happiness Comes in Waves Greeting
Thank you so much for visiting today!
Karin
Hi Everyone,
I have one last Halloween card to share with you since today is the big day! I can't wait to see what the neighborhood kids come dressed up as!
I stamped and colored up the Spooky Jack Halloween greeting, adding some sponging after I die cut it out. I then stamped and fussy cut the Fancy Pumpkin, adding some glitter to his hat. I wrapped the greeting in a die cut vine and layered it onto a background that was stamped using the Starry Background.
Hi Everyone,
At this point, I think this wedding card making thing I have going on is boarding on obsession...lol!
I sat down to make a much-needed birthday card, but I saw this unused Mr. & Mrs. greeting that was already stamped and die cut, sitting in my stack of unused pieces parts. What's one more wedding card, right?
I used a tried-and-true layout and stamped and punched out the Silhouette Bride and Groom for the image and added some soft pink sponging the sentiment.
It's hard to see the Dogwood Branch background, but it was heat embossed using some glittery embossing powder. I tried for a close up, but it looks great in person ;)
Hi Everyone,
I have another wedding card to share with you today. I saw this idea somewhere made using puzzle piece dies, and I thought it was super cute. The only problem I had, no puzzle piece dies. However, I do have an embossing folder (Darice brand) that makes a puzzle background, and I thought it might work in place of that. I love it when I can solve a problem without having to buy new supplies!
I embossed one white and one black piece of card stock and then fussy cut two pieces that went together, embellishing the groom with a piece of white scrap and added a necklace to the bride using some silver glitter glue.
I dry embossed a background for the "couple", adding a bow and the sentiment which was punched out from the very end of the Blended Lives Greeting.
Now I'm all set for anyone to invite me to their wedding!
Be well and happy card making!
Karin
Hi Everyone,
In keeping with the summertime and American colors of red, white and blue, I went ahead used them for this military card share.
The stars on my embossing folder matched the stars on the Star Wreath, so that's how that choice happened. I embossed both the wreath and the Air Force Proud emblem and then die cut them out, layering them on top of each other.
Hi Everyone,
This new Mr. Earl's Happy Birthday greeting is perfect for anyone's birthday. The big, chunky letters make it super fun to color and I love the star that dots the "i"!
That star was the inspiration for my background that I made using a star embossing folder and the Interlocking Star Background.
Hi Everyone,
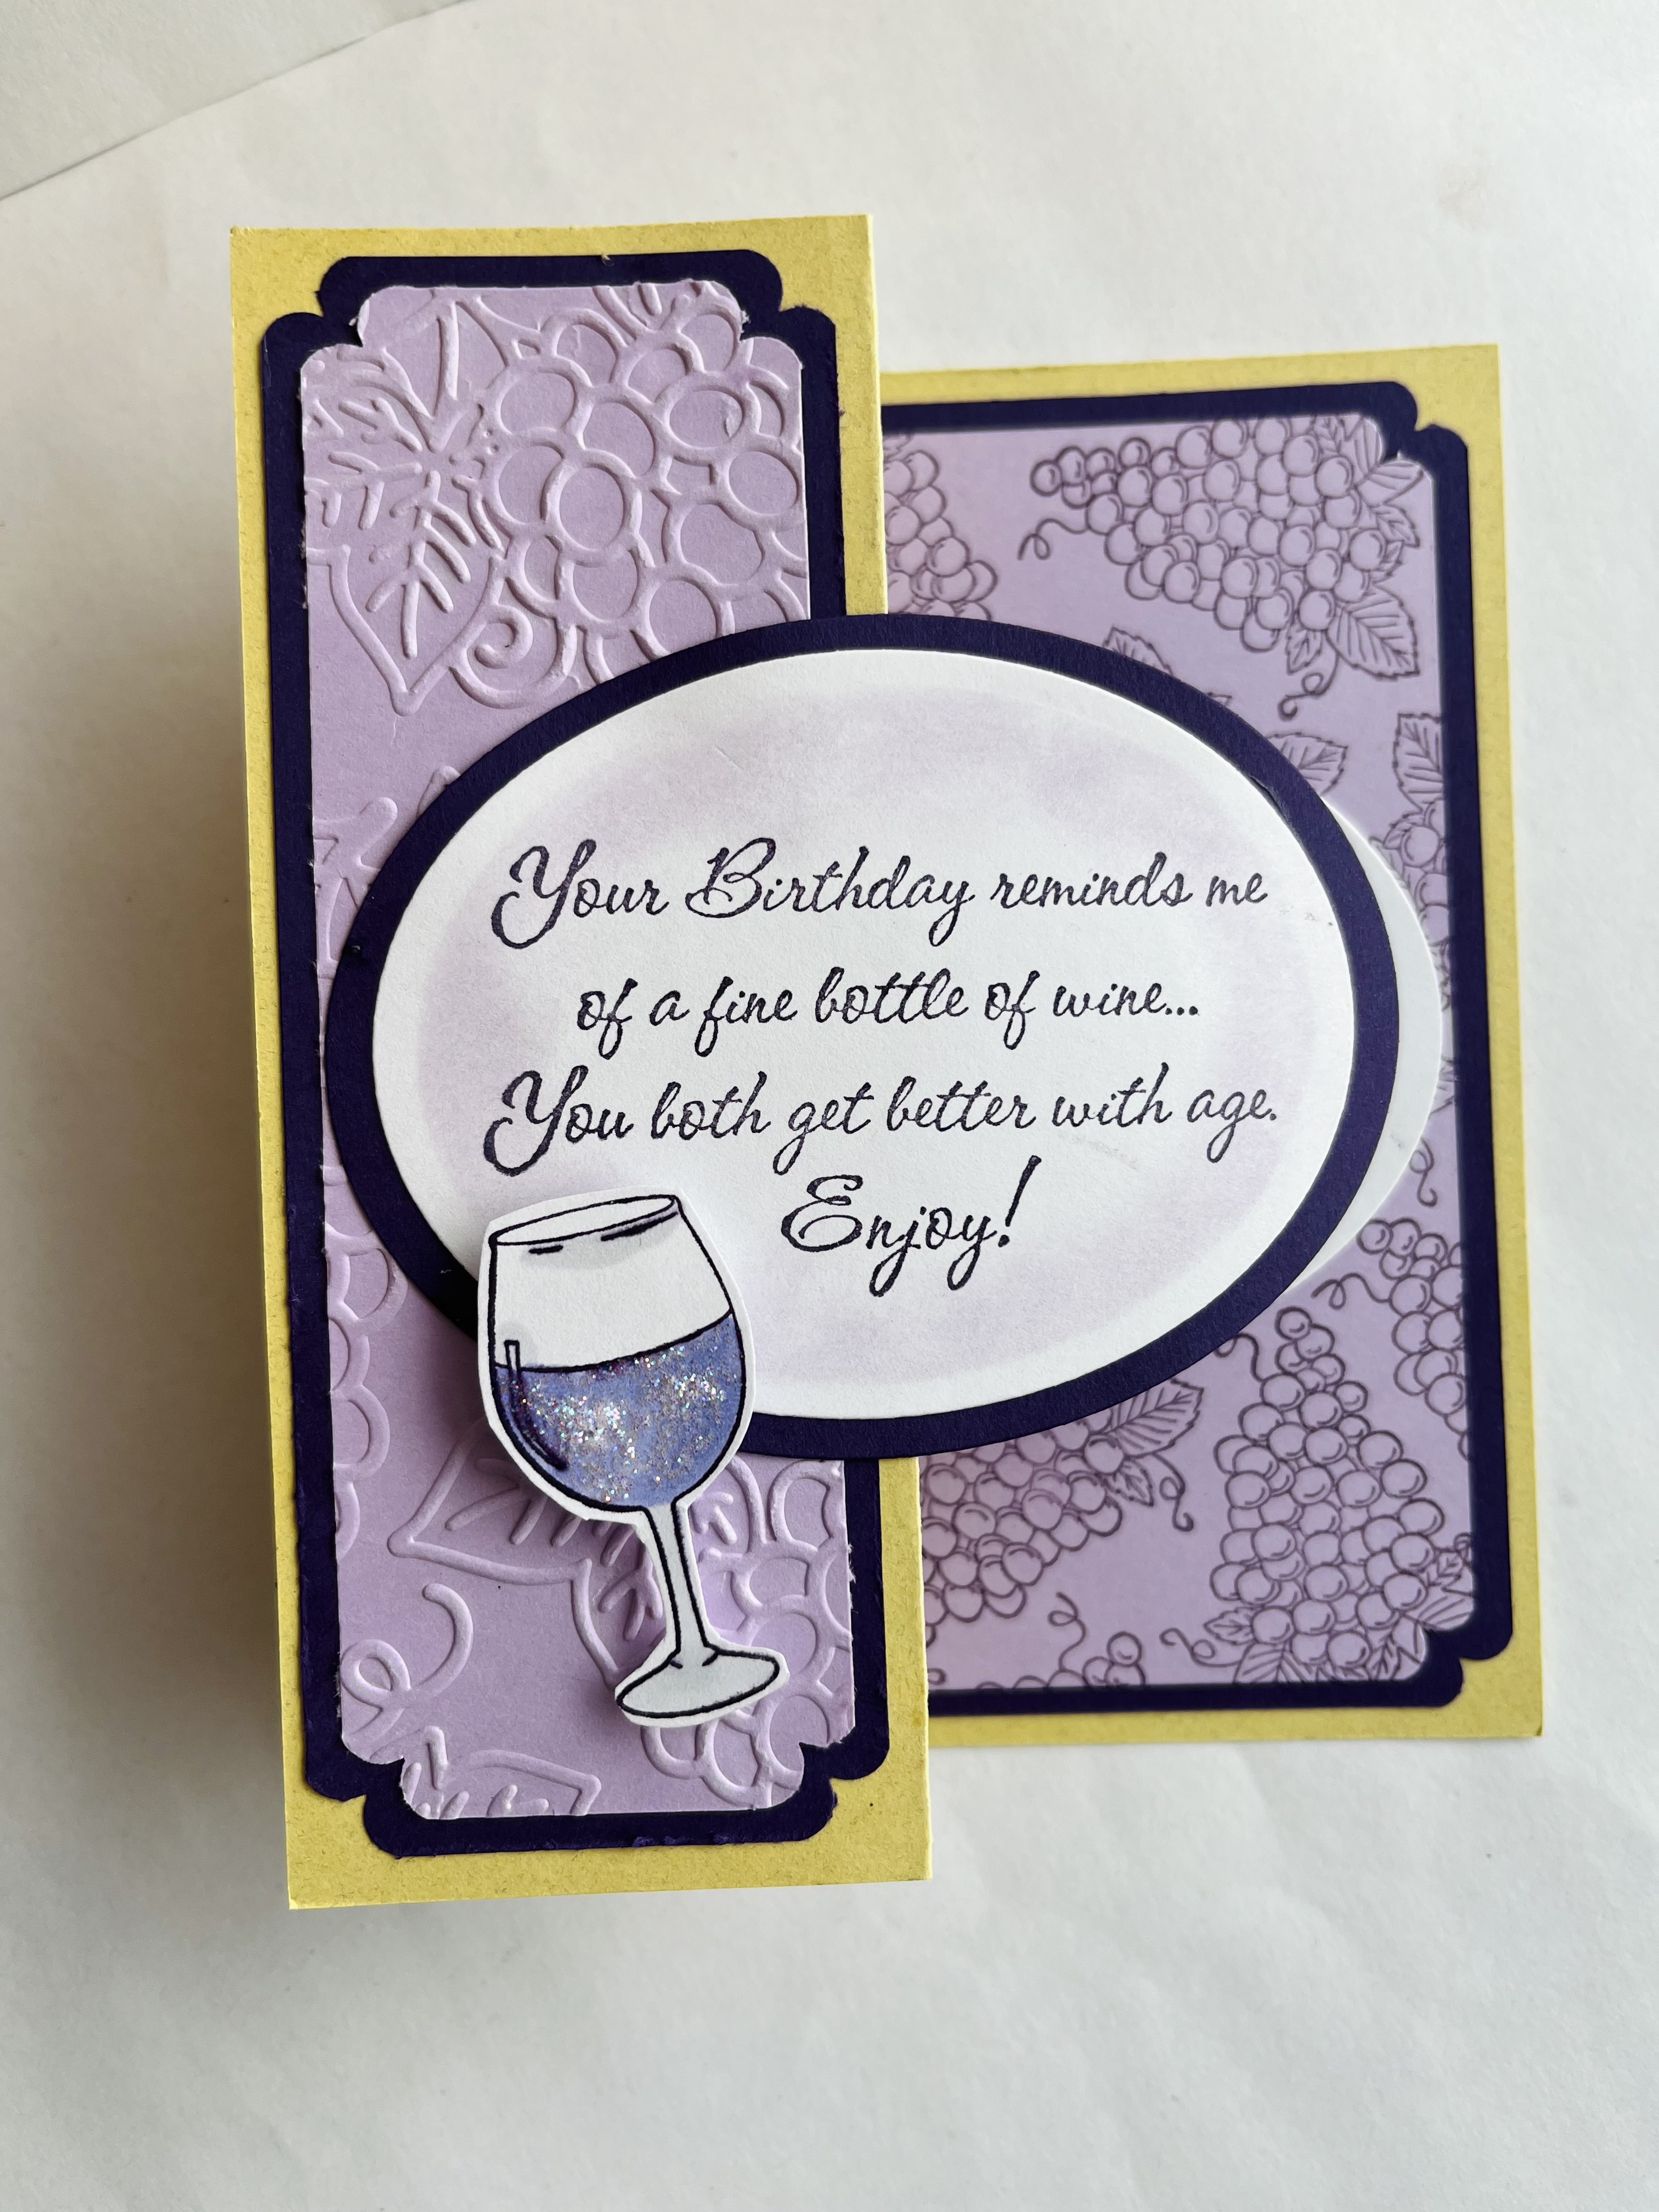
Today's card share is a Z Fold card. It may go by other names, but that is what it was called when I learned how to make it. It's simply a card folded in half, with the top panel folded in half, back to meet the first fold. I like it because it's easy!
This fold gives me the chance to make two matching papers and I did that by using a grape themed embossing folder and the Bunch of Grapes stamp. For the outside I used the Better with Age Birthday Greeting and added a fussy cut wine glass from the Pour Me Bottle and Glass stamp.
Hi Everyone,
I was inspired by Nancy's card from a couple of weeks ago and decided to use the same Love You to the Moon Greeting for my card today.
I went with a literal interpretation of the darling greeting and stamped, and heat embossed some stars, stamped and fussy cut the earth, and used a circle punch to make a moon. I attached those using some dimensional foam tape and added some punched hearts between the earth and moon, finishing it up with some glittery glue. The exact stamps for the sky and earth can be found here:
© Blogger templates Palm by Ourblogtemplates.com 2008
Back to TOP