Blog Widget by LinkWithin
Showing posts with label Bookmark. Show all posts

With Faith Bookmark

>> Monday, February 13, 2012

Happy Monday Everyone!

Today I want to share something I am making for some volunteers I work with at my church. I wanted to make Easter cards for each one, but wanted a little something to go with. So I decided to add a little pocket to my card and insert a removal bookmark. Hope you like it!


I used pink and white card stock. The white panel is embossed with a textured CB embossing folder. The pink panel behind the book mark is stamped with DRS Designs butterfly background (536H) in SU Pretty in Pink ink. The pink pocket is embossed with the CB dotted swiss embossing folder. I added a ribbon to the pocket and a small label with DRS Designs Easter Blessings sentiment (1029D).


The bookmark is sponged with Pretty in Pink ink and has DRS Designs Faith sentiment (1025G) stamped in Stazon  Black ink. I added a couple of small punched pink butterflies and a larger one. They have tiny half pearls down the middle of their bodies. (don't think you can see it in the photo). The same pink ribbon was added to the bookmark.

Until next time,
shelia

Read more...

A bookmark by any other name....

>> Wednesday, April 14, 2010

Welcome! I hope you're all having a terrific week so far!!

I think I'll start at the end and show you my bookmark project before I go any farther~


Here's the story that goes with it ~

I'm not sure why, but for some reason I always seem to be doing things last minute. Take this past weekend for example. I knew we were going to be at the Allentown PA fairgrounds for a stamp convention. I also knew I was doing a make n take or a demo. Not wanting to be rushing around at the last minute I planned several days in advance (this is good for me :) what I would be doing and what I would need. I'm not sure why I decided to change my mind at 10 pm on Thurs. Must be because I think these bookmarks are pretty cool!

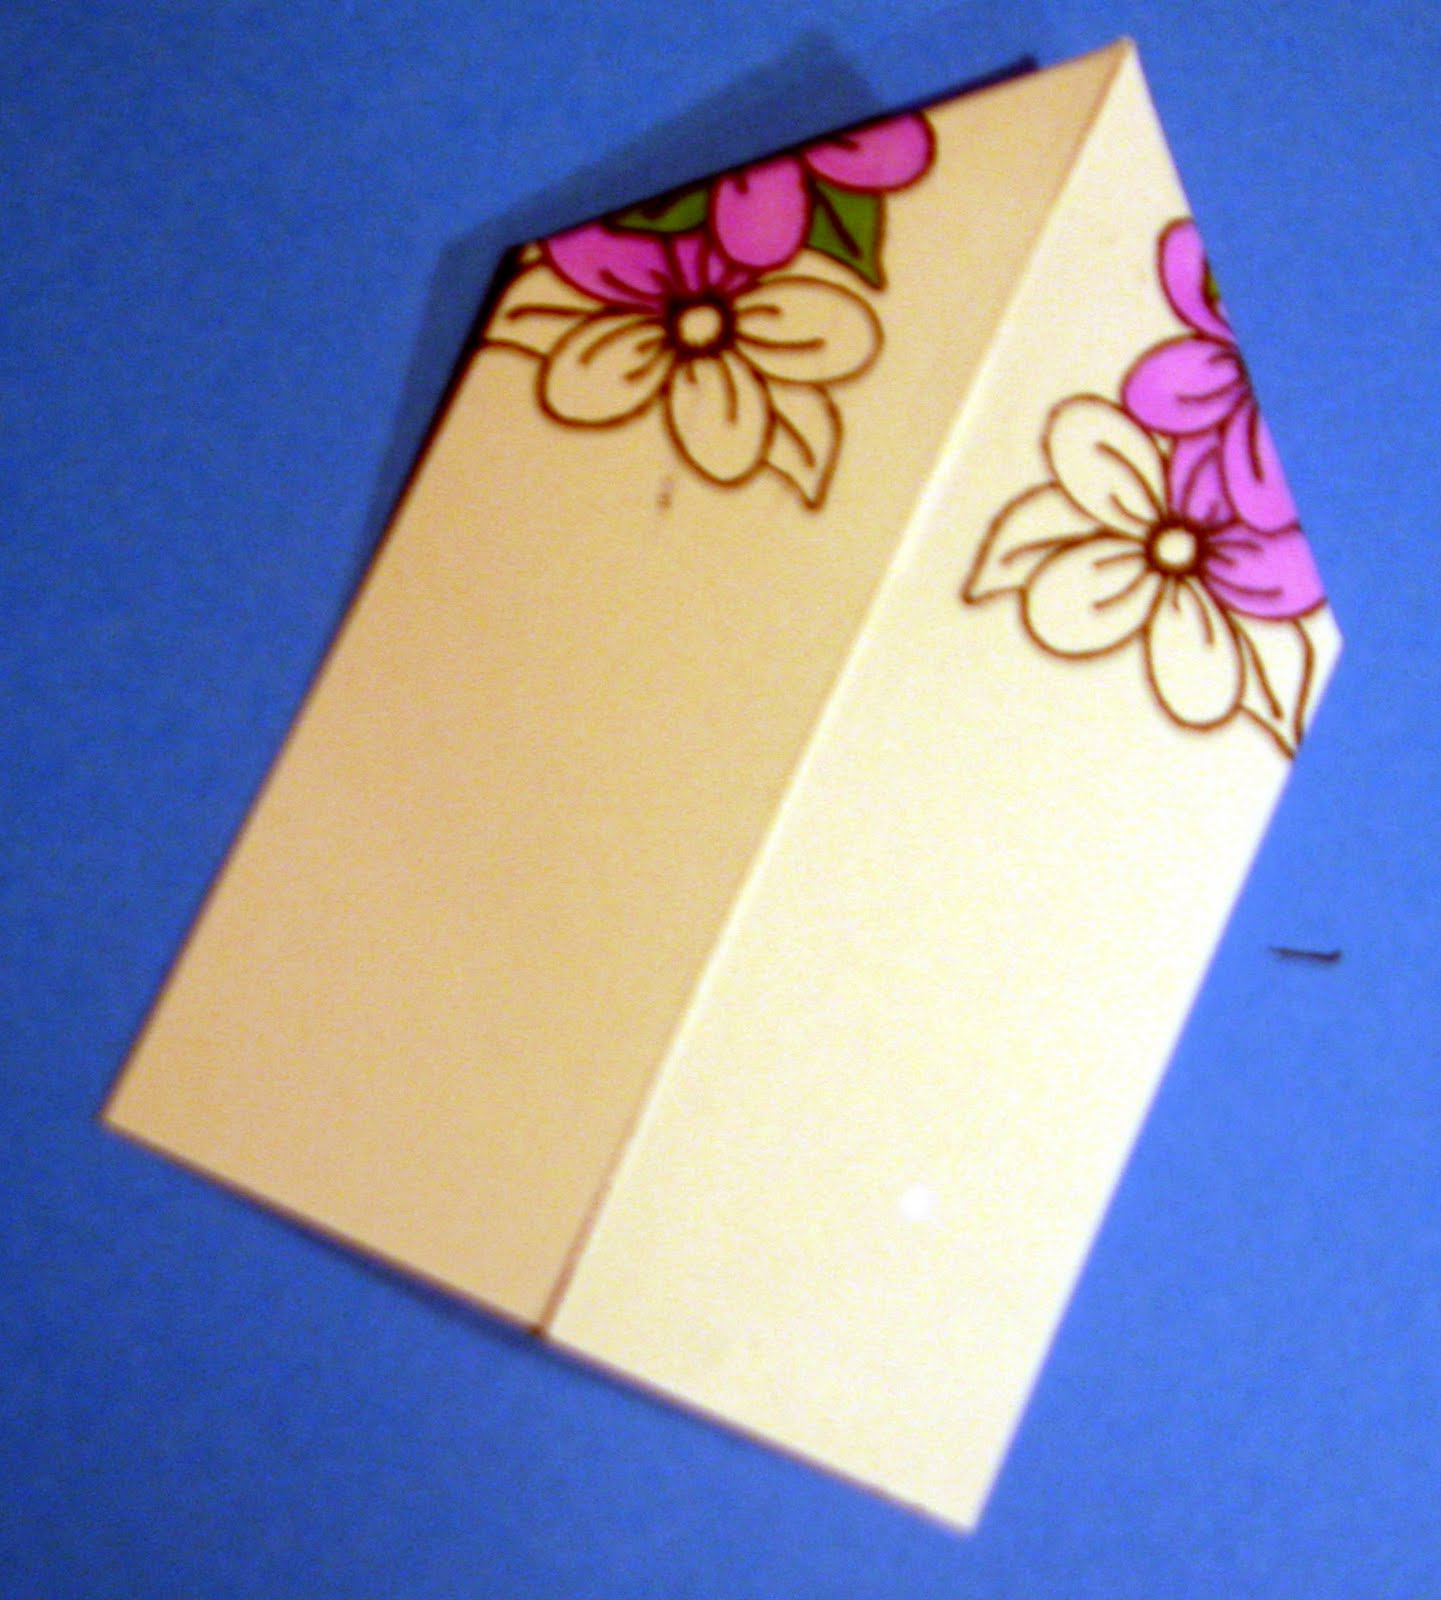
I can't take credit for the folding of these baby's, but cutting them off square and attaching them to a giga scallop square is my contribution. My thanks to the genius for coming up with the fold and recognizing how it will fit on the corner of a book!

I'm hoping between my description and my blurry photos (it's not you :) you'll see how easy these are.

1: Cut a strip of card stock (or find a scrap, if you have one ;) that's 1 3/8" x 6"


2: stamp or decorate the center 3 to 4 inches


3: Turn paper face down and fold the right side at a 90 degree angle in the center. Creasing the edge.


4: Do the same thing with the left side - making center seam as close and smooth as possible


5: Apply a small piece of scotch tape to hold fold together.


6: Align the folded part across the top of your paper trimmer and cut just where the fold begins


7: Turn paper 1/4 turn and trim again. Note, that the fold is now on the bottom.


8: Attach this square to the center of a giga square scallop punch out, or cut out a square to fit.

9: This step is optional (unless you're a little OCD, like myself and need to cover the center seam ;) Cut a coordinating square of card stock 1 7/8" x 1 7/8" and after checking to see if any trimming is necessary, attach it under the triangle pocket


10: Sit back and admire a job well done! These are so quick, I popped out all 4 of these in about 45 minutes. If I didn't have to write this post I'd still be stamping!!!


This is a great project for or with kids! and just think, you can easily personalize the next book you give as a gift!

Happy Stamping!


Read more...

Challenge #13 - Hand Stamped by....

>> Monday, January 26, 2009

You! Our next challenge to the DT was to use any of the DRS recognition stamps on their projects. DRS already had a ton and just released three more so there are plenty to choose from. Of course the intended use of these images is for the back of your cards/projects but what about thinking outside the box and using them in other ways?? Check below to see how our designers can inspire you to use these images in other ways (other than hiding on the back of your card!) so you can get more bang for your buck!!!

We would love for you to play along in our challenges. You do not need DRS images to play but if you have them, why not use them! If you play along, be sure to come back to this post and post a direct link to your project so we can check it out. We want you to inspire us! Also, if you upload to a public gallery, please use the keyword - DRSC13.

We're having another giveaway!!! We'll make it easier for you this week though!!! This week the prize is a roll of the best adhesive I have ever used!!!


It is a roll of two sided tape (1/2" x 36 yards) and all you have to do is leave a comment on this post indicating which DRS image is your favorite!
We'll draw a random winner on Sunday night Feb. 8, 2009.

We'd also like to wish several of our designers good luck as they move on to other projects at the end of this month. We appreciate and thank them for all their hard work and awesome contributions during their design term and expect to see their names again and again as we cross paths in the stamping/paper crafting world! Best wishes for a successful future to Angel, Etha, Janette and Jessica K.

Without further ado...here are projects by the Design Team to inspire you...


Heather's kitty card / The Best In Life


Jessica K's bookmark / There She Goes


Sue W.'s ~ Stamps go Round


Vicki's Friendship Fragrant Sachet ~ recipe on Stamped Smiles


Jennifer's Treat Bag, Handmade By "Me"


Cathy Indelicato/Crafty Thoughts...


Etha 's gift sweater:


gift tag


Dawn's "Hand" stamped Hand image for sending to Mimi in New York.


Jessica G's Handstamped Card with Tags/ Jess' Obsession:


Inside:


Angel's "love" card/ Angel'sCreativeWorld:

Read more...

Blog Archive

StatCounter

  © Blogger templates Palm by Ourblogtemplates.com 2008

Back to TOP