Showing posts with label Wreath. Show all posts

Candy Heart Wreath

>> Wednesday, January 5, 2022

 Hello Crafty Friends!


You know how I love to turn an image into a wreath, and these candy hearts from the new Candy Heart Background are perfect for a wreath!

The background was made by scribbling alcohol ink marker on a Ziplock bag, dropping on rubbing alcohol, and then pressing the paper into the mixture.  I let my grandsons do the scribbling and pick the colors.  The candy hearts were colored using alcohol markers, and then they were fussy cut.  I added the "happy" from the new Double Line Happy Valentine's Day Greeting (the rest of the greeting is on the inside). 

Extra Supplies: tile embossing folder (SU!) and Funky Wreath thinlet die (Tim Holtz/Sizzix). 

Valentines Day is just around the corner!

Hugz, 

Nancy


Read more...

Fun Push Pin Wreath

>> Wednesday, June 2, 2021

Hello Crafty Friends,


When I unwrap a new DRS Designs image, I try to envision it in a wreath.  So today I have a wreath with the new Push-Pin image, and it came out super cute.  I combined it with the flowers from the Girly Swirly Birthday Cake image (it was on my counter - lol).  I also added in the new Friendly Note Greeting because it seemed to tie it all together.

The frame die is drom MFT and the wreath is a Tim Holtz Thinlet that I splattered with white paint.  Of course, I added in some Stickles for fun and a few wooden flowers from CTMH. All the images are sponged with Distress Ink because I was too lazy to go get my markers.


This card would be great for a teacher or office buddy or anyone who loves pushpins.  Speaking of pushpins, I saw the coolest thumb tack project yesterday: Game of Throne Dragon Eggs. I also typed in push pins on YouTube and people use them to make art, decorate them to make them more elegant, and use them to hang art work and lights. They are way more versatile than I thought!

Hope you are having a good week!

Hugz,

Nancy


Read more...

Let's Play Billiards!

>> Wednesday, May 5, 2021

Were you wondering if I would make a wreath from the new Billiard Balls image?  


Of course!  I put it off because fussy cutting a bunch of balls takes just a bit of time so I had to wait until this past weekend to stamp and cut a bunch of them out.  

I originally stamped only the  Eight ball, but I realized it needed some color so I stamped a few of the other balls focusing on the number 5 to pull out the orange in my crazy watercolor background.  I needed it to be a bit fuller, so I tucked in some leaves from Bountiful Basket. For the sentiment, I split the new Racking Up Another Birthday Greeting.  I drew in the framing with India Ink and a stylus. 

I was happy with the result, but I kept thinking it needed something elso so I added in a Tim Holtz Paper Doll who might be a pool shark or billiards enthusiast - lol.  


Funny how the addition of one thing can totally change a card.  It seems to have more of a story now.  I actually couldn't decide whether to add him or not, but hubby said to add him so I did.  

I made another card with the Billiard Balls and the Racking Up Birthday Greeting.  I cased THIS card by Elizabeth  Hurst who is this week's Featured Stamper at Splitcoaststampers.com.  

Lots of circles underscore the tiny balls, and I focused on just a few colors.  It was very hard for me not to add a bunch of  Vintage Photo Distress Ink on this card!  

I had fun playing with the Billiard Ball image - hope you try it out too.

Hugz,

Nancy


Read more...

New Images and a Dogwood Obsession

>> Wednesday, April 21, 2021

Hello crafty friends,

Some fun new designs will hit the store this weekend, and I have a sneak peak card showing 3 of my favorites.  

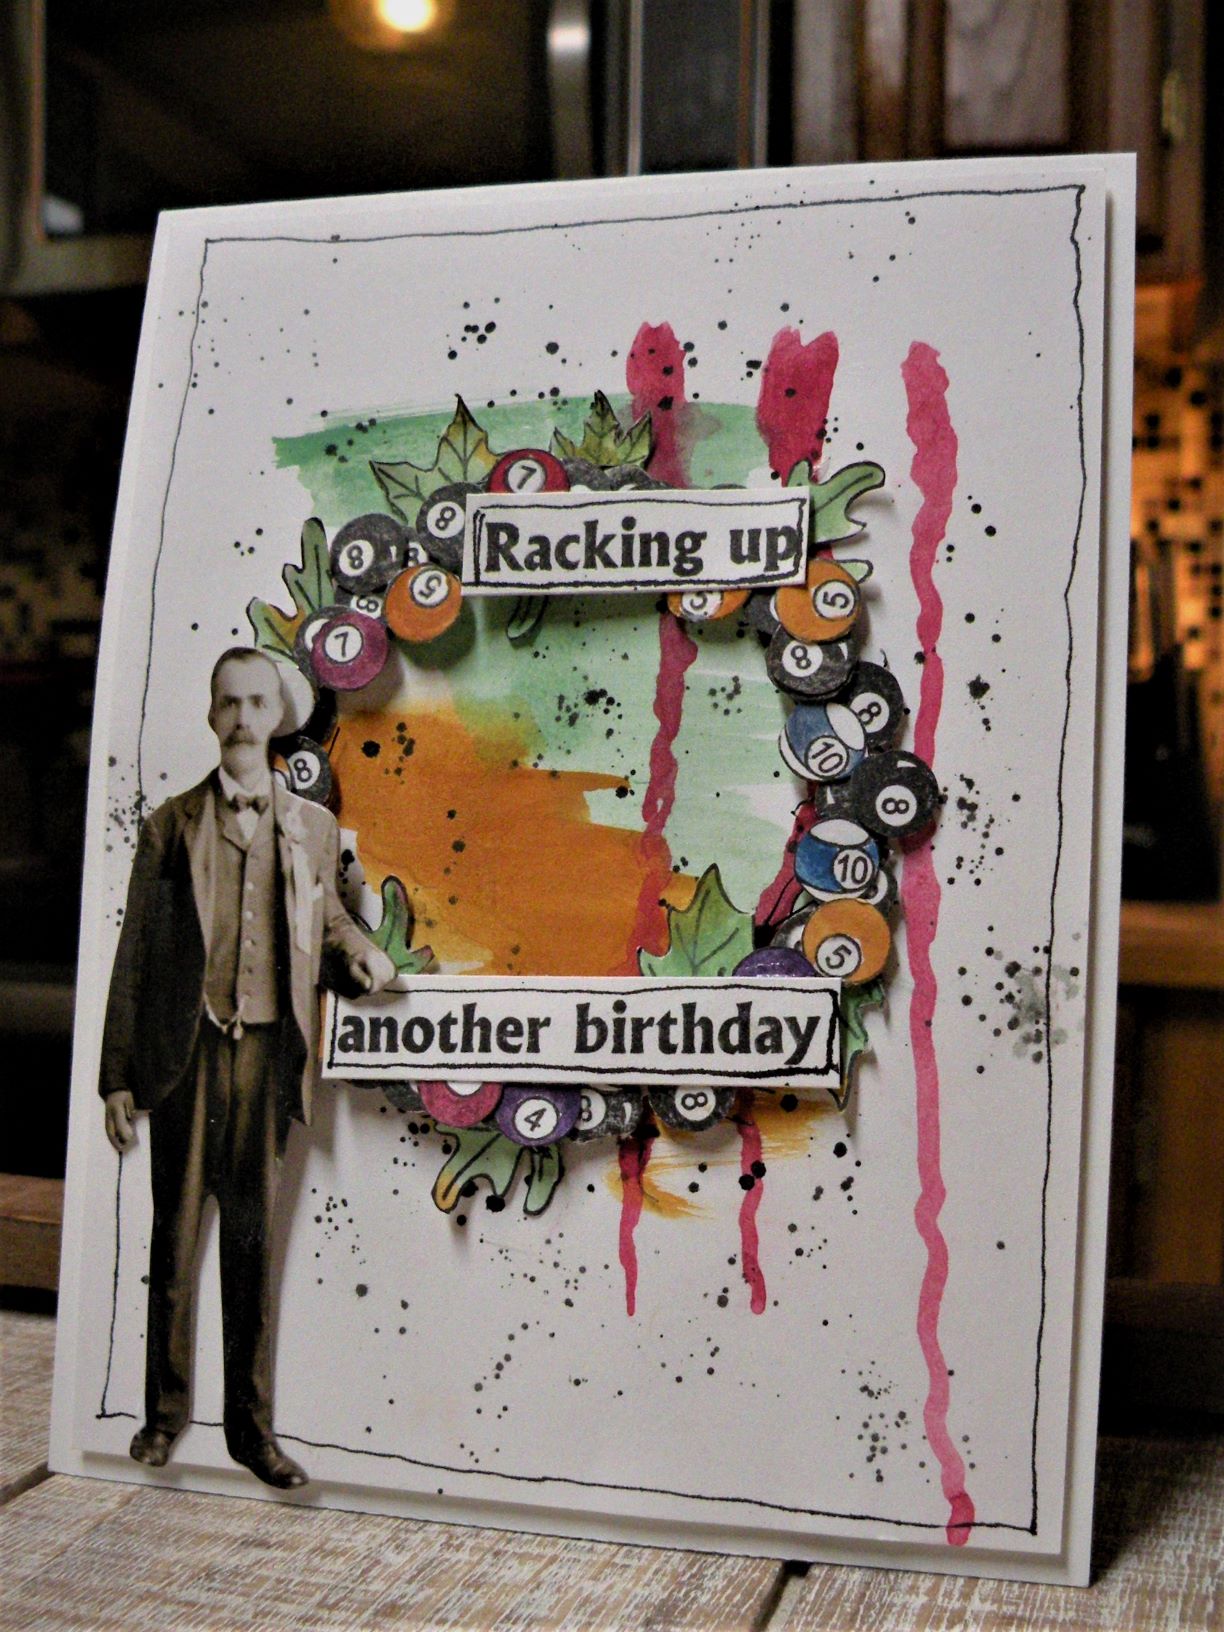
I saw a fabulous card Julie from our team made for a Splitcoaststamper.com challenge recently where she cut out a lot of holes and colored up her main panel with splashes and splatters.  I thought this would work well to showcase the fun new Billiard Balls (533G).  When stamping them on the base I got a stamp line so I colored and fussy cut the new Pool Cue, Ball, and Rack image (469K) and tucked it in.  There are two new pool related sentiments and I used the Racking Up Birthday Greeting on the front (498D) and the other one on the inside.  

My son-in-law is a big pool enthusiast so these new stamps are going to be a hit with him!

I have been a kick with the 
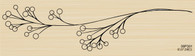
Dogwood Branch image and have a few more creations to share:

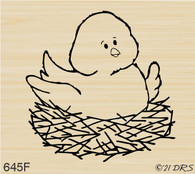
This one features the Dogwood branch done in a wreath and the new Chick in Nest.  My background is done with sprays and sponging and I water-colored the chick and the flowers using the leftover color to splatter on the flowers and the background. 

I bought a jar new die from CTMH and I doodled on some lines on the jar, tag, and the background panel using a metal nib dipped in India Ink (another new obsession).  I am still getting ink blots, but I am embracing them.  I also used the Happy Mother's Day Greeting on this card. 

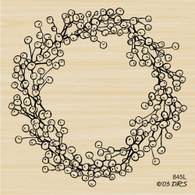
And lastly, you can really see my obsession with the dogwood image on my Art Journal page.

I stamped and water-colored a bunch of the flowers and fussy cut them while watching a movie.  Once I assembled the wreath, it still needed something so I added in a Happy Bee.  More leftover ink splatters and a doodled border plus a computer generated sentiment that grabbed my attention this week.  

Hope your week is going well and you are finding new obsessions too.

Hugz, 

Nancy

Read more...

Springtime Birthday Wreath

>> Wednesday, April 14, 2021

 I just love the new Flowering Bird Branch image and have been wanting to turn it into a wreath.  I stamped it a few times, fussy cut it out, an then colored it up.  I thought it would make s pretty Spring Birthday card so paired it with the Extra Tweet Birthday Greeting

Hope you are having a good week!

Hugz,

Nancy

Read more...

Easter Chick in Wreath

>> Friday, April 2, 2021

 by Julie Warner - The Write Stuff

Happy Friday!
I hope your week has gone well! This is the post that almost wasn't..Blogger was playing an April Fool's joke on me all day Thurs. Finally I was able to but sheesh! Kind of been a week of things gone wrong..internet was down for a couple of days..flood watches here, along w/ high wind alerts & now freezing temps again. 

Anyway, I have a really cute little Easter chick to show today. I thought it would be fun to put the chick inside a wreath. So I stamped the chick, masked most of it, then stamped the berry wreath. I colored all the berries in Easter egg colors then die cut it & added a scallop circle behind it. I used the same colors to color in the greeting below it.

And here is the inside & below it are the Copics I used.

Thanks so much for stopping by! Have a great weekend & a Happy Easter!


Supplies:
paper:  Staples 110# white, blue slate, X-Press It
ink:  Memento tuxedo black (Kaleidacolor Baby Powder also used on inside)
accessories: Rubbernecker CircleCircle ScallopRectangle Stitch  dies, Copic Markers


Read more...

Hat's Off for St. Patrick's Day!

>> Wednesday, March 10, 2021

 I love to make wreaths, and I thought it would be fun to make one from the Top Hat St. Patrick's Day Greeting.  

I started it by stamping the hat part of the image multiple times.  Then I water-colored the hats and fussy cut them. I made the base of the card with the left over water color paint (I poured it on some acetate and smooshed it on paper).  Once it was dry, I stamped on Blessings on St. Patrick's Day Greeting. The wreath die is a Tim Holtz Thin die. 

The wreath die is the Tim Holtz Thinlit Funky Wreath die.  Once I layered on the hats, I put in a few dots of  Dina Wakley Acrylic Paint to finish it off.

This was a fun card to make because it is kind of unexpected and funky.  

Hope your week is going well.

Hugz,

Nancy


Read more...

Beauty of the Season

>> Sunday, December 27, 2020


I hope everyone is having a wonderful holiday season. Fun fact about me, I create winter holiday cards starting right after I mail out my Christmas cards. There is so much inspiration that keeps me going so I get started right away.

This BEAUTY OF THE SEASON CHRISTMAS GREETING - 118F sentiment is perfect to send to loved ones if you are running behind getting your holiday cards out. 

I stamped the SMALL PINE CONE - 106B several times on the brown card base using versamark ink and then used gold Pearl Ex pigment powder over the stamped pinecones. It really shines up close.

I then die cut a few branches and berries and layered them under the wonderful BEAUTY OF THE SEASON CHRISTMAS GREETING - 118F which I die cut to a circle.

The card was finished with a red bow from my stash.

I have a second card again this week.


This card was super quick to make and is really fun to give to a bowler. You can also change the color of the ball to match their bowling ball color.

I used a 4.25 x 4.25 piece of card stock and a large circle die cut to round the edge of the card stock.

Next I punched 3 circles for the finger holes.

I finished the bowling ball card with this wonderful BOWLING BIRTHDAY GREETING - 215F using white heat embossing.

Thank you for stopping by to check out my cards this week. 

Read more...

Bowling Balls or Berries?

>> Wednesday, December 9, 2020

Hello crafty friends!

I have been a wreath kick lately so I decided to try a sports themed wreath.  I painted the base wreath using Gouache colors and then added in the bowling ball from the Strike! 3 in 1 bowling Designs and the football from Four Corner Sports.  The sentiment banner is the new Ball on Your Birthday Greeting

Then, when I had the bowling ball out, I wondered how it would look if I made it in to holly berries....
I stamped the ball three times and then painted them and some leaves.  I used the Holly Days Christmas Greeting.  I did this on a scratch paper because I wasn't too sure it would work - lol.  Then I made another one using watercolor paper.  This time I masked them and stamped 5.  So fun!
Hope your week is going well!

Hugz,

Nancy


Read more...

Just Moved

>> Tuesday, December 8, 2020

Hi Everyone,

I'm showing off a couple of the new stamps that have been released here at DRS Designs, and they celebrate one of the best milestones in life, getting a new home!  Whether it's purchasing a new place, or moving into an apartment, DRS Designs has got you covered :)

Here I stamped, colored and die cut the Just Moved House Key image.  I'm not sure it shows up in the photo, but I colored in the key using a silver gel pen, so it has that nice shiny metallic look of metal.  I paired that with an embossed background of keys, added a strip of glitter and a few gems to balance it out.


This card is a mini nod to my team mate Nancy. She made a card last week using a portion of the 
New Home Greeting, and I decided to borrow that idea.  She also makes the absolute best wreaths on her cards.  ( Just click here, here or here!)  Mine is not like hers, its simply made using a die (Spellbinders Shapeabilities) and some ink.


Here I continued the greeting inside and stamped the Just Moved House Key a couple more times.


Thanks for visiting today!  

Happy Holidays,
Karin


Read more...

Shell Wreath

>> Friday, November 13, 2020

  by Julie Warner - The Write Stuff

Happy Friday!
I hope your week has gone well! (Goodness..I just saw it's Friday the 13th. Well sure...the way this year has gone, I guess that's par for the course.) Sad to say, all of our lovely fall color blew away when Zeta came through. Almost of all the trees are bare..just a few colorful bushes left. And this week we've had more rain being pushed up by, I can't remember..another of those Greek Alphabet storms. Will it ever stop? 

My card today features a Christmas wreath w/ a shell theme. And just for fun, I added a mostly flat shaker in the center of the wreath.  I die cut the twig wreath out of kraft, then stamped the shells, coral & fish onto coral & peach card stock using the twig & campfire oxide inks. (Some of the coral c/s had been spritzed w/ bleach, so it looks mottled.) I used a couple of Prismacolor pencils to add just a hint of shading then fussy cut them all. 
The white panel had a large circle cut out behind the wreath & I added a stitched circle frame, my shaker & then a peach colored c/s behind it. The whole panel is backed w/ a darker coral color. 

Here's the inside.
Thanks so much for stopping by! Have a great weekend!


Supplies:
paper: Staples 110# white
ink:  Memento tuxedo black, Distress oxide inks crackling campfire, gathered twigs
accessories: Rubbernecker Rectangle StitchCircle Stitch Frames  dies, Twig Wreath  die, Prismacolor Pencils


Read more...

StatCounter

  © Blogger templates Palm by Ourblogtemplates.com 2008

Back to TOP