Showing posts with label New Home. Show all posts

Love & Laughter

>> Monday, July 24, 2023


Hello crafty friends. Today I am sharing a card I made to wish a friend well on their new home.


For my card:

  • First, I stamped the CHRISTMAS VILLAGE CABIN - 212G and then masked it.
  • Next, I used the trees from the MOUNTAIN & TREELINE 2 IN 1 SCENE - 045P stamping them once in green then off setting them and stamping them a few more times lighter and lighter to get the tree background.
  • Finally, I used the NEW HOME GREETING - 967G stamping it under the scene.
  • I then colored the CHRISTMAS VILLAGE CABIN - 212G with copics and added snow to the ground.
  • For the sky I used distress oxide inks in 2 different blues with the lighter blue to the center of the scene.
  • I added some white gel pen for clouds and some touches to the smoke from the chimney.

Thank you for stopping by to check out my card this week.

Read more...

Ohio Buckeye

>> Tuesday, July 19, 2022

 
Hi Everyone,

After moving out of state for her job, my friend has recently moved back home to the great state of Ohio.  While it's not exactly down the block from me, it is much closer than Minnesota, so I made this new home card for her to celebrate the move. 

The background of the card is embossed houses, which really ended up being hard to see after covering it up with a die cut Ohio, but I loved being able to stamp the Ohio Buckeye in the center.  I added a little gemstone in the spot of her new hometown. 


I finished it with some matching twine and a key embellishment that was fussy cut from the 


Inside I stamped the New Home Greeting along with that same key.  

Thanks for stopping by the blog today!
Karin


Read more...

Wishing You....

>> Sunday, March 21, 2021


I love the new ARCHED WINDOW - 370K it is absolutely perfect to send new home wishes to anyone. I created this card by using the ARCHED WINDOW - 370K stamping it on white cardstock and then fussy cutting it and coloring it with copics. I then used an exacto knife to cut out the window. I put a pink cardstock down and added lace to the inside of the window and popped the frame up on dimensionals on the pink card base.


For the base layer of the card I used the BRICK WALL - 260P and covered the entire base coloringn it with copics.

I then die cut grass and punched a flower. 

The card was finished with the NEW HOME GREETING - 967G greeting popped up on dimensionals.

Thank you so much for stopping by to check out my card this week.

Read more...

New Home for the Birds

>> Friday, December 18, 2020

 by Julie Warner - The Write Stuff


Happy Friday!

I hope your week has gone well! It's getting ever closer to Christmas! Are you ready? I guess everyone is mailing everything this year. Just rec'd two priority envelopes (supposed to be 2-3 delivery) and they took 10+ days to get here! Next time I'll tell them to just send it regular mail..no sense paying that much & having to wait just as long. Sheesh!

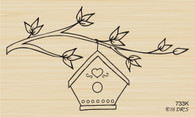
At least these little lovebirds didn't have to wait too long to move into their new digs. I'd say they look pretty happy w/ their little new house. After I finished the card I made last week, I had the long rectangle cut out left over, so I used it on my card today. I stamped the branch & birds then cut out the house from a scrap & attached it on top. I had to do a little masking of the image for the mailbox (I just covered the areas of the image I didn't want to stamp w/ scotch tape).  

Here's the inside & below it are the Copics I used.
Thanks so much for stopping by! Have a great weekend!


Supplies:
paper: Staples 110# white
ink:  Memento tuxedo black
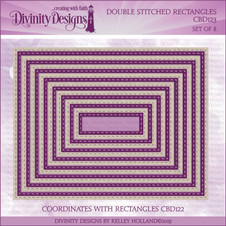
accessories: Rubbernecker Rectangle Stitch die, Double Stitch Rectangle die, Copic Sketch Markers


Read more...

Love and Laughter

>> Thursday, December 10, 2020

Good morning!
This cabin and trees is a Cottage Cutz die.
I used the Mountain & Treeline 2 in 1 Scene set 
from DRS Designs.
I used a torn paper towel to make the sky first, sponging
blue upward then moving the piece over and up to sponge 
more blue.  I then stamped the mountains and made
a couple of mountains where the sky was white (since it looked
like mountains anyway).
I then made the cabin and die cut the trees in green and in white.
I used some Snow Pen and glitter on the roof and mountain tops.
I used Stickles on the trees and part of the roof.

My next card uses DRS Designs: Stonewall and Gate and Just moved key.
The die is an old one from Spellbinders when they first came out with the nesting rectangles.
They are long and skinny...perfect for this card.
I used some tiny flower dies with Prills in the centers and 1 tiny bird die on the gate post.

These new stamps are perfect for your friend with a new house or for the move you are making
yourself.  (I am so hoping to do that last one myself, the sooner the better)!
Thanks for visiting!
Robin


Read more...

Sweater Weather

>> Sunday, December 6, 2020


It is fast approaching sweater weather where I live and that makes me think of creating sweater cards. This POTTED CHRISTMAS TREE - 182G is perfect for the front of a sweater.


I stamped the POTTED CHRISTMAS TREE - 182G image and colored with copics. Once colored I fussy cut it and added it to a red card stock and cut a notch out of the top and layered on a white card base.


Using an argyle emboss folder I embossed the base layer with some punched snowflakes added around the tree.


For the collar on top and the base I used a ribbed embossing tool and glued those down trimming them off to fit the card.


I finished it off with pearls for a necklace.


I have a second card again this week.

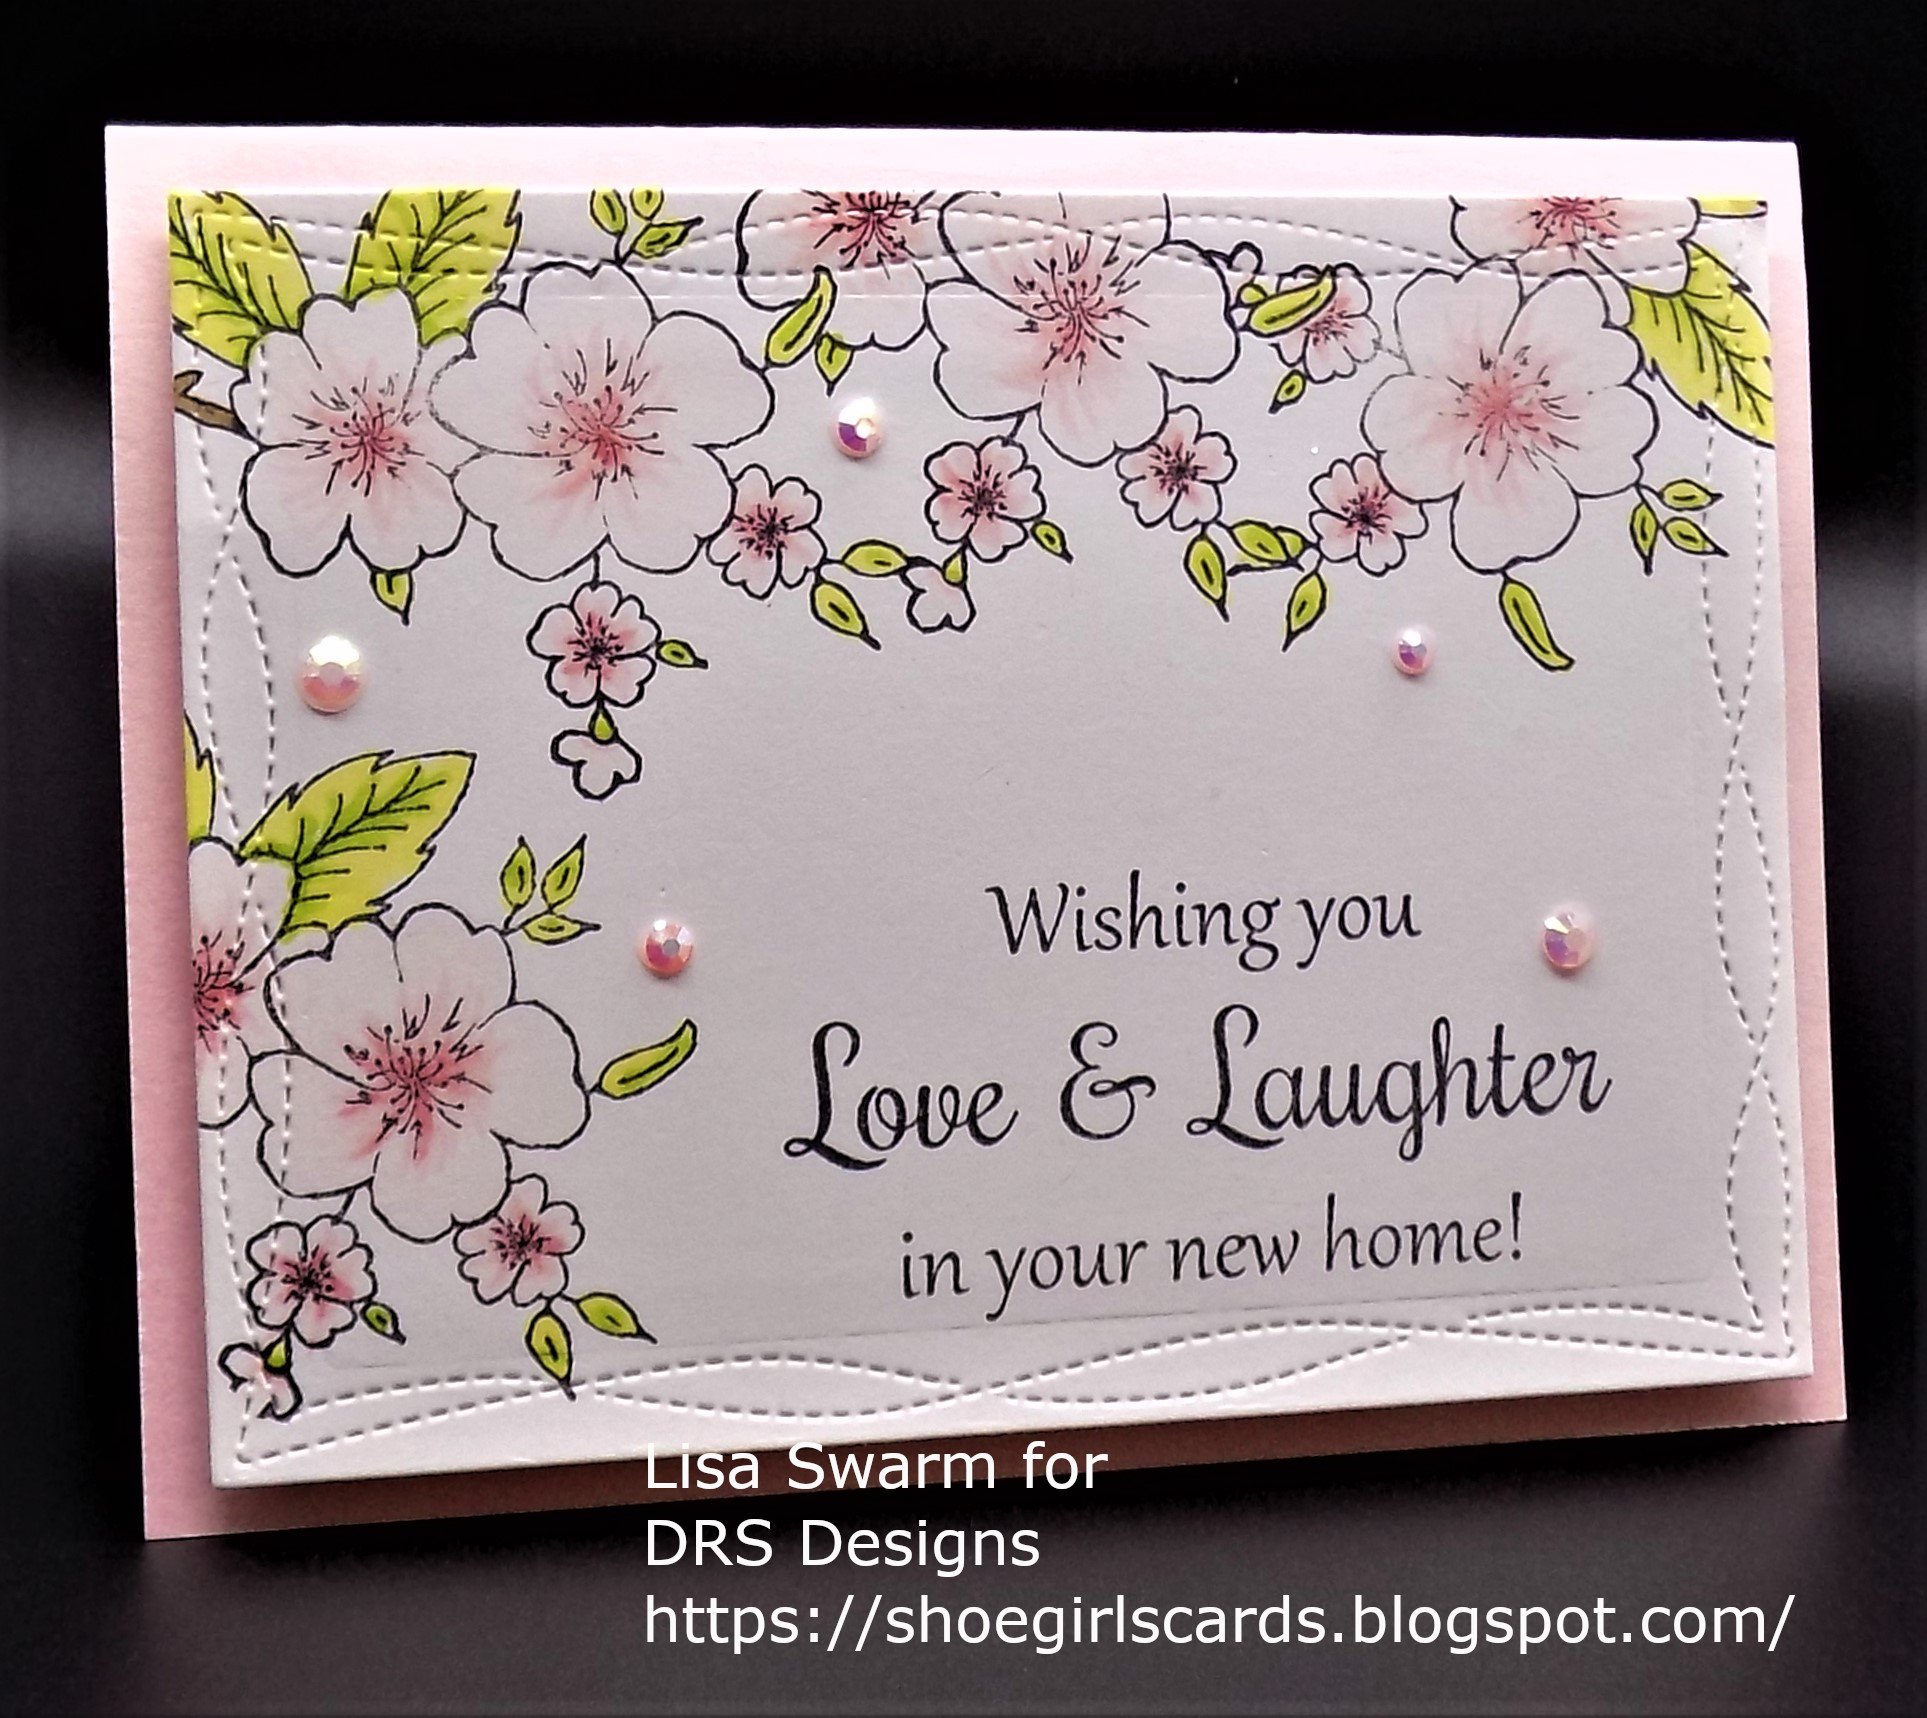
This NEW HOME GREETING - 967G is so perfect to send to anyone getting a new home. When we bought our home I remember the dogwood trees were in full bloom and I just had to use the DOGWOOD BRANCH - 1092H with this sentiment.

I stamped the dogwood branch a few times around the edge of the card panel. Then colored with copics. I added the sentiment and die cut the panel with a wonky border die.

I finished with some soft pink gems and popped it on dimensionals.

I have a surprise 3rd card for you this week.
This card reminds me of my lasts home. When buying a home the first thing that comes to mind is all the projects that need done. We had to strip all the floors in our home and restain them.

For this card I used the WOOD GRAIN BACKGROUND - 626P stamped on Kraft card stock. Next I embossed it with a wood grain emboss folder.

I stamped the JUST MOVED HOUSE KEY - 193F and colored it with copics. While rooting through my supplies I found this washi tape that was perfect for trimming the card. It made me think measure twice cut once. I finished the card with a couple of dimensional flower stickers from my stash.

Thank you for stopping by to check out my cards this week. I hope you have a wonderful week.

Read more...

Fa La La Fun

>> Wednesday, December 2, 2020

I hope you are getting in the holiday spirit and getting your shopping and card making all finished up.  I am getting close!  

Today, I have two cards focusing on the fun Fa La La verse from Deck the Halls.  

This first card was made using the (new) New Home Greeting and my favorite Script Font Background.  I cased THIS card done by Melissa at Splitcoaststampers.com (she is this week's Featured Stamper and a new member of the Dirty Dozen).  

I hand cut the hearts and painted them with watercolors.  I used the leftover water colors on my background.  Once the hearts dried, I used a Tile Embossing Folder and then sponged over the embossing to bring it out using Tim Holtz Vintage Photo Distress Ink.  I had the love part of the greeting covered so I had to add something to represent the laughter .  I love the  Fa La La La La  verse in Deck the Halls so I cut them out using the small Recollections Alpha die.  I doubled them up for support.  Some faux stitching finished this card up.

The negative of the die cut was laying on my counter so I decided to use it as a stencil and make one more card.  I sponged on several colors of SU! and CTMH inks and made the Fa La background.  Isn't it fun?
I have been wanting to use the new Sticky Note Calendar on an actual sticky note so I tried it and it worked perfectly.  When looking through my stamps to finish this off, the Peeking Gnome jumped right out (literally - lol).  I think he adds a lot of fun to this already fun card.  The greeting is the Small Merry Christmas Greeting cut in half.  Super quick and easy card. 

Hope your week has been going well.  

Hugz,

Nancy


Read more...

New Green Home

>> Friday, November 27, 2020

 by Julie Warner - The Write Stuff

Happy Friday!

I hope your week has gone well! And I hope your Thanksgiving was lovely & tasty. With all the reports of people moving (since they're working remotely now), these new images will be perfect for those moving to new digs. 

My card is pretty easy..I took a large paint chip, cut it apart to remove the white lines, then put it back together. Paint chips tend to go hand in hand w/ moving. Even in a new home, people tend to want to paint the walls a color they love. The houses/neighborhood die was cut out of white & attached on top. I already had the card front w/ the large window cut out, so it worked out perfectly. I stamped the key onto white & used a green Copic to color the oval. For the key, I colored around the edges w/ a silver gel pen then used a water brush to drag the color into the key. If you use water on most gel pen inks, it will act like a water color & move. It was fussy cut & added on top.

Here's the inside. 
Thanks so much for stopping by! Have a great weekend!


Supplies:
stamps: DRS Designs - Just Moved House Key  (inside: New Home )
paper: Staples 110# white, paint chip, (sm piece of green for inside)
ink:  Memento tuxedo black
accessories: Rubbernecker Rectangle Stitch dies, Poppystamps Forest Village dies,  silver gel pen


Read more...

New Home Wishes and a Visit with Santa

>> Wednesday, November 25, 2020

Hello crafty friends!   I have been doing a lot of water-coloring lately, and I have some fun projects to show you using DRS Design stamps.  

This first card uses the sweet New Home Greeting that just hit the store (inside I used the new Just Moved House Key).  I love the fun little Mushroom Houses which I water-colored and tucked into this fun Tim Holtz Stitched Slots die.  

I kept my pallet pretty neutral because I love neutrals, but I did avoid using Vintage Photo ink on the edges - shocking!  LOL!  

I have been trying to learn to make scenery with watercolors and this is my favorite so far. The background was pretty easy and the Santa adds the perfect touch of whimsey. 
The Santa comes from one of my favorite DRS Designs images: Santa with Birds Christmas Scene.  I stamped him on water-color paper, colored him up, and fussy cut him so he could sit in the forest and feed a few sweet birds.  

Hope you liked today's post, and thanks so much for dropping by.

Hugz,

Nancy


Read more...

New Home

>> Tuesday, November 24, 2020

 Hi Everyone,

I have a quick post today, because I still have so much to do.  While my Thanksgiving table will only have four around it this year, I'm grateful for each one.  And because I'm still having more than just me, I will be cooking a turkey and all the traditional sides :)  

I used fall inspired colors for my new home card today.  I was looking through my stamps for a house image, and decided on the Snowy Birdhouse because it was a seasonal one.  I colored and die cut it, along with the New Home Greeting.  For the background, I stamped it up using the Small Pinecone image and added some glitter glue and a die cut leaf to complete it. 


Even though I'll be celebrating my holiday with only three other people besides myself, my table wouldn't be complete without a favor.  I found these chocolates at the grocery and decided to cover them up make them more festive. 


I cut the paper into 3"x11" strips and stamped them using the Splatter Background.  I scored it along the center bottom in a couple of spots to wrap around the package and used a hole punch to thread in a ribbon on top. 


I stamped the Script Happy Thanksgiving and the Medium Silhouette Leaf in a die cut oval and attached it with some dimensional foam tape.  

Be sure to pop on over to the DRS Designs store to see all of the newly released stamps...

Cheers for a Happy Thanksgiving, the greatest eating holiday of the year!

Blessings!
Karin


Read more...

Welcome Home

>> Tuesday, October 8, 2019

Hi Everyone,

 We have lots of excitement in the family.  My eldest niece got engaged last week, and her sister, my youngest niece, bought a new home!  And right now they're traveling together across Europe on vacation...They're currently living their best lives, and I couldn't be happier or prouder of the lovely young women they've become.

So, while I'm still struggling with stamping, due to an injured finger, I used some dies to create this new home card to send along with a housewarming gift. 

I dry embossed the background and used some die cut letters (you could use stickers for this too!)
to make the base of the house.  I used a square punch and cut it diagonally to create the roof portion, and added a little heart for the chimney.


I stamped the One Line Welcome onto one of my die cut clouds and added a die cut sprig to stand in for a tree. 

With my finger on the mend, I'm hoping to have a more stamp laden card to share with you next week!

Thanks for stopping by!
Karin

Read more...

Welcome Spring

>> Tuesday, March 27, 2018

Hi Everyone,

I have a couple of cards to share that use some of the newer stamps released at DRS Designs.  This card was made with my niece in mind.  We're so happy because she just bought her first house, and I thought a welcome to home ownership card would be perfect to showcase the new Welcome Oval stamp. I stamped it and sprayed it with adhesive, covering the whole thing in iridescent glitter.  When it was dry, I added a black mat. 


I dry embossed the top portion using a Darice folder that had the words "hello", and along the bottom I stamped the Mushroom House, coloring just one to match the green card base.  I then added a ribbon and attached the oval.

This card was made simply to celebrate Easter!  I used springtime colors of pink and green, and I stamped the pink background and white panel using one of my favorite flowers the
Dogwood Branch.  I wanted to feature the Decorated with Love Easter Greeting, so I stamped it and added some sponging when the die was still in place.  I liked the design on the above welcome stamp, so I stamped it, cut it in half and placed it behind the greeting.  


I added the adorable Vincent Van Bunny that I colored and fussy cut.  

Happy Easter and Happy Spring!
Karin


Read more...

For Your New House

>> Wednesday, July 30, 2014

Hi Stampers!

Jennifer here today to share a card I made for my Sister. She recently moved into her own condo after living with a friend for many years. The newest Bee-themed stamps were perfect for her "new home" card:
and the Bitsy Bumble Bee (1020A) is an older image that is still available in the current catalog.


 The hive image was colored with Copic Markers and cut out with a Nestie die. Then I cut a Post-It Note mask and sponged blue ink around the edges while it was still in the die. It was matted on a black scallop.  The black card base was cut and folded to make an A2 size card.  I stamped a yellow piece of cardstock for the card front with the Honeycomb design using yellow ink and then split the "Our House To Yours" greeting and stamped it as shown so it would fit around the image. Black grosgrain ribbon was tied across the lower portion of the card front and then the matted image was placed in the center. Next I stamped, colored, and fussy cut the Bitsy Bee and adhered it to the upper portion of the hive image using dimensional tape.  The final stap was to stamp the Bee Trail to make it look like the bee had just flown into place on the card front.  For the most part, this card was pretty simple to create. 

My Sister really liked this card and has it displaying on her mantle.  I hope you like it too!

Have a great day!

Smiles,
Jennifer

Read more...

New Home Welcome

>> Wednesday, June 18, 2014

After serveral years of poor economic growth, the housing market seems to finally making a turn for the better in my area.  There's quite a few houses up for sale in my neighborhood and both my parents and my In-Laws are looking to relocate as well.  There's been a surge in the real estate business, now that the weather is finally nice, and it looks like I'll have some new neighbors soon! I've created a little note card to welcome my new neighbors whoever they my be!  


DRS Designs latest release included this adorable Mushroom House (091C) that I've paired with the One Line Welcome Greeting (737B).  I stamped the Mushroom House on ivory cardstock and colored it with Copic Markers.  I matted it with kraft cardstock and then again with dark brown cardstock that was cut with a decorative die.  The card front was made from a piece of kraft cardstock that was embossed with the Swiss Dots folder for texture and then matted in dark brown.  Two dark brown brads were added to fill in the space in the lower right corner.  I stamped the Welcome Greeting on a fish tail banner and adhered it to the top of the card front as shown. The last step was to adhere the card front to an ivory cardstock base that measures 3" x 5.5."

Don't forget to check out DRS Designs latest challenge, "On The Border."  Using any type of border on your challenge project will enter you in a chance to win are great prize from DRS Designs.  Hurry, today is the last day to enter and a new challenge will begin tomorrow!  

Thanks for stopping by and have a wonderful day!

Smiles,
Jennifer

Read more...

Challenge #117 - Pop Goes 1 Color!

>> Thursday, April 10, 2014

Welcome to the DRS Thursday Challenge!
First, the Winner from the Random Drawing....
Christi Conley
Congratulations! You are the winner from our Who's the (em)BossChallenge!
Please send an email to info@drsdesigns.com to claim your prize.

This week we're doing a color challenge. And we're asking you to... 
Pop! Goes 1 Color!
(use black & white + 1 Color of your Choice) 

To enter, show us your card  by linking it below. The deadline for this challenge is Wednesday, April 16, at 6 pm EDT. Challenge entries don't have to use DRS Designs stamps, but if you use them on your challenge card, you'll get an extra entry into the prize drawing. From all of the entries, one lucky winner will be chosen to receive their choice of 2 stamps from the online catalog at www.drsdesigns.com!

Here are the Color Challenge cards from our talented DRS Design Team and we'd love for you to leave us a comment!

Read more...

StatCounter

  © Blogger templates Palm by Ourblogtemplates.com 2008

Back to TOP