Showing posts with label frames. Show all posts

Bluebird Window

>> Friday, April 16, 2021

by Julie Warner - The Write Stuff

Happy Friday!
I hope your week has gone well! Spring has definitely sprung! And our pollen counts here have been insanely high. So allergies are also in full swing. Yay..(sneeze). 

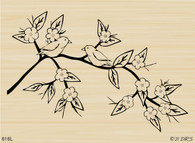
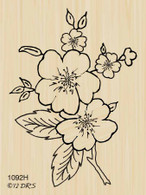
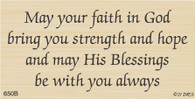
As a nod to our dogwoods, which are in full bloom right now, I used a dogwood branch on my card, but sort of turned it into a cherry branch. There are pink dogwoods, but I can't remember the last time I saw one. For my card, I stamped the bigger branch a few times off to the side of the top panel, then used a smaller rectangle to cut out the window. I used my "into the window" technique, which is similar to out of the box..just goes a different direction. The smaller branch w/ the birds, was stamped onto a smaller panel & put behind the frame. The frame is popped up a bit & I added the greeting & a little bird to it, along w/ some stickles in the flower centers. 

Here's the inside & below it are the Copics I used.


Thanks so much for stopping by! Have a great weekend!


Supplies:
paper:  Staples 110# white
ink:  Memento tuxedo black,  (Kaleidacolor Baby Powder also used on inside)
accessories: Rubbernecker  Rectangle Stitch dies, Copic Markers, stickles

Read more...

Birthday Candles Frame 🎂

>> Friday, July 26, 2019

by Julie Warner - The Write Stuff

Happy Friday!
I hope your week has gone well! We had a little surprise cool front here & woke up to temps in the upper 50's & low humidity. It felt like late Sept instead of the end of July. I'm not complaining..it feels awesome! 

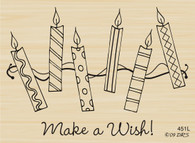
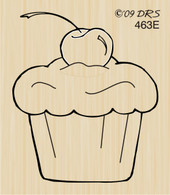
My card today is all about cake & candles. I thought I'd just use partial images & put them in the Wooden Frame Collection. I stamped the frame (& added an extra one across the bottom) then made a reverse mask, then stamped the images inside. Since there was so much going on here, I kept the color palette simple. 
Here's the inside & below it are the Copics I used.
Thanks so much for stopping by! 
Supplies:

paper: Staples 110# white, lt blue
ink: Memento tuxedo black 
accessories: Rubbernecker Rectangle Stitch dies,  Copic markers


Read more...

Grad Frame

>> Saturday, May 11, 2019

Welcome!


I actually had a lot of fun finding just the right stamps to fit inside our new Wooden Frame and in the end it's the hand holding the diploma that I like best :)


I started my card by stamping our new Wooden Frame on white card stock and then on a piece of scrap so I could make a reverse mask. I covered the 3 bottom openings first and stamped the Congratulations from our Grad Saying.  Next I covered that opening with scrap and removed the covering from the center left section and stamped our Teacher Tools and then did the same with the last 2 sections stamping both our Grad Tassel and then just the hand from our Male Graduate but you could use our Female Graduate as well.  Once I removed all the masks I colored everything using watercolor pencils and a blender pen.  The most time consuming part of the whole card was finding just the right background :)  I tried several stamped backgrounds that just seemed too busy and a couple of plain ones that were too plain.  I finally decided on my favorite swiss dots embossing folder.

Thanks so much for stopping by!
Sue

Read more...

Harvest Moon

>> Friday, November 6, 2015

by Julie Warner - The Write Stuff

Happy Friday!
I hope your week has gone well! I wish the leaves that have already fallen looked like this pile. All dry & pretty colors. So far, I'm not getting my pretty fall..it's definitely been cool, but it has been dreary & rainy. Days & days of it.  Our leaves are one big, soggy mess. They stick to you, your shoes, everything, then they come in the house w/ you. We have had some monster acorns this year. I think they're bigger than the pecans. It sounds like the roof is being blasted w/ boulders when they fall. Seriously, they could hurt you if they fall on you! 

My card today is an homage to the fall I thought we were going to have. Oh well. I sponged the distress inks onto white c/s then stamped the tree & added some white highlights. The moon part was stamped on a separate piece of white & fussy cut. I added a thin white & a wider black layer then attached a white frame on top. The greeting was stamped across the bottom, a fussy cut pile of (dry) leaves & a couple of punched pumpkins.

Here's a look at the inside using a sponged little frame. 
Thanks so much for stopping by! Have a great weekend & don't forget to check out the DRS Thursday Challenge...this week..Pile it High (have at least 2 layers or an elevated element).
Supplies:
paper: Neenah white, black
ink: Versafine onyx, Distress inks in mustard seed, spiced marmalade, rusty hinge, barn door
accessories: Spellbinders A2 matting bascis A&B dies, white gel pen, small pumpkin punch

Read more...

Peep in an Egg

>> Friday, March 13, 2015

by Julie Warner - The Write Stuff

Happy Friday! 
Yikes! Friday the 13th again!??! Seems like we've had a streak of these over the last year. My vote is to just do away with them. So the next time one rolls around, we just skip it and move right on in to what we'll call first Saturday. Then on Saturday, it will be second Saturday...sort of a long weekend. Sound like a plan you could get behind?

For my card today, I have a peep in an egg. It's just an idea that came to me and if I don't make it, it will pester me until I do. So I did it. After I stamped, colored & fussy cut the egg & the peep, I drew a zigzag line across the egg & cut it. The two eggs & some of the tulips were stamped on the background with the greeting. A few more tulips were fussy cut to add on top of the frame. The frame was a leftover so I used a piercing rectangle on it to add a little interest. The finished card is 5.50 x 4.25 and these are the Copics I used.
Thanks so much for stopping by! Have a great weekend! If you haven't yet, check out the DRS Thursday Challenge...this week, FLOWERS! Use stamped, punched, die cut, silk, paper, any kind of flowers on your project.


Supplies:
stamps: Easter Egg, Favorite Peep Greeting, Tulip Bunny, Simple Easter Bunny
paper: Neenah white
ink: Memento tuxedo black
accessories: Copic markers, Spellbinders A2 matting basics A & B, pierced rectangle dies

Read more...

Sunny Daffodil

>> Sunday, March 8, 2015

Hi, today is a beautiful day with blue sky's and the sun is shining. Spring is on it's way, and it wont be to soon for me. I'm so ready to be outside and to start working in the garden.


For my card I used the Daffodil Frame. It was colored with Copic markers. I used a x acto knife to cut around some of the petals then fussy cut the image. I placed foam tape behind the cut outs then glued it to the card. I'm still unsure about the purple it may be to dark for this spring image.


This is a close up so you can see the popped up parts.


Have a wonderful day,

Read more...

Saddle Up Birthday

>> Friday, August 15, 2014

by Julie Warner - The Write Stuff

Happy Friday! 
I hope your week has gone well! I'm still working on a few birthday cards. It's always good to have a few on hand and I have several coming up next month. This is little cowpoke is so cute! After coloring and fussy cutting him, I added him to a white frame I stamped w/ just the rope portion of the image. For the inside, I sponged on yellows, oranges & a bit of red at the top, then stamped the silhouette cowboys & the stars in a combination of sky blue and soft pool because I wanted them visible, but not so dark that the greeting wouldn't show up well when I stamped it on top.

The finished card is 5.50 x 4.25 and these are the Copics I used to color the cute little cowboy.
Thanks so much for stopping by! Have a great weekend!


Supplies:
stamps: Saddle Up Cowboy, Cowboy Silhouette, Saddle Up Birthday Greeting, Starry Background
paper: white, black
ink: Memento tuxedo black, Kaleidacolor melon melody & desert heat, Memories sky blue, HA soft pool
accessories: Copic markers, Spellbinders A2 matting basics A & B

Read more...

Happy Belated Birthday

>> Tuesday, July 23, 2013

Hi Everyone,
 
If you hand make a card, how can anyone be upset that you're late in remembering their birthday, right?  Especially if it's pink and has glitter :)
 
A simple embossed background lets this beautiful Fanfare Square shine as the main element on my card today.  I inked my stamp in Versamark and then in Versafine black ink, before embossing in rainbow embossing powder.  It's basically a clear powder with some glittery flecks in it, but when paired up with a dark ink, it has a marvelous sheen.  I die cut the square and added a bit of pink color with a Copic marker.  The Tiny Belated Birthday greeting was a perfect fit in the center and I added some dimension to the card by using pop dots to adhere some the layers of my focal element together.
 
 
For embellishment, I used just the flowers from the Three Flowers with Butterfly stamp by fussy cutting them and adding them in a little group.
 
Thanks for dropping by and remember to join us every Thursday for a challenge.  The theme this week is "Lucky Stripe".  Hope to see you there!
 
Karin


Read more...

Happy Birthday!

>> Monday, July 22, 2013

I hope you have all had a great weekend and got a reprieve from the heat wave!! This weekend has been so pleasant!! My husband and I were able to sit out on the deck and enjoy our swing. Something we haven't been able to do as much as we'd like. It felt so good!!


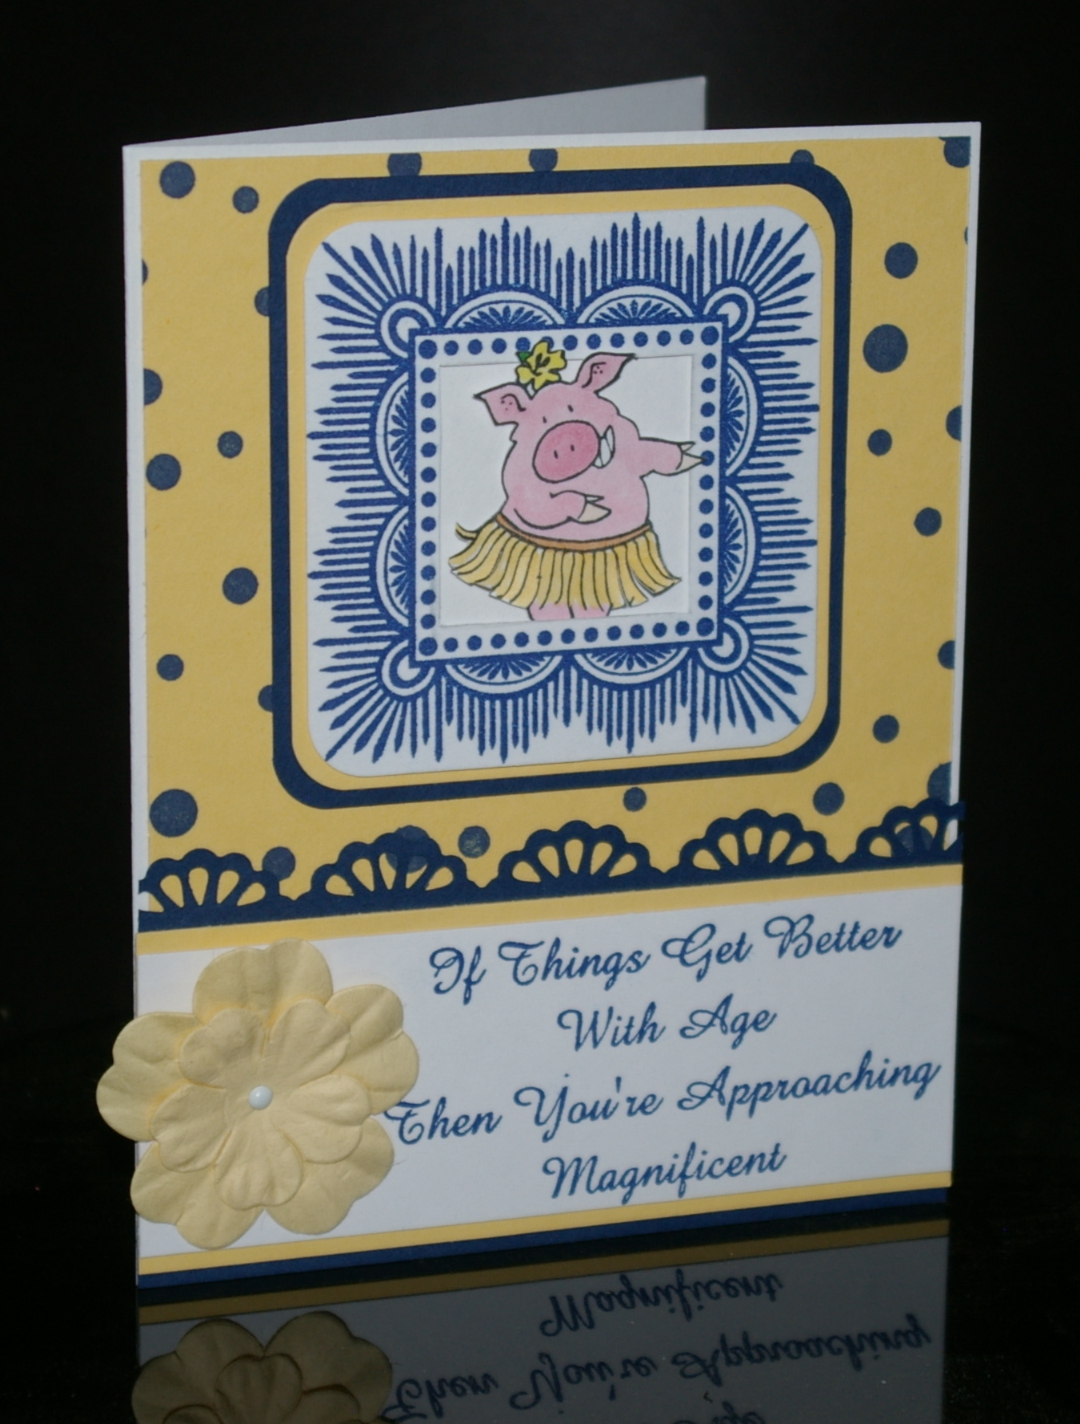
Today I want to share with you a card I created using our new Hula Pig. I think you will be seeing a lot of her in the near future. She is just too cute!!


I stamped the easy dot background in Navy ink on So Saffron paper and layered it on the white card base. The sentiment was also stamped in Navy on white CS, then layered on So Saffron and then Navy CS that was punched with a shell type border. The paper flower was added with a glue dot. For the main image, I stamped the fanfare square in Navy ink on white CS, die cut the center out, then layered it on white, So Saffron and Navy squares. The Hula Pig was stamped on white CS, with Memento Black ink, colored with Copics, then fussy cut. I also cut the strands of her grass skirt and curled them a bit before centering her inside the opening of the frame with glue dots. I think she goes great with this birthday sentiment.

Thanks for stopping by today. There's still a couple of days to join this week's Lucky Stripes challenge. You can see details here.

Until next week,
shelia

Read more...

Birthday Sparkle & Splatter

>> Friday, July 19, 2013

by Julie Warner - The Write Stuff

Happy Friday!
I hope you're having a great week! I'm here with another birthday card (you can never have too many of those!). On this card, I stamped the Fanfare square and colored it with Copics before using a square die to cut it out. I stamped just the inside section of it again and added the sentiment inside before using a smaller square to die cut it.

For the background, I used the Splatter background to add some purple splatter on a few of the layers for interest. After attaching the layers to my 4.25 x 5.50 card, I added some purple and pink crystals in different sizes.

Thanks so much for stopping by! Have a great weekend!


Supplies:
stamps: Fanfare Square, Birthday Multi Greeting, Splatter Background
paper: white, purple
ink: Memento tuxedo black, grape jelly
accessories: Copic markers, crystals, Spellbinders square dies

Read more...

RED HOLLY DAYS!

>> Wednesday, December 21, 2011


Happy "Holly" Days Everyone!!! This is Chrissy D here!!! I can hardly believe Christmas is a mere 4 days away! Every day has been packed with activities and while this is my favorite time of year, I am ready for all of the Christmas cookies to be gone! 

On todays card, I used the FUN Fanfare Square and stamp it in red, blue and green. I then made them into a diamond shape and mounted them on black card stock. I stamped the Design Tag Die Cut  in Black Memento Ink and colored it with B05, R46 and YG67 from my Copic collection and cut it out with my scissors and mounted it on dimensionals. I stamped the Happy Holly Days Greeting in blue ink and finished the card off with some Red Satin Ribbon and gems in each corner.

I hope you have a WONDERFUL, SAFE and VERY MERRY Christmas! Thank you for stopping by!!
Chrissy D

Read more...

StatCounter

  © Blogger templates Palm by Ourblogtemplates.com 2008

Back to TOP