Showing posts with label Baby/ Children. Show all posts

Baby, Congratulations

>> Monday, April 8, 2024


Hello crafty friends. I have a super cute baby card to share with you this week.

For my card:

Thank you so much for stopping by to check out my card this week.

Read more...

Congratulations Baby Card

>> Monday, August 14, 2023


Hello crafty friends. Today I am sharing a baby card I created using the adorable JENNY GIRAFFE - 859G.


For my card:

  • I stamped JENNY GIRAFFE - 859G on white card stock and colored it with copics.
  • Next, I cut a heart aperture out of white cardstock and then embossed the layer.
  • The heart layer was placed over the JENNY GIRAFFE - 859G.
  • I finished with die cutting the Congratulations sentiment 4 times out of white and layered. I then colored the top layer with copics so that it would match the colors in JENNY GIRAFFE - 859G.

Thank you so much for stopping by to check out my card this week.

Read more...
Baby Celebration

>> Tuesday, June 6, 2023


Hi Everyone,

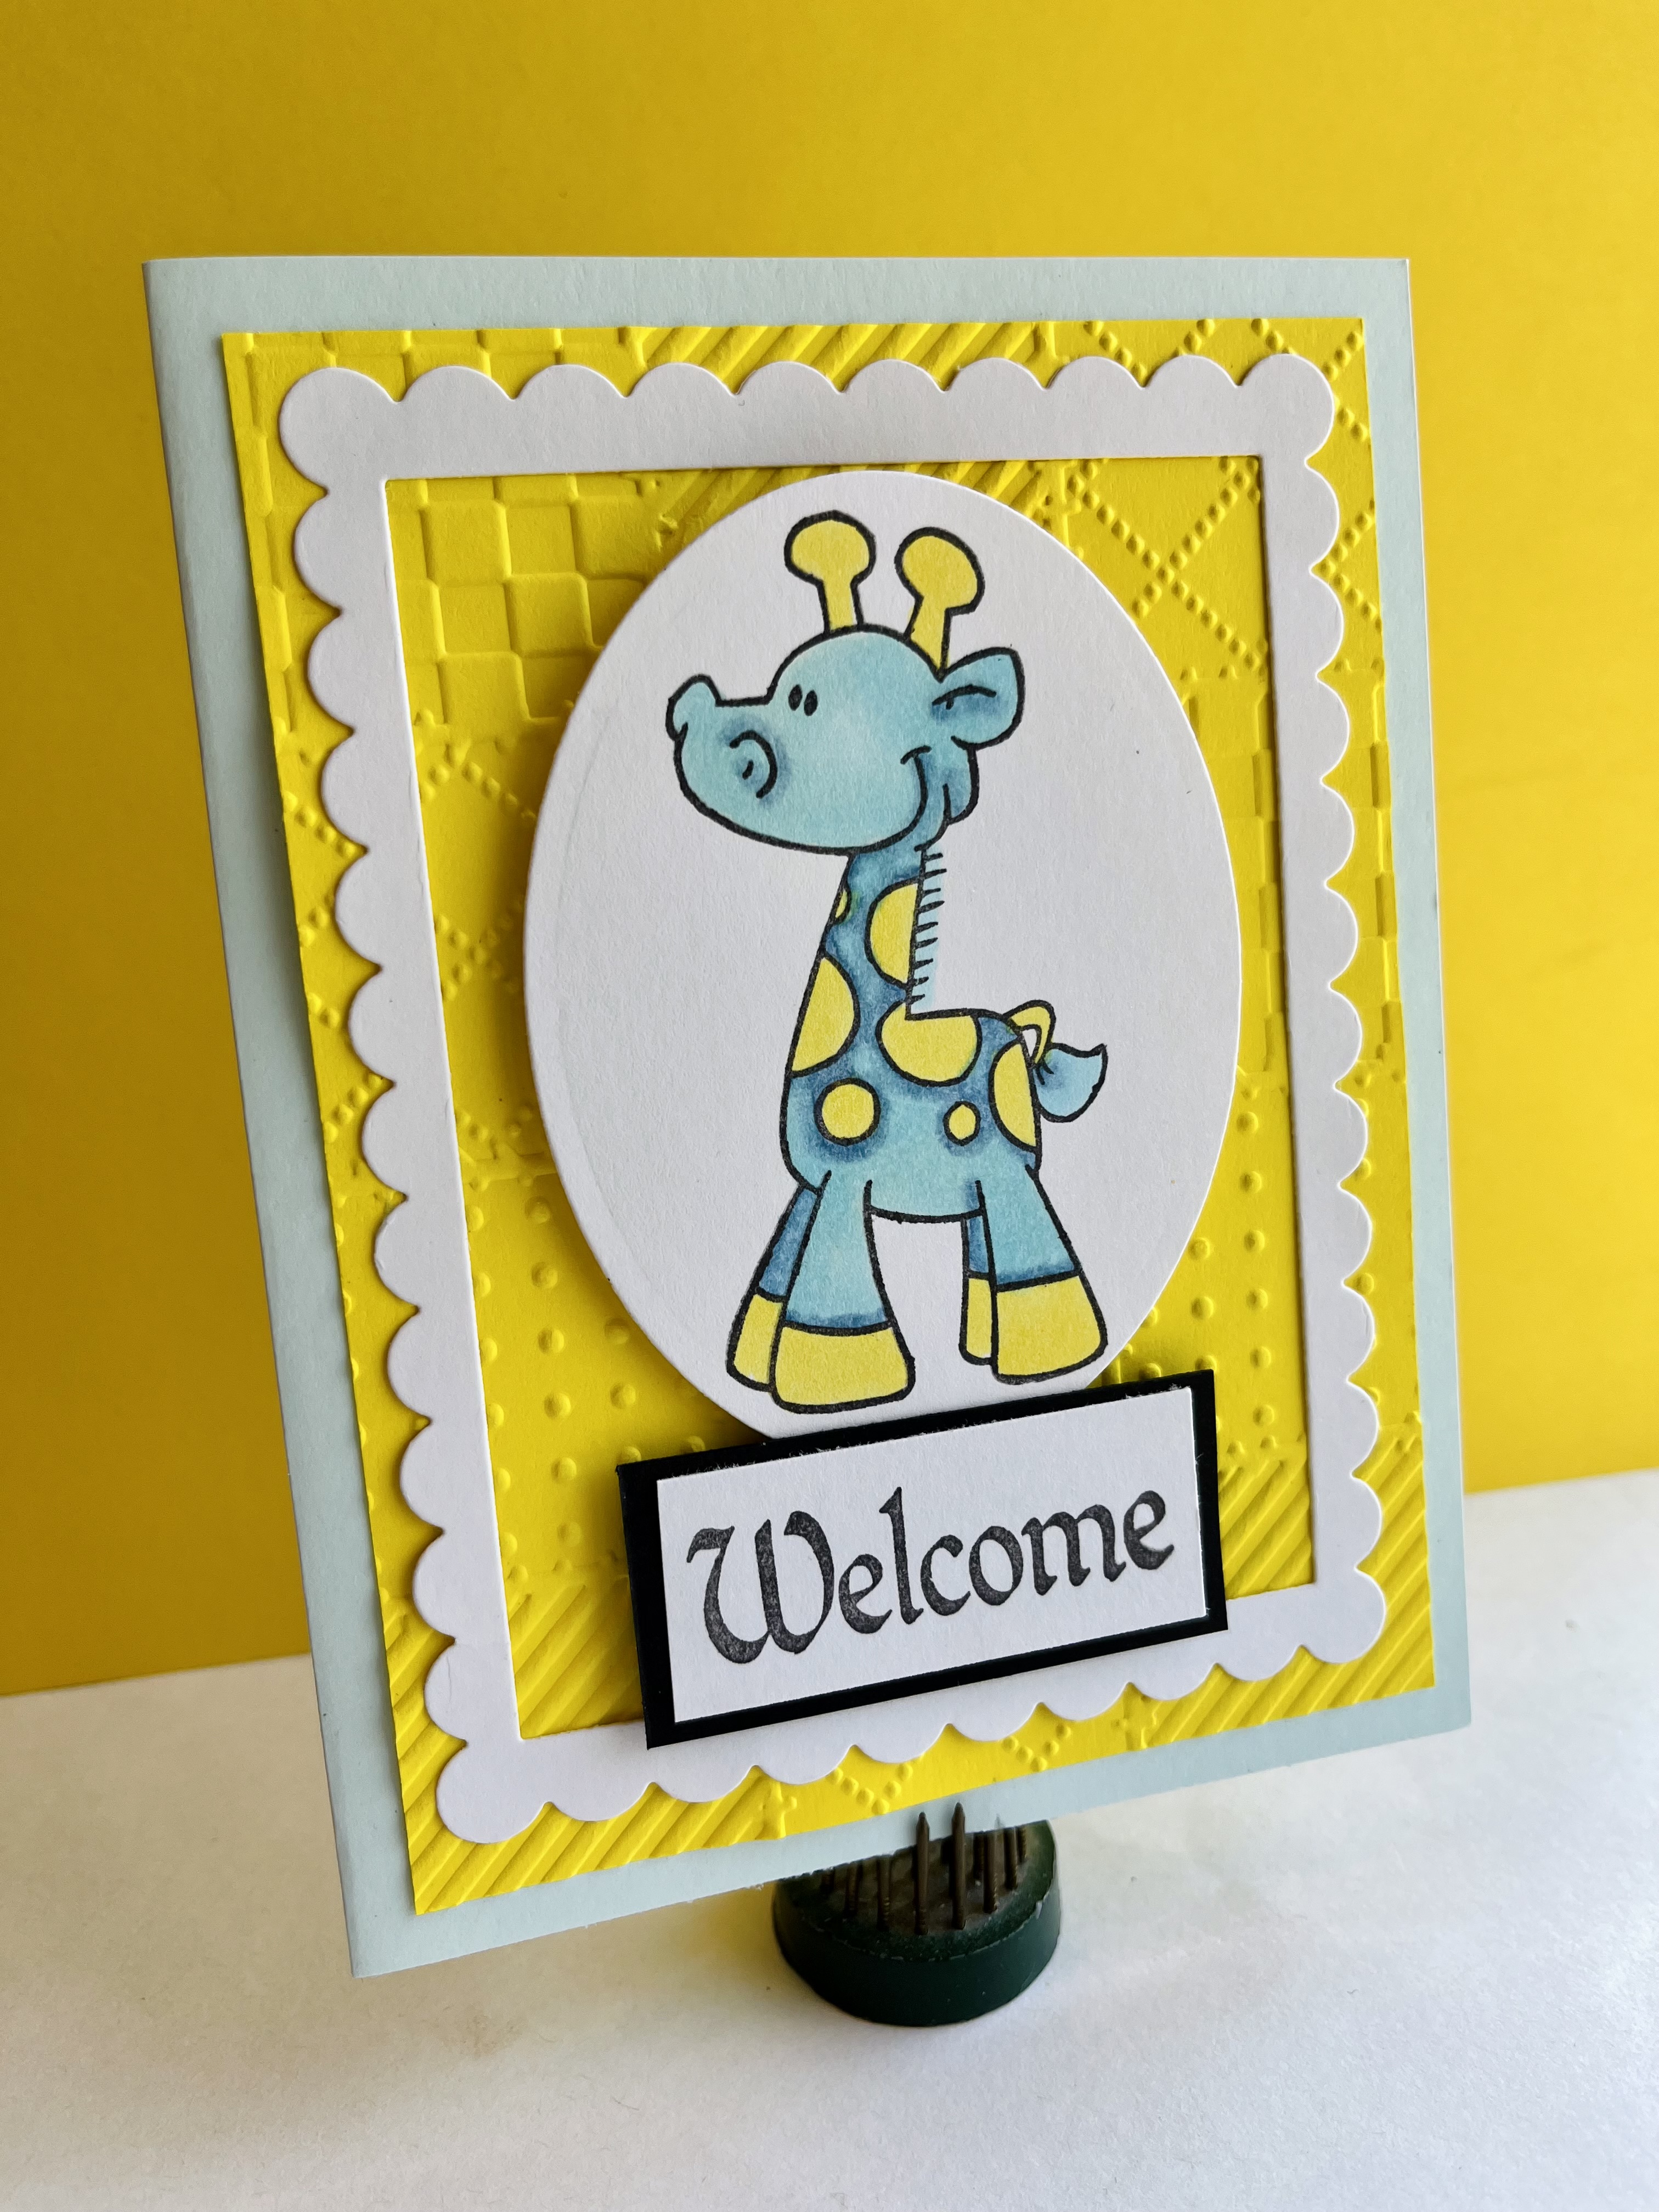
My niece's baby shower was this past weekend, so this post is of the projects I made for the celebration.

They know the baby is a boy, so I colored up Jenny Giraffe in yellow and blue, adding a simple 


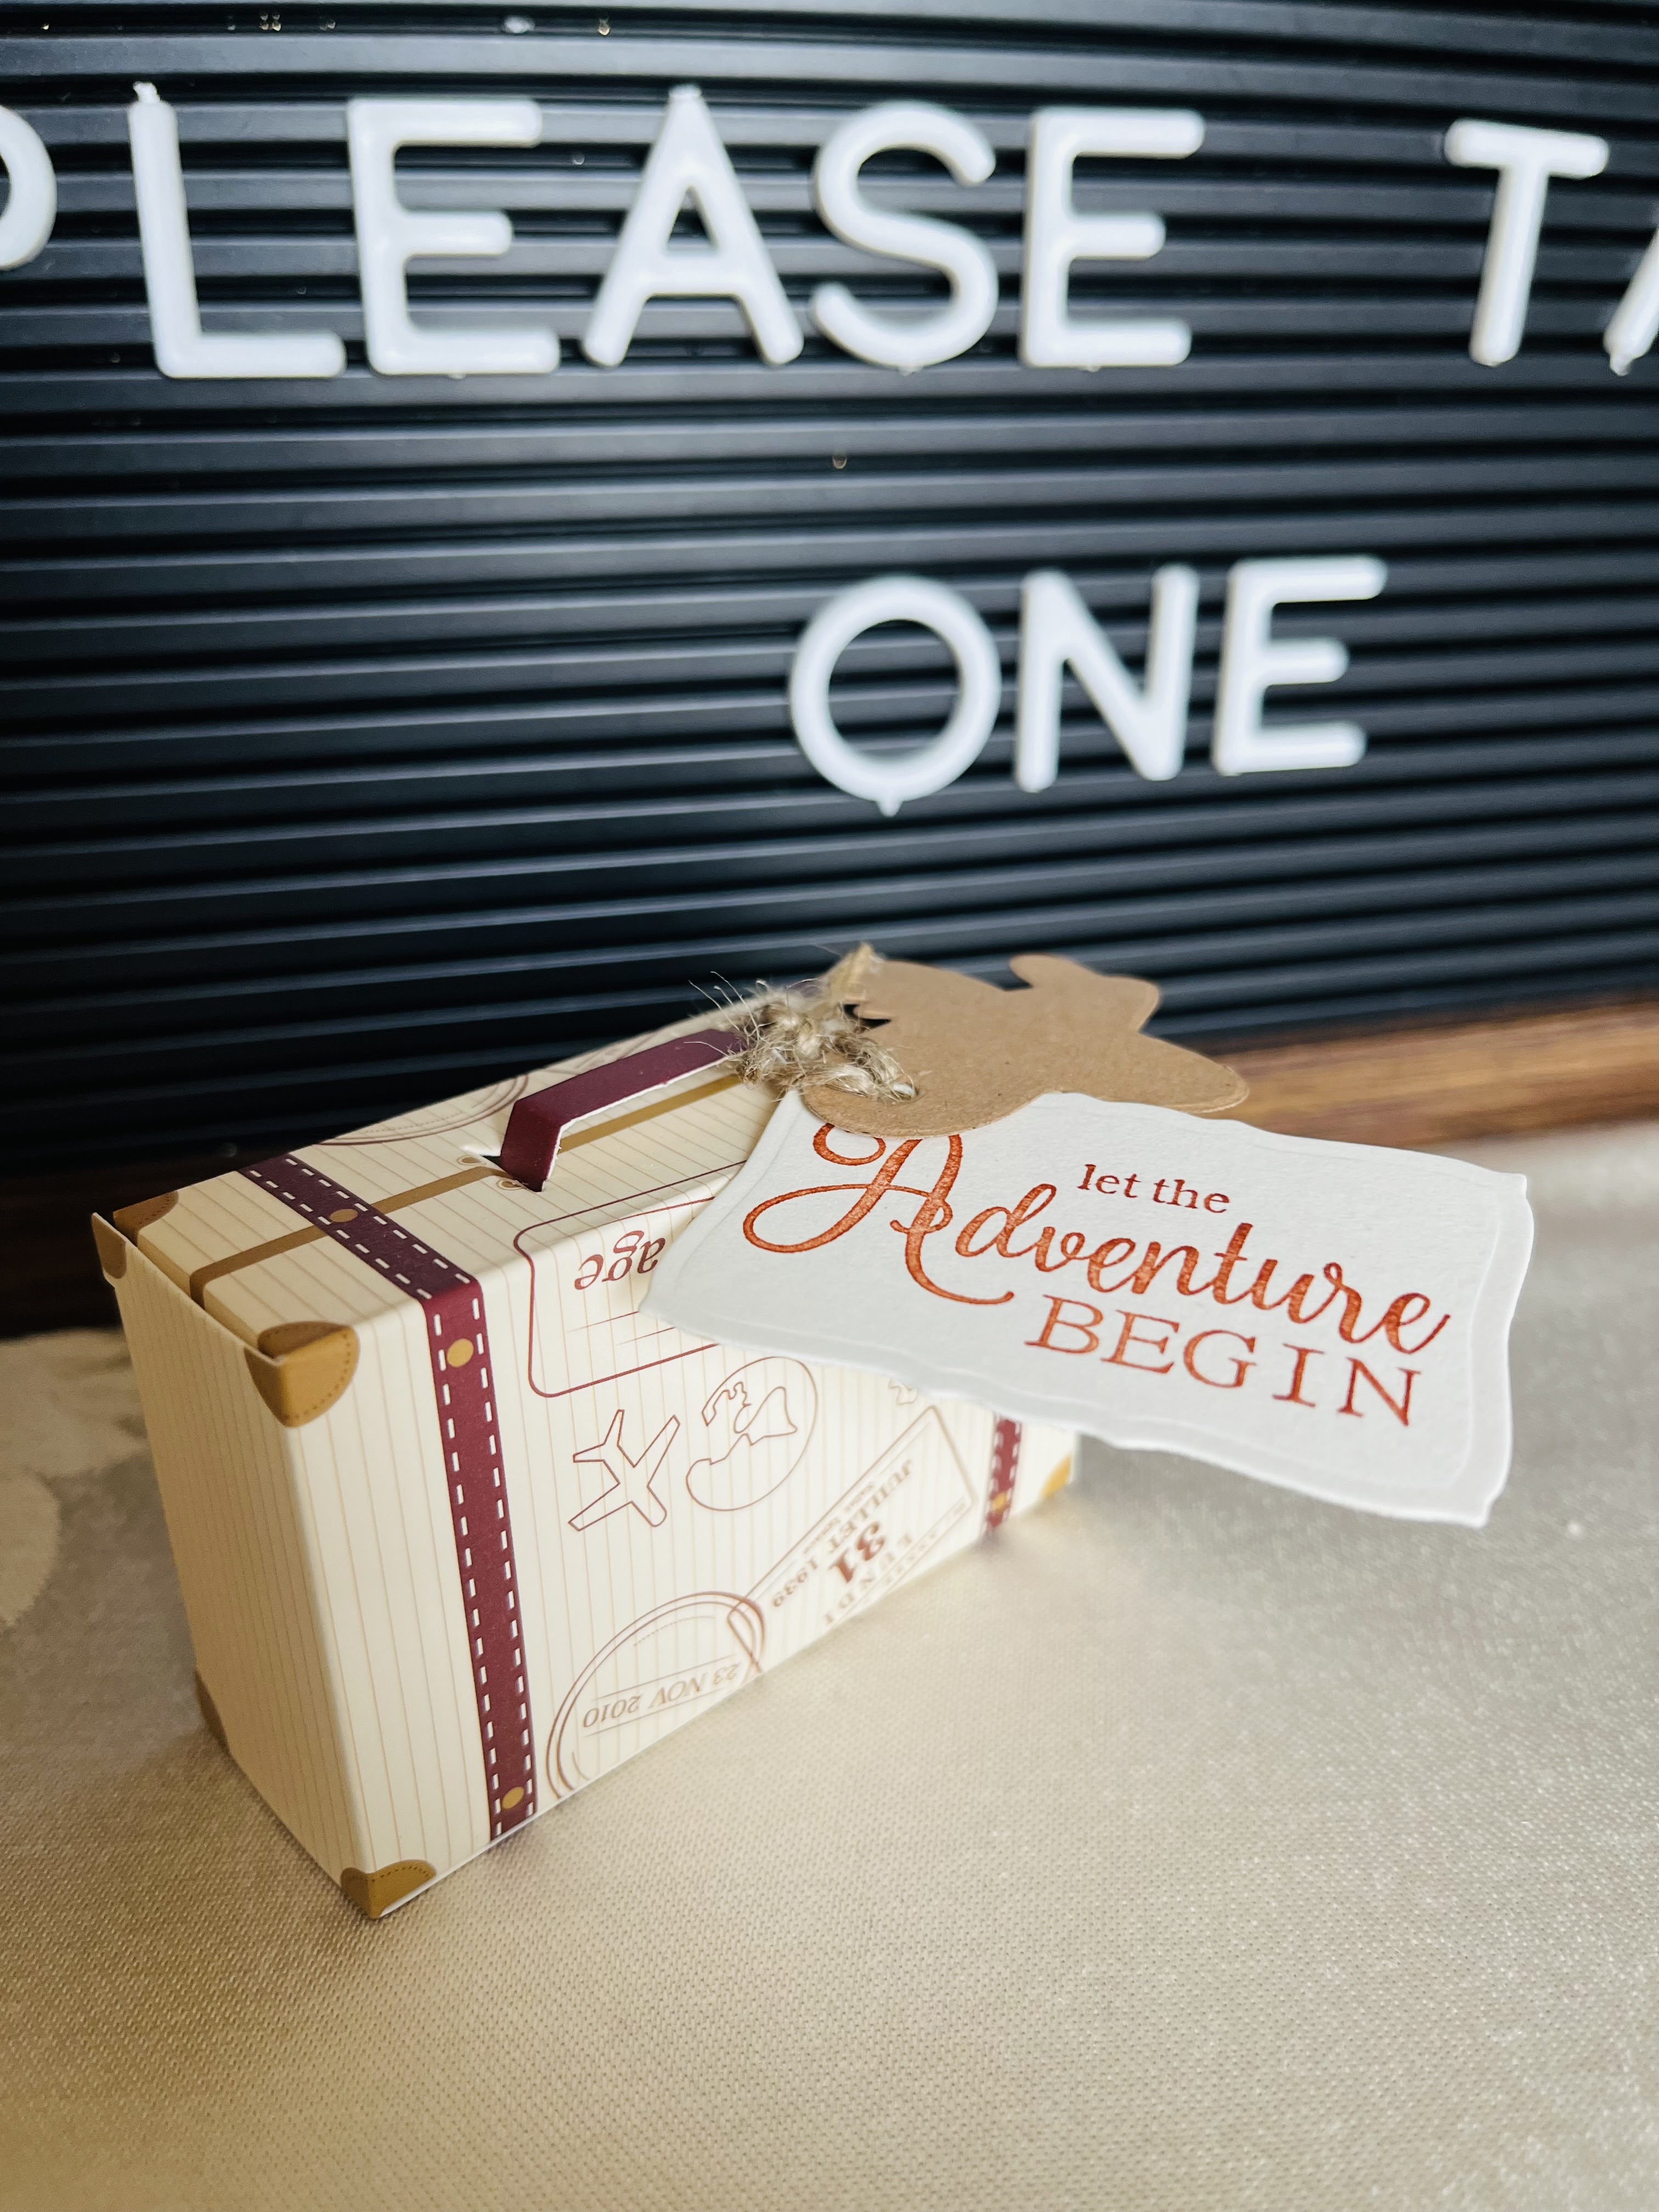
Julianne and Dan are big travel buffs, so the party was to have a adventure theme.  I was in charge of making the favors, so I got the suitcase boxes online and added my own tags using the Let the Adventure Begin Greeting.  

I displayed the favors in a vintage suitcase with this letter board sign, but I forgot to take a picture of the final set up...Of course. (Eye roll.) 

Thankfully I took these along the way as I was making them.


Here is a close up of the favors.


And here they all were, waiting to be tagged.  At the bottom you can see the little chocolate globes that I filled them with.


Here we are with the happy parents to be :)


Thanks for peeking in today and I'll be back with some more patriotic cards next week!

Karin


Read more...

Cute as a Button with a Tutorial

>> Monday, March 27, 2023


For my card today I thought I would have a little fun with it. I had never tried the Basket Weave and thought I would give it a try. It is so easy and a great way to add a little interest to your cards with no extra tools needed besides scissors. I used the tutorial on splitcoaststampers.com HERE.

One thing I did that made it a bit easier is when I folded the weave, I used my scoreboard to score the pieces. This helped to keep the cardstock from tearing while I was folding them.

For the rest of the card:

I hope you give the Basket Weave a try. It is very easy and really adds a lot of fun to a card. Thank you so much for stopping by to check out my card this week.

Read more...

Sweet Baby Girl

>> Thursday, June 30, 2022

Good morning!

Isn't this just too adorable?
It makes a sweet baby card doesn't it and of course you can change the colors to blue for aa boy.
I used Jenny Giraffe for my image today partnered with a few paper dies to make this card.
The background is from Lawn Fawn, stitched rectangle is Rubbernecker, frame from Pink Fresh
the words Baby Girl are from Amazing Paper Grace and Sweet is from the Stamp Doctor.
I just love this sweet giraffe though, she is a favorite with me.

How about the sweet little baby boys though?
Hey, how about this?
I used the same background die in blue and then used green for another splash of color
to mat and for the words.
This time I used Jungle Jim the Elephant.  He looks like a boy!


I hope this has inspired you to use your stamps 
in other ways.
Thanks for visiting!
Robin


Read more...

Congratulations Babies!

>> Monday, May 16, 2022


I needed a quick  baby card and it needed to be neutral. MICHELLE MONKEY - 871E is perfect for a baby card.

  • I stamped MICHELLE MONKEY - 871E and colored the image with copics.
  • Next, I die cut the baby jumper.
  • The GRAD SAYING - 622G has a great Congratulations on it and is perfect to use for any congratulations on a card and is a great way to stretch your stamps. I stamped just that on the white card stock then die cut the layer.
  • I added a die cut baby rattle and popped the baby jumper up on dimensionals.
  • The panel was added to a script emboss folder and layered on brown card stock.
When I think of new babies, I also think of new fur babies. I have a second card this week welcoming a new fur baby.

This card features the new LET'S PLAY PUPPY - 1110F. This card is a slimline card front.

Thank you for stopping by to check out my cards this week.

Read more...

Wishing You...

>> Monday, October 25, 2021


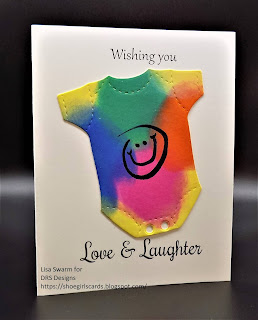
I love looking for ways to stretch my stamps. This New Home Greeting - 967G - DRS Designs is a great sentiment but if you look at it different you can use it for a baby card.


I die cut this baby outfit and added some fun colors using some distress oxides giving it a groovy vibe. I then added a hand drawn smile. The card was finished with the New Home Greeting - 967G - DRS Designs.


Thank you for stopping by to check out my card this week.

Read more...
Little Boys

>> Sunday, September 13, 2020


Little boys are so much fun. I miss mine being little but when his cousins come over I get to build the memories with them.

This FROG BOY CUTIE PIE KID - 428H is just the cutest image and perfect for any little boy card.
I stamped the FROG BOY CUTIE PIE KID - 428H and masked him once stamped. Then I stamped MOUNTAIN & TREELINE 2 IN 1 SCENE - 045P Stamping the mountains in brown and then the trees in grey then green over the top of the grey trees to add depth to the scene.

Next I stamped RIVER ROCKS & FENCE LINE 2 IN 1 SCENE - 087P.
Once all the images were stamped I colored the scene with copics. Then I sponged clouds and drew in the birds.


I also made this great Halloween background paper. I wanted to play with several of the new images from DRS Designs using the Halloween stamps and the quickest way to play with them was to create a fun background with them. I heat embossed the 4 IN 1 HALLOWEEN SILHOUETTES - 1152DEMPTY SPIDER WEB - 329G and ARGYLE BACKGROUND - 438P all in white on orange card stock.

I then cut a brown layer and added the ribbon. I finished off with the SMALL TRICK OR TREAT GREETING - 001C and sponged orange while the sentiment was still in the die cut.

Thanks for stopping by for a look at my cards.

Read more...

Lasso the Moon Valentine

>> Friday, January 25, 2019

by Julie Warner - The Write Stuff


Happy Friday!
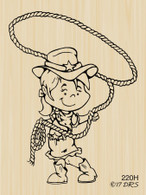
I hope your week has gone well! It's been frrreeeeezzzzzzziiinnnggg here! We had snow last weekend then temps only in the upper 20's for highs & low teens for lows. Then Thursday, we had snow flurries again. Oh & we about blew away to Kansas w/ Dorothy in between. It has been one wild weather week! In honor of the Lunar eclipse this past week, & Valentine's Day to come, I have a cute little cowgirl who's attempting to lasso the moon.
After coloring & fussy cutting my cowgirl..it seemed easier than trying to mask her & color the bg dark blue, I die cut a big circle moon for her to lasso. I added the greeting onto the moon, then added the fence boards at the bottom & some stars at the top of the card front.

Here's a look at the inside & below it are the Copics I used.
Thanks so much for stopping by! Have a great weekend!


Supplies:
paper: X-Press It white, Staples 110# white, navy
ink:  Memento tuxedo black, Distress ink weathered wood
accessories:  Misti, Copic markers, Rubbernecker stitched rectangles & circles dies


Read more...

Cowgirl Thing

>> Friday, July 21, 2017

by Julie Warner - The Write Stuff

Happy Friday!
I hope your week has gone well! I'm pretty sure wherever you are in the US, it's been hot, hot, hot! I think it's kind of odd that for the most part, the NE has been hotter than we've been down here in the SE. Not complaining..it's just odd. Well we have had a ton of rain, so maybe that's why. Sure does make it steamy, though. 

Today I have a cute little Cowgirl  to share. Isn't she adorable? After stamping & color her, I added the greeting beside her & colored it, too. Then I used just the sparkle element from the greeting I used on the inside & stamped it w/ lt pink & lt blue. I added the paisley embossed topper & some stickles for the bling.
Here's a look at the inside & below it are the Copic I used.
Thanks so much for stopping by! Have a great weekend!


Supplies:
stamps: DRS Designs -  Lasso Cowgirl , Boots & Bling (inside: Sparkling Day)
paper: X-Press It white, Staples 110# white, pink, brown
ink:  Memento tuxedo black, angel pink, summer sky
accessories:  Misti, Copic markers, Spellbinders A2 matting basics B, bracket borders dies, Lil' Inker stitched rectangle dies, stickles, Cuttlebug paisley embossing folder


Read more...

StatCounter

  © Blogger templates Palm by Ourblogtemplates.com 2008

Back to TOP